Table of Contents
Advertisement
Advertisement
Table of Contents

Summary of Contents for Opteka Digital picture frame
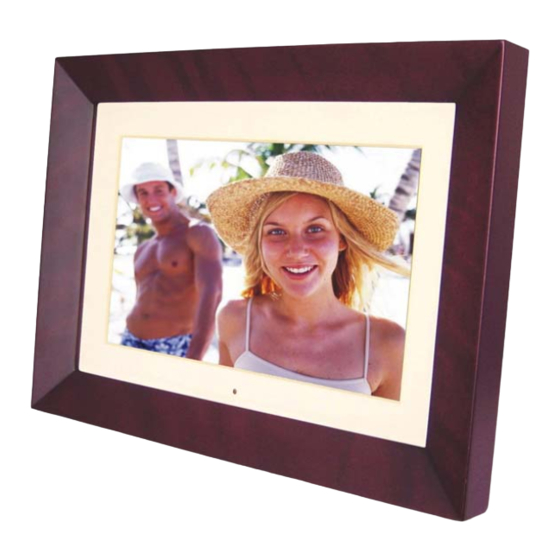
- Page 1 OPTEKA DIGITAL PICTURE FRAME User Guide...
-
Page 2: Table Of Contents
OPTEKA DIGITAL PICTURE FRAME Table of Contents Introduction ....................... 3 Main Features ....................3 Getting Started....................4 Package Contents..................... 4 Installing your unit ..................... 5 Connecting to a PC................... 5 Operation ......................5 Controls......................6 Using your Remote Control ................7 Inserting Memory Cards ................... -
Page 3: Introduction
Digital Picture Frame viewing more enjoyable. This Digital Picture Frame lets you view digital pictures directly from your camera's memory cards. You will be able to create a slideshow using multiple transition effects or display one picture at a time. No computer, digital camera or Internet connection is required. -
Page 4: Getting Started
OPTEKA DIGITAL PICTURE FRAME Getting Started Package Contents Digital Picture Frame User Manual AC/DC Adapter Remote control USB Cable... -
Page 5: Installing Your Unit
• Turn power to ON position via the ON/OFF switch. Connecting to a PC The Digital Picture Frame has a USB port for connection to a PC (USB Slave) and a second USB port for connection to other devices such as a Flash Drive, USB card reader, or a camera (USB Host). -
Page 6: Controls
OPTEKA DIGITAL PICTURE FRAME 2. Insert memory card into the frame with face away from the unit: 3. The slideshow will start automatically: Controls... -
Page 7: Using Your Remote Control
OPTEKA DIGITAL PICTURE FRAME Using your Remote Control The following table briefly describes the remote control functions Button Description Power Turn on/off Photo Access your photo files Music Access your music files Video Access your videos files Combo Start the slideshow... -
Page 8: Inserting Memory Cards
Note: The Digital Picture Frame will ONLY recognize digital pictures stored in JPEG format. Digital pictures stored in other formats will be ignored by the device. Make sure you have at least one picture stored on the memory card. The frame will not function properly without a stored picture. -
Page 9: Main Menu
OPTEKA DIGITAL PICTURE FRAME Main menu Upon turning on the Digital Picture Frame, you will go straight to the MENU screen. To set the Auto Start feature Choose the SETUP screen. Use the left/right arrow to go to the “Set up”. Press the Enter button to enter the options screen. -
Page 10: Viewing Pictures
OPTEKA DIGITAL PICTURE FRAME Viewing Pictures Make sure you have at least one picture on your memory card or your USB flash drive. When this is done: • Select the desired flash media on main menu. (SD/xD/CF/MS/USB/NAND-Internal Memory) • Select the “PHOTO” option from the menu and press “ENTER”... - Page 11 OPTEKA DIGITAL PICTURE FRAME • Once a slideshow is playing or a picture is being shown, press the OSD button. The following menu will appear: Previous Play previous picture in the picture list Play or Pause Play or pause the current slideshow.
-
Page 12: Watching Video
OPTEKA DIGITAL PICTURE FRAME Watching video The Digital Picture Frame supports the following video formats: • Motion JPEG (.avi): video format used by most digital cameras MPEG-I • MPEG-2 • MPEG 4 Make sure you have at least one video on your memory card or your USB flash drive. - Page 13 OPTEKA DIGITAL PICTURE FRAME Once a movie is playing, press the ENTER button on the remote control. The following menu will appear: Previous Play previous movie in the play list Fast Forward Play forward the movie by 2/3/4 times speed.
- Page 14 OPTEKA DIGITAL PICTURE FRAME Play or Pause Play or Pause the movie. Fast Backward Play backward the movie by 2/3/4 times speed. Next Play next movie in the play list Stop Stop the movie and return to the playlist Zoom...
-
Page 15: Listening To Mp3 Music
OPTEKA DIGITAL PICTURE FRAME Listening to MP3 music Make sure you have at least one MP3 file on your memory card or your USB flash drive. When this is done: • Select the desired flash media on main menu. (SD/xD/CF/MS/USB/NAND-Internal Memory) •... -
Page 16: File Management
OPTEKA DIGITAL PICTURE FRAME • Press VOL+ to increase the volume or VOL- to decrease the volume. • Press Play/Pause button on remote control to play or pause the music file. • Press Stop button on the remote control to return to the list of music files. - Page 17 OPTEKA DIGITAL PICTURE FRAME Previous Play previous picture in the picture list Play or Pause Play or pause the current slideshow. Next Play next picture in the picture list Rotate Use the rotate function to change the picture orientation to either portrait or landscape.
-
Page 18: Copying And Deleting Files
OPTEKA DIGITAL PICTURE FRAME Copying and Deleting Files To copy and delete files on your memory card, USB drive or internal memory. Copy • Select the desired flash media on main menu. (SD/xD/CF/MS/USB/NAND-Internal Memory) • Select the “FILE” option from the menu and press “ENTER”... - Page 19 OPTEKA DIGITAL PICTURE FRAME • Press Enter to start copying the file. Delete • Select the desired flash media on main menu. (SD/xD/CF/MS/USB/NAND-Internal Memory) • Select the “FILE” option from the menu and press “ENTER” • A list of available files will be displayed. Use the up and down arrows to highlight your required file and press the right arrow to highlight the desired file.
-
Page 20: Using The Setup Option
Recover the factory default setup Calendar/Clock Display Upon turning on the Digital Picture Frame, you will go straight to the MENU screen. If you select Calendar/Clock and press Enter, you will go to Calendar/Clock screen. If the Alarm is turned on, it will also show the alarm time. -
Page 21: Technical Support
A: Yes. 5) Q: What is the maximum picture size? A: The Digital Picture Frame is able to display pictures up to 12 Mega Pixels. 6) Q: What is the best picture resolution displayed on the screen? A: The frame’s best resolution is 1024x768. - Page 22 Power is on but the System does not work Start-Up screen is Restart the Digital Picture Frame. normally not displayed. No photo, videos, or Memory card is not inserted music files on Insert a supported memory card.
-
Page 23: Specifications
OPTEKA DIGITAL PICTURE FRAME Specifications Type Opteka Digital Picture Frame Size 8inch,10.4inch,12.1inch,15inch Resolution 640x480,640x480,800x600,1024x768 Alimentation 12 V Consumption 6 Watts Working Temperature -20 to +65 degrees Response Time 25ms Display Mode File Format JPEG, MPEG1, MPEG2, MP3, MPEG4 Photo Size... -
Page 24: Maintenance And Precaution
• Keep your Digital Picture Frames out of sunlight. Direct sunlight may cause damage. • Do not open the case of the Digital Picture Frame. There is a risk of electric shock, and there are no user serviceable parts inside.
Need help?
Do you have a question about the Digital picture frame and is the answer not in the manual?
Questions and answers