Advertisement
Table of Contents
Advertisement
Table of Contents

Related Manuals for Grundig CDM 700


Summary of Contents for Grundig CDM 700
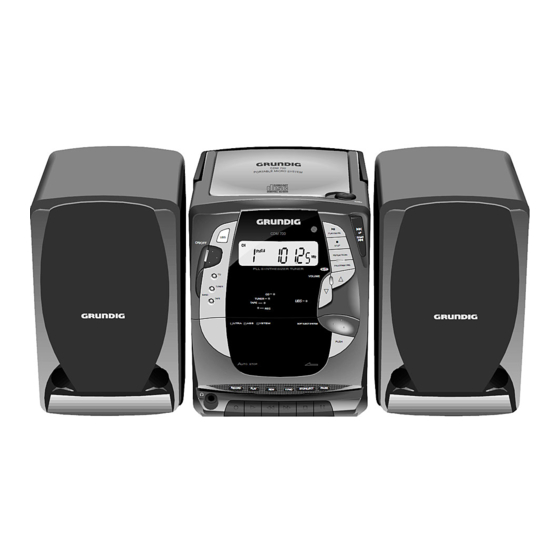
- Page 1 CDM 700 page 1 CD MINI SYSTEM CDM 700...
- Page 2 CDM 700 page 2 NOTES © Important notes for users in the U.K. Allgemeine Hinweise für Geräte mit Laser General instructions for laser-units Mains plug Generelle henvisninger for laserapparater This apparatus is fitted with an approved moulded 13 Amp plug. To Allmänna föreskrifter för laserutrustning...
- Page 3 CDM 700 page 3 INDEX Deutsch Seite Italiano Pagina Nederlands Pagina Suomi Sivu Bedienelemente und Controlli e Bedieningstoetsen en Säätimet ja Anschlüsse ......4–6 collegamenti......40–42 aansluitingen .......76–78 liitännät ......112–114 Stromversorgung ......6 Alimentazione ......42 Stroomvoorziening .....78 Käyttöjännite ......114 Bedienung allgemein ....7 Funzionamento generale .....43 Algemene bediening ....79...
-
Page 4: Controls And Connections
CDM 700 page 16 CONTROLS AND CONNECTIONS Top and front panel – connection for headphones Source: – CD: to switch to CD mode OPEN – TUNER: to switch to TUNER mode PLAY/PAUSE 2; – TAPE: to switch to TAPE mode BAND –... - Page 5 CDM 700 page 17 CONTROLS AND CONNECTIONS Back panel Remote control The buttons on the remote control have the same STEREO MONO +-R-- --L-+ functions as the corresponding ones on the unit. ON/OFF BEAT CUT AC INPUT SPEAKERS Extra buttons:...
-
Page 6: Power Supply
CDM 700 page 18 CONNECTIONS POWER SUPPLY Loudspeaker terminals Battery Supply For connecting the supplied loudspeakers (or others • Open the battery compartment (on the bottom of the having an impedance of 8 Ohms). set) and insert as shown 8 batteries, type R14, UM2 or C-cells. -
Page 7: General Operation
CDM 700 page 19 GENERAL OPERATION Switching on and off Setting the clock • Press the ON/OFF button to switch the unit on. The clock can be set while the unit is in any mode of – The Stand by indicator goes out. - Page 8 CDM 700 page 20 TUNER Selecting ‘TUNER’ Storing stations • Press the ON/OFF button to switch the unit on. You can store a maximum of 40 stations (20 x FM and 20 x AM). • Press the TUNER button on the unit or on the remote control.
- Page 9 CDM 700 page 21 CD PLAYER CD handling Inserting a CD • Use only CDs which have the symbol • Press OPEN to open the CD door. • To take the CD out of its box easily, press the centre •...
- Page 10 CDM 700 page 22 CD PLAYER SKIP UP § / ∞ DOWN Intro • In STOP mode, press the INTRO button on the Selecting another track during play • Press UP/§ or ∞/DOWN on the unit or on the remote control.
- Page 11 CDM 700 page 23 CD PLAYER Random Changing the programme • Press the RANDOM button on the remote control. Replacing previously programmed tracks TRACK – 'RANDOM' lights up on the display. RANDOM • Press PROGRAM/TIME repeatedly until the display shows the track you wish to replace.
- Page 12 CDM 700 page 24 CASSETTE DECK Compact cassettes Selecting ‘TAPE’ • For recording, use a (IEC type I) cassette on • Press the ON/OFF button to switch the unit on. Copyright: NORMAL which the tabs are not broken out. • Press the TAPE button on the unit or on the remote control.
-
Page 13: Technical Data
CDM 700 page 25 CASSETTE DECK TECHNICAL DATA Cassette recording Power Supply Mains operation .......230 Volt, 50/60 Hz • Press 9// STOP/EJECT to open the cassette Recording from the CD player Battery operation ....8 x 1.5 V (R14, UM2) holder. - Page 14 CDM 700 page 26 MAINTENANCE GENERAL General This unit meets the CEE regulations concerning interference radiation. • The mechanical parts of the CD player and the cassette deck contain self-lubricating bearings and This product fulfills European directives 89/336/EEC, must not be oiled or lubricated.
-
Page 15: Troubleshooting
CDM 700 page 27 TROUBLESHOOTING If a fault occurs, first check the points listed below before taking the set for repair. If you are unable to remedy a problem by following these hints, consult your dealer or service centre. Before going through the check list below, first check the following points: •...
Need help?
Do you have a question about the CDM 700 and is the answer not in the manual?
Questions and answers