Table of Contents
Advertisement
Advertisement
Table of Contents

Summary of Contents for FAURE FDF516
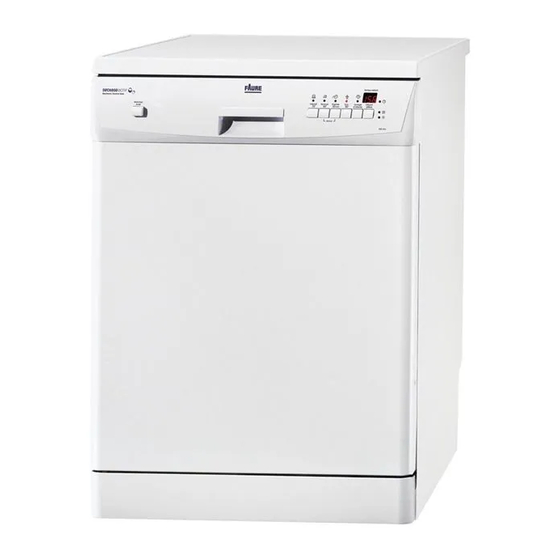
- Page 1 User manual Dishwasher FDF516...
-
Page 2: Table Of Contents
Contents Safety information _ _ _ _ _ _ _ _ _ _ _ _ _ _ _ _ _ 2 Setting and starting a washing programme _ _ _ 10 Control panel _ _ _ _ _ _ _ _ _ _ _ _ _ _ _ _ _ _ _ _ 3 Care and cleaning _ _ _ _ _ _ _ _ _ _ _ _ _ _ _ _ 12 Washing programmes _ _ _ _ _ _ _ _ _ _ _ _ _ _ _ 4 Environment concerns _ _ _ _ _ _ _ _ _ _ _ _ _ _ 12... -
Page 3: Control Panel
• A qualified and competent person must do the elec- – if the control panel, worktop or plinth area are trical installation. damaged, that you can get access to the inner side of the appliance. • A qualified and competent person must do the Contact your local Service Force Centre. -
Page 4: Washing Programmes
Indicator lights The programme in progress indicator light comes on when you select a washing programme. The indicator light comes on when it is necessary to fill the salt container. Refer to the chapter 'Use of dish- washer salt'. The salt indicator light can stay on for some hours, but it does not have an unwanted effect on the operation of the appliance. -
Page 5: Consumption Values
Programme Degree of soil Type of load Programme description Normal soil Crockery and cutlery Prewash Main wash up to 65°C 1 intermediate rinse Normal Final rinse Drying Normal or light soil Crockery and cutlery Main wash up to 65°C Final rinse Rapide Normal soil Crockery and cutlery... -
Page 6: Use Of The Appliance
The pressure and temperature of the water, the variations of power supply and the quantity of dishes can change these values. Use of the appliance Refer to the following instructions for each step of pro- 5. Set the correct washing programme for the type of cedure: load and soil. -
Page 7: Use Of Dishwasher Salt
2. Make sure that the appliance is in setting mode. 3. Press and hold function buttons B and C until the indicator lights of function buttons A, B and C start to flash. 4. Release function buttons B and C. 5. -
Page 8: Use Of Rinse Aid
Use of rinse aid Caution! Only use branded rinse aid for Caution! Do not fill the rinse aid dispenser with dishwashers. other products (e.g. dishwasher cleaning agent, liquid detergent). There is a risk of damage to Do these steps to fill the rinse aid dispenser: the appliance. -
Page 9: Use Of Detergent
Prevent to put plates in the first three sections in the front part of the upper basket. Make sure the plates tilt forward. Adjustment of the height of the upper basket If you put large plates in the lower basket, first move the upper basket to a upper position. -
Page 10: Setting And Starting A Washing Programme
Use of detergent tablets Put the detergent tablet in the detergent dispenser (A). Detergent tablets contain: • detergent • rinse aid • other cleaning agents. Do these steps to use detergent tablets: 1. Make sure that the detergent tablets are applicable for your water hardness. -
Page 11: Cancelling A Washing Programme
– The programme-in-progress indicator light When the washing programme operates, you comes on. cannot change the programme. Cancel the wash- ing programme. Do not open the door during the countdown to prevent interruption of the countdown. When you Warning! Only interrupt or cancel a washing close the door again, the countdown continues from the programme if necessary. -
Page 12: Care And Cleaning
Removing the load • There can be water on the sides and door of the appliance. Stainless steel becomes cool more quick- • First remove items from the lower basket, then from ly than the dishes. the upper basket. Care and cleaning Warning! Switch the appliance off before you clean the filters. -
Page 13: What To Do If
Warning! To discard the appliance, follow the and human health, which could otherwise be caused procedure: by inappropriate waste handling of this product. For • Pull the mains plug out of the socket. more detailed information about recycling of this product, please contact your local council, your •... -
Page 14: Technical Data
These data are necessary to help you quickly and cor- For these data, refer to the rating plate. rectly: Write the necessary data here: Model description : ..• Model (Mod.) Product number : ..• Product number (PNC) Serial number : ..•... -
Page 15: Water Connection
dimensions of the recess agree with the given dimen- Install the appliance worktop to the appliance if you sions. want to use the dishwasher as a freestanding appli- ance. The plinth on freestanding appliance is not adjustable. Adjusting the level of the appliance Make sure that the appliance is level to close and seal the door correctly. -
Page 16: Electrical Connection
The internal diameter must not be smaller than the di- ameter of the hose. If you connect the water drain hose to a trap spigot under the sink, remove the plastic membrane (A). If you do not remove the membrane, remaining food can cause a blockage in the drain hose spigot. - Page 20 www.electrolux.com 156987850-00-112008...
Need help?
Do you have a question about the FDF516 and is the answer not in the manual?
Questions and answers