Table of Contents
Advertisement
Advertisement
Table of Contents

Related Manuals for BT EFRAME 200

Summary of Contents for BT EFRAME 200
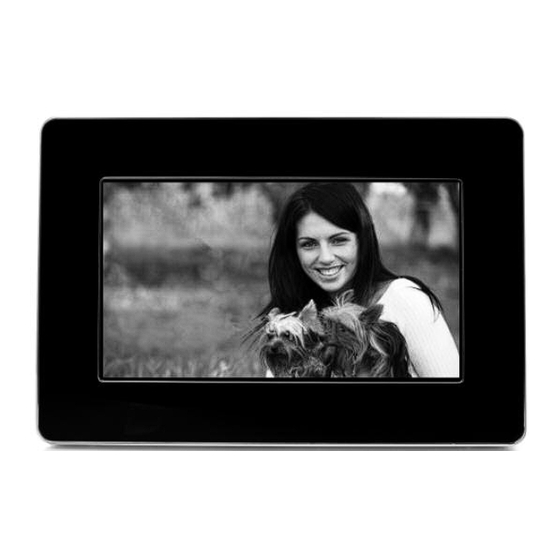
- Page 1 BT eFrame 200 7" MULTI MEDIA DIGITAL PHOTO FRAME User Guide...
- Page 2 Welcome… to your BT eFrame 200 Got everything? • BT eFrame 200 • Superb quality 7 inch display screen • Create a slide show of your favourite digital photos • Transfer photos straight from your memory card – • Desktop stand no PC required •...
-
Page 3: Table Of Contents
....7 Using your eFrame 200 Switching the frame on ....9 Viewing images . -
Page 4: Getting To Know Your Digital Photo Frame
Getting to know your digital photo frame Photo frame LCD Panel Remote control receiver Earphone jack USB port Mini USB port Memory card port Power socket Power Down Right Left Enter Power indicator Speaker Stand Button to release the coloured frame insert Wall mounting hooks You can hang your photo frame on the wall using the wall mounting hooks... -
Page 5: Remote Control
Getting to know your digital photo frame Remote Control Standby Time Date Slide show Menu Ratio Rotate Copy Preview Volume + Enter Left Volume - Right Delete Information Down Play mode Previous song Stop Play / Pause Next song Press standby button to turn Files saved in a memory card can the backlight on/off. -
Page 6: Main Menu Display
Getting to know your digital photo frame Main menu display Slide show mode / Thumbnail mode MP3 files Clock mode Set-up If you experience any problems, please call the Helpline on 0808 100 9889*... -
Page 7: Setting Up
Setting up Follow the diagram below to set-up your frame Setting up the stand How to change between the black and aluminium frames Press the button to take out the existing frame. EJECTION If you experience any problems, please call the Helpline on 0808 100 9889*... - Page 8 Setting up Reassemble the new frame by fitting it on the middle cover (pay attention to the mounting direction: the side with a remote control receiver hole). If you experience any problems, please call the Helpline on 0808 100 9889*...
-
Page 9: Using Your Eframe 200
Using your BT eFrame 200 Switching the frame on Plug the mains power adaptor into the side of the frame. To read files from a memory card, insert an appropriate memory card into the side of the frame. Press the button to activate. -
Page 10: Viewing Images
Using your BT eFrame 200 Viewing images After entering the thumbnail mode, press the button (the navigation buttons on the remote control) to select the thumbnail to view. Press the button to enlarge the image. To view the previous image, press when an image is enlarged. -
Page 11: Playing Video Clips
Using your BT eFrame 200 Note If your pictures appear cropped or stretched you can reduce the aspect ratio to 4:3. It is normal to have 2 black bars on either side of the photo in this mode. Playing video clips... -
Page 12: Clock Mode
Using your BT eFrame 200 Clock mode In Clock mode, you can set the date, time and alarm. To conserve the power, the LCD display Auto on/off time can also be set so your frame will come on and go off when you want. -
Page 13: Setup Mode
Using your BT eFrame 200 Use the button on the remote control to select the previous song or the next song. Press the button on the remote control to adjust the volume. To delete an MP3 file, press button to select the MP3 file that you want to delete. - Page 14 Using your BT eFrame 200 Note the following details: Slide Interval 5/10/30/60 seconds Show Time OFF/Center/Corner When it is set to Center/Corner, the time will be displayed in playback mode accordingly. It can also be switched to OFF/Center/Corner by pressing the...
-
Page 15: Copying Files
MP3 files can be copied, moved or deleted in exactly the same way PC files are manipulated. Plug the USB cable into your BT eFrame 200 and connect the other end to the USB port on the PC. At your computer, click on Start and select My Computer. You will see 3 new drive letters on your PC. -
Page 16: Mini Usb Device Unplugging Notice
Using your BT eFrame 200 Click on your required drive letter. Open the picture folder that you want to copy and then drag and drop across. Always ensure that you safely remove the USB cable once you have completed copying files. -
Page 17: Help
Help No power supply Please check that the power adaptor is plugged into the frame and the mains power is switched on and working. No display Please check that you have inserted a memory card or a USB key properly into the appropriate readers and that the latter contain files legible by the apparatus - only JPEG and MJPEG (AVI) formats are supported. -
Page 18: General Information
Safety information Guarantee • Handle your product with care. Your BT eFrame 200 is guaranteed for a period of 12 months from the date of purchase. • Avoid touching the LCD screen as skin oils can be difficult to remove. -
Page 19: Technical Information
General information Technical information For your records Date of purchase: 7”TFT LCD Display Place of purchase: Supports 16:9 and 4:3 displays Serial number: English , French, On-screen display language German, Spanish, Italian, Dutch, Polish, For guarantee purposes proof of purchase is Czech, Hungarian, required so please keep your receipt. - Page 20 © British Telecommunications plc 2008. Registered Office: 81 Newgate Street, London EC1A 7AJ. Registered in England No. 1800000. Designed and produced by The Art & Design Partnership Ltd. Printed in China BT eFrame 200 (10/08) Issue 2...
Need help?
Do you have a question about the EFRAME 200 and is the answer not in the manual?
Questions and answers