
Related Manuals for GMC RL501A


Summary of Contents for GMC RL501A
-
Page 1: Lawn Mower
4 STROKE PETROL LAWN MOWER RL501A INSTRUCTION MANUAL Black Magenta Code: RL501A IM Cyan Yellow Date: 071031 Edition: 11 Op: DJ... -
Page 2: Table Of Contents
Contents Warranty Introduction Environmental protection Description of symbols Specifications Safety rules for petrol lawn mowers Operation safety instructions Unpacking Contents of carton Know your product Assembly Attaching the Handles Cutting height adjustment Brake lever Fuelling Checking the oil Starting the engine Stopping the engine Mowing advice Maintenance... -
Page 3: Introduction
Introduction Your new GMC power tool will more than satisfy your expectations. It has been manufactured under stringent GMC Quality Standards to meet superior performance criteria. You will find your new tool easy and safe to operate, and, with proper care, it will give you many years of dependable service. -
Page 4: Specifications
Read the instructions carefully. Get familiar with the controls and proper use of the equipment. • Only use the lawn mower for the purpose for which it was designed, i.e. for cutting and collecting grass. Any other use can be hazardous, causing damage to the machine. - Page 5 Exercise extreme caution when pulling the lawn-mower towards you. • Stop the blade if the lawn mower has to be tilted for transportation when crossing surfaces other than grass, and when transporting the lawn mower to and from the area to be mowed.
-
Page 6: Operation Safety Instructions
• Work only when there is sufficient light. • Do not use the lawn mower when it is raining or when the grass is wet. • Caution must be taken while mowing on slopes. Mow across the face of slopes, never down or up. -
Page 7: Unpacking
- Before carrying, lifting or removing the mower. - If you leave the mower unattended or change the cutting height. - After hitting a foreign object, stop the engine and check thoroughly the mower in order to see if it is damaged. Take the mower to an authorized service centre to carry out any repairs if necessary. -
Page 8: Know Your Product
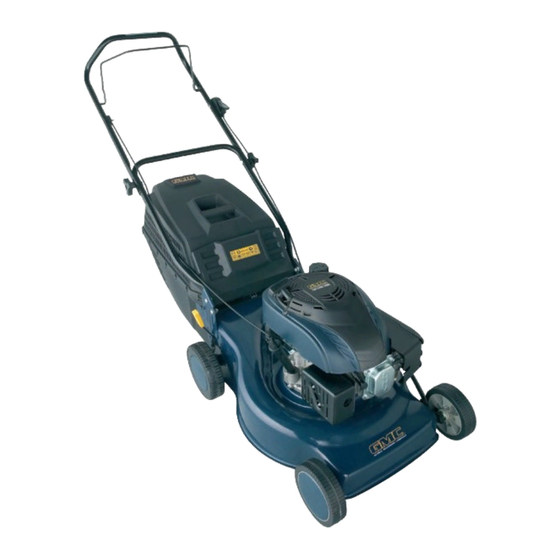
Know your product 1. Handle bar 2. Lower handle 3. Throttle Lever 4. Wheel 5. Catcher 6. Height adjustment lever 7. Fuel tank cap 8. Oil filler cap 9. Recoil starter 10. Spark plug cap 11. Air filter 12. Brake Lever 13. -
Page 9: Assembly
Assembly WARNING: Stop the engine and unplug the spark plug before any repairs or maintenance operations. It is necessary to fit the lower handle (2), handle bar (1), and catcher (5) to the mower. Assembling the catcher 1. The grass catcher (5) is supplied in two sections. -
Page 10: Cutting Height Adjustment
Checking the oil CAUTION. The lawn mower is shipped without oil. Do not start your lawn mower before ensuring it has been filled with the right amount of correct grade oil. WARNING. If mower is operated without fuel and 4 stroke oil, your warranty will be void. -
Page 11: Starting The Engine
Do not pull the cord with a jerk or release it until fully rewound. 4. Once the lawn mower has started and warmed up move the throttle lever to the either COLD START POSITION... -
Page 12: Maintenance
4. For healthy growth, grass should not be cut too short. This can cause damage to the grass and allow weeds to develop. 5. Vary your cutting pattern from week to week, this will help to prevent matting and graining of the grass. 6. - Page 13 3. Remove all 4 single blades including the washer and nuts. 4. Clean the dirt and grass from around the blade mounting area. 5. Replace all 4 blades to ensure a smooth even cut. By replacing the washer, then the half washer, then the nut securing the blade firmly, (25 –...
- Page 16 GMC customer assist If your product needs repairing, replacing, technical service or you simply need help or advice, please contact us on our Customer Assist Line 1300 880 001 (Australia) or 0800 445 721 (New Zealand). For prompt service we suggest you log your service request online at www.gmcservice.com.au.
Need help?
Do you have a question about the RL501A and is the answer not in the manual?
Questions and answers
How do I obtain a replacement plastic flap for the grass catcher slot? Mower RL501A
Sorry, it is a RL504 model