Advertisement
Quick Links
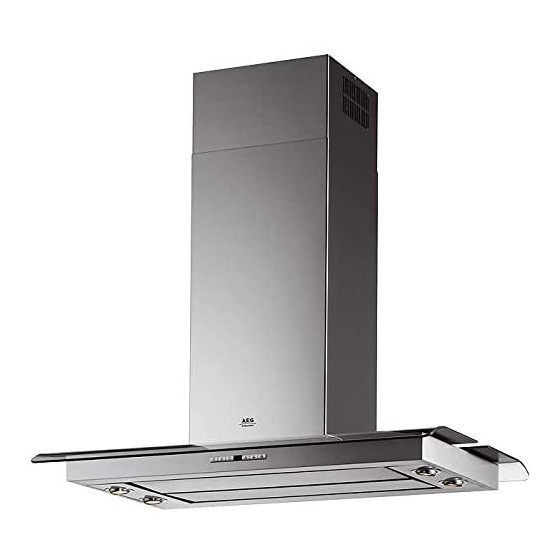
DI9611-M
Einbau-Flachschirm-Dunstabzugshaube
Built-In- Flat-Screen Fume Extractor Hood
Cappa aspirante da incasso con schermo piatto
estraibile
Inbouw-wasemkappen met plat scherm
Hottes aspirantes encastrables à visière plate
Montage- und Gebrauchsanweisung
Installation and Operating Instructions
Istruzioni di montaggio e per l'uso
Montage- en gebruiksaanwijzing
Instructions de montage et mode d'emploi
Advertisement

Related Manuals for AEG Electrolux DI9611-M


Summary of Contents for AEG Electrolux DI9611-M
- Page 1 DI9611-M Einbau-Flachschirm-Dunstabzugshaube Built-In- Flat-Screen Fume Extractor Hood Cappa aspirante da incasso con schermo piatto estraibile Inbouw-wasemkappen met plat scherm Hottes aspirantes encastrables à visière plate Montage- und Gebrauchsanweisung Installation and Operating Instructions Istruzioni di montaggio e per l'uso Montage- en gebruiksaanwijzing...
- Page 2 Bedienungsanleitung INHALTSVERZEICHNIS EMPFEHLUNGEN UND HINWEISE............................7 CHARAKTERISTIKEN ................................8 MONTAGE....................................10 BEDIENUNG ..................................14 WARTUNG ...................................15...
-
Page 3: Table Of Contents
Instructions Manual INDEX RECOMMENDATIONS AND SUGGESTIONS........................18 CHARACTERISTICS................................19 INSTALLATION ..................................21 USE.......................................25 MAINTENANCE ...................................26... - Page 4 Libretto di Istruzioni INDICE CONSIGLI E SUGGERIMENTI............................29 CARATTERISTICHE................................30 INSTALLAZIONE..................................32 USO ......................................36 MANUTENZIONE.................................37...
- Page 5 Manuel d’Instructions SOMMAIRE CONSEILS ET SUGGESTIONS ............................40 CARACTERISTIQUES.................................41 INSTALLATION ..................................43 UTILISATION..................................47 ENTRETIEN ..................................48...
- Page 6 Gebruiksaanwijzing INHOUDSOPGAVE ADVIEZEN EN SUGGESTIES.............................51 EIGENSCHAPPEN................................52 INSTALLATIE ..................................54 GEBRUIK....................................58 ONDERHOUD ..................................59...
-
Page 7: Recommendations And Suggestions
RECOMMENDATIONS AND SUGGESTIONS INSTALLATION • The manufacturer will not be held liable for any damages resulting from incorrect or improper installation. • The minimum safety distance between the cooker top and the extractor hood is 650 mm. • Check that the mains voltage corresponds to that indicated on the rating plate fixed to the inside of the hood. -
Page 8: Characteristics
CHARACTERISTICS Dimensions 1 19... - Page 9 Components Ref. Q.ty Product Components Hood Body, complete with: Controls, Light, Blower, Filters Telescopic Chimney comprising: Upper Section Lower Section Telescopic frame complete with extractor, consisting of: 7.1a Upper frame 7.1b Lower frame Reducer Flange ø 150-120 mm Flange ø 150 Dumper ø...
-
Page 10: Installation
INSTALLATION Drilling the Ceiling/shelf and fixing the frame DRILLING THE CEILING/SHELF • Use a plumb line to mark the centre of the hob on the ceiling/support shelf. • Place the drilling template 21 provided on the ceiling/support shelf, making sure that the template is in the correct position by lining up the axes of the template with those of the hob. - Page 11 FIXING THE frame • Loosen the two screws fastening the lower chimney and re- move this from the lower frame. • Loosen the two screws fastening the upper chimney and re- move this from the upper frame. If you wish to adjust the height of the frame, proceed as follows: •...
- Page 12 Connections DUCTED VERSION AIR EXHAUST SYSTEM When installing the ducted version, connect the hood to the chimney using either a flexible or rigid pipe ø 150 or 125mm, the choice of which is left to the installer. To install a ø 150 •...
- Page 13 ELECTRICAL CONNECTION • Connect the Hood to the mains power supply, inserting a two- pole cut-out switch with contact aperture of at least 3 mm along the line. • Pull the Comfort Panel to open it, ensure that the supply cable connector is properly inserted into the Suction device socket •...
-
Page 14: Use
DISPLAY FUNCTION Switches the lights over the cooker on and off. Switches the lights placed on top of the hood body on and off . Switches the extractor motor on and off at the latest selected speed. It also opens and closes the glass panel. By pressing this Shows set speed key for about two seconds the glass opens and closes. -
Page 15: Maintenance
MAINTENANCE Cleaning the Comfort Panels • Pull the Comfort Panel to open it. • Disconnect the panel from the hood canopy by slid- ing the fixing pin lever. • The comfort panel must never be washed in a dish- washer. •... - Page 16 Charcoal filter (recycling version) • This filter cannot be washed or regenerated. It must be replaced when the C appears on the display or at least once every 4 months. Activation of the alarm signal • In the recycling version hoods the filter saturation alarm must be activated during the instal- lation or later.
- Page 17 Lighting system LIGHT REPLACEMENT Upper Halogen Lights ( 20 W ) • Remove the snap-on lamp cover by levering it from under the metal ring, supporting it with one hand • Remove the halogen lamp from the lamp holder by pulling gently.
- Page 20 Bitte geben Sie unserem Kundendienst folgende Angaben bei einer Störung an: If your appliance has a fault, please contact our service engineer and state the following numbers: Veuillez donner les indications suivantes à notre service après-vente en cas de panne: Qualora constataste un difetto vi preghiamo di comunicare i seguenti dati al nostro servizio tecnico assistenza clienti: Geef onze klantenservice bij een storing de volgende gegevens op:...
Need help?
Do you have a question about the DI9611-M and is the answer not in the manual?
Questions and answers