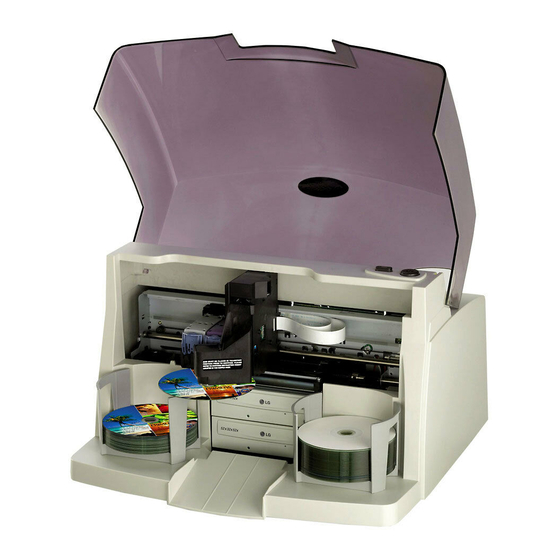
Primera BravoPro Calibration Instructions
Hide thumbs
Also See for BravoPro:
- User manual (65 pages) ,
- Quick start (2 pages) ,
- Installation instructions (2 pages)
Advertisement
BravoPro Calibration Instructions
(For use with BravoPro Utility)
A. Installing the Utility
Download the program – Save it to your desktop or any other location. There is no
installation.
B. Using the Utility
Double Click on BravoProCalibration.exe to open.
Once the program opens, click the 'GET STATUS' button. You should see information
related your Bravo appear in the window below
For any picking issues, first, try restoring factory defaults. This is done by clicking the
RESTORE FACTORY button. All values set by the testing technicians before the unit
was shipped will be restored. Test the Bravo at this point. 70% of picking issues are
resolved after restoring the factory defaults. If it doesn't resolve the problem continue
with the following instructions.
Now click on 'SET OFFSETS' button.
After changing any values you can click the Pick button to test the values without
running a job.
C. Tricking the Lid Sensor
In order to make any changes to values, the Bravo's cover must be closed. Often it is
difficult to see inside the Bravo to make picking judgments with the cover closed. There
is a way to open the lid and watch the Bravo. You can simply block that optical sensor
for the lid, which is found roughly 2 centimeters to the right, and about 2 centimeters
back of the power button on top cover of the Bravo. You will see an opening, or 'notch'
in the white casing of the Bravo. This notch has the optical sensor inside it that detects
when the lid is open. There is a corresponding plastic tab located on the lid of the
Bravo that fits down into that notch on top of the Bravo. The plastic tab on the lid has
the piece of reflective tape on it that blocks the optical sensor inside the notch when the
lid is closed. To block the sensor, you need to take a piece of cardboard, or folded up
paper, and wedge it down inside that notch, thus blocking the optical sensor, and
tricking the Bravo to think that the lid is closed.
Advertisement
Table of Contents

Related Manuals for Primera BravoPro


Summary of Contents for Primera BravoPro
- Page 1 BravoPro Calibration Instructions (For use with BravoPro Utility) A. Installing the Utility Download the program – Save it to your desktop or any other location. There is no installation. B. Using the Utility Double Click on BravoProCalibration.exe to open. Once the program opens, click the 'GET STATUS' button. You should see information related your Bravo appear in the window below For any picking issues, first, try restoring factory defaults.
- Page 2 D. Pick Depth Adjustments If it appears the fingers are perfectly centered but just not going down far enough to pick the disk, adjust with the following instructions: Adjust the pick depth level by changing the values (with numbers in increments of 10) in the 'DISK SWITCH OFFSET' field.
- Page 3 G. Calibrate Last Disk If you are getting false warnings such as “It appears that the input bin is empty” or “It appears that multiple discs have been placed in the printer/recorder” you may need to run this calibration. Place one disc in both the input (right) and output (left) bins. Click the Calibrate Last Disk button the top of the screen.
Need help?
Do you have a question about the BravoPro and is the answer not in the manual?
Questions and answers