Table of Contents
Advertisement
Quick Links
Advertisement
Table of Contents

Related Manuals for RCA YVXR1040


Summary of Contents for RCA YVXR1040
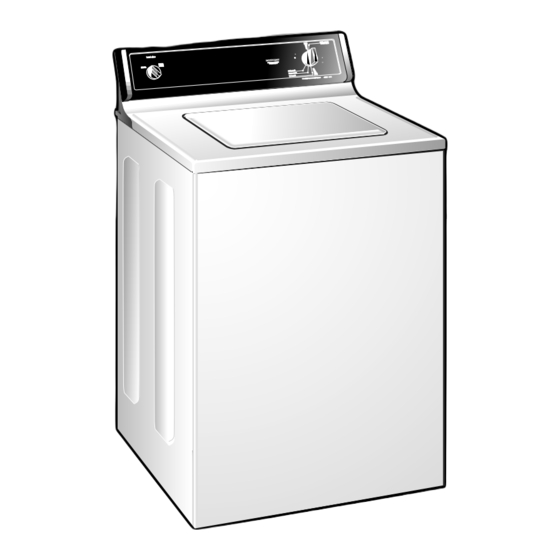
- Page 1 Washers Owner’ s Manual YVXR1040 Part No. 175D1807P219 Pub. No. 79-9064...
- Page 2 Best of all, you’ll experience these values each time you do the laundry. That’s important, because your new washer will be part of your family for many years. And we hope you will be part of ours for a long time to come.
-
Page 3: Table Of Contents
Control Settings ..8, 9 Washer Features ..10, 11 Loading and Using the Washer ... .12, 13 Troubleshooting Tips Before You Call For Service . -
Page 4: Water Heater Safety
IMPORTANT SAFETY INFORMATION. READ ALL INSTRUCTIONS BEFORE USING. WARNING! For your safety, the information in this manual must be followed to minimize the risk of fire or explosion, electric shock, or to prevent property damage, personal injury, or loss of life. WATER HEATER SAFETY Under certain conditions hydrogen gas may be produced in a water heater that has not been used for two weeks... -
Page 5: Proper Installation
PROPER INSTALLATION This washer must be properly installed and located in accordance with the Installation Instructions before it is used. If you did not receive an Installation Instructions sheet, you can receive one by calling us toll-free at the ®... -
Page 6: Important Safety Instructions
READ ALL INFORMATION BEFORE USING. Use this appliance only for its intended purpose as described in this Owner’s Manual. WHEN USING THE WASHER Never reach into washer while it is moving. Wait until the machine has completely stopped before opening the lid. -
Page 7: Save These Instructions
5 years. Before discarding a washer, or removing it from service, remove the washer lid to prevent children from hiding inside. REMEMBER… Your continued health and safety are important to us. -
Page 8: About The Washer Control Panel
Load Size The water level should just cover the clothes. Adjust the load size accordingly. Loosely load clothes no higher than the top row of holes in the washer tub. Wash Cycle Select the water temperature for the wash and rinse cycles. -
Page 9: About The Washer Features
Add water to dispenser until it reaches the maximum fill line. Do not stop the washer during the first spin. This will cause the dispenser to empty too soon. Never pour fabric softener directly on clothes. It may stain them. - Page 10 About the washer features. Separate for cleaning. Cleaning the Fabric Softener Dispenser Remove the dispenser from the top of the agitator. Separate the dispenser cup from the cover by grasping the top and pushing down on the inside of the cup with your fingers. Dispenser cup will pop free from the cover.
-
Page 11: Proper Use Of Detergent
When loading wet items make sure you set the load/water level high enough to allow the items to move freely. Water level should just cover the clothes. To add items after washer has started, push in Cycle knob and submerge additional items next to the agitator. -
Page 12: Care And Cleaning Of The Washer
Moving and Storage: Ask the service technician to remove water from drain pump and hoses. Do not store the washer where it will be ® exposed to the weather. Call the GE Answer Center , 800.626.2000 for information on how to keep the tub stationary when moving the washer. -
Page 13: Troubleshooting Tips
• Turn off the water source and remove the water connection hoses from the upper back of the washer. Use a brush or toothpick to clean the screens in the machine. Reconnect the hoses and turn the water back on. - Page 14 The washer normally pauses between washing steps Incorrect cycle selected What To Do • Straighten drain hose and make sure washer is not sitting on it. • Top of drain outlet should be less than 8 ft. above floor. •...
- Page 15 Try a liquid detergent. • Use warmer water temperature. • Load clothes no higher than the top row of holes in the washer tub. • Make sure load size selector matches clothes load size. • Check fabric softener package for instructions and follow directions for using dispenser.
- Page 16 Avoid mixing heavy items (like work clothes) with light items (like blouses). • Try a fabric softener. • Load your washer so clothes have enough room to move freely. • Match Cycle selection to the type of fabric you are washing (especially for easy care loads).
- Page 17 Washer is overloaded Detergent is not dissolving Dye transfer What To Do • While this is not caused by the washer, you can slow the pilling process by washing garments inside out. • Use more detergent (especially with larger loads).
- Page 18 Notes...
-
Page 19: Warranty
The washer basket, if it should fail due to a defect in materials or workmanship. During this twenty-year limited warranty, you will be responsible for any labor or in-home service costs. -
Page 20: Parts And Accessories
TDD or a conventional teletypewriter may call to request information or service. Service Contracts Purchase a GE service contract while your warranty is still in effect and you’ll receive a substantial discount. GE Consumer Service will still be there after your warranty expires.
Need help?
Do you have a question about the YVXR1040 and is the answer not in the manual?
Questions and answers