Table of Contents
Advertisement
Register your product and get support at
www.philips.com/welcome
EN User manual
DA Brugervejledning
DE Benutzerhandbuch
EL
ES Manual del usuario
FI
Käyttöopas
FR Mode d'emploi
3
IT
Manuale utente
21
NL Gebruiksaanwijzing
39
PL Instrukcja obs ugi
59
PT Manual do utilizador
79
SV Användarhandbok
97
TR Kullanım kılavuzu
115
DVP5992
133
151
169
187
205
221
Advertisement
Table of Contents

Related Manuals for Philips DVP5992


Summary of Contents for Philips DVP5992
- Page 1 Register your product and get support at www.philips.com/welcome DVP5992 EN User manual Manuale utente DA Brugervejledning NL Gebruiksaanwijzing DE Benutzerhandbuch PL Instrukcja obs ugi PT Manual do utilizador ES Manual del usuario SV Användarhandbok Käyttöopas TR Kullanım kılavuzu FR Mode d’emploi...
- Page 2 Den DICHIARAZIONE DI CONFORMITA’ indbyggede netdel er derfor tilsluttet til lysnettet Si dichiara che l’apparecchio DVP5992, Philips så længe netstikket sidder i stikkontakten. risponde alle prescrizioni dell’art. 2 comma 1 del D.M. 28 Agosto 1995 n.548.
-
Page 3: Table Of Contents
Turn on progressive scan format created by DivX, Inc. This is an offi cial DivX Certifi ed device that plays DivX video. Visit www. Use Philips EasyLink divx.com for more information and software tools to convert your fi les into DivX video. -
Page 4: Important
1 Important Safety and important notice When this crossed-out wheeled bin symbol is attached to a product it means that the product Warning is covered by the European Directive 2002/96/ • EC. Please inform yourself about the local separate Risk of overheating! Never install the product in a confi... -
Page 5: Your Dvd Player
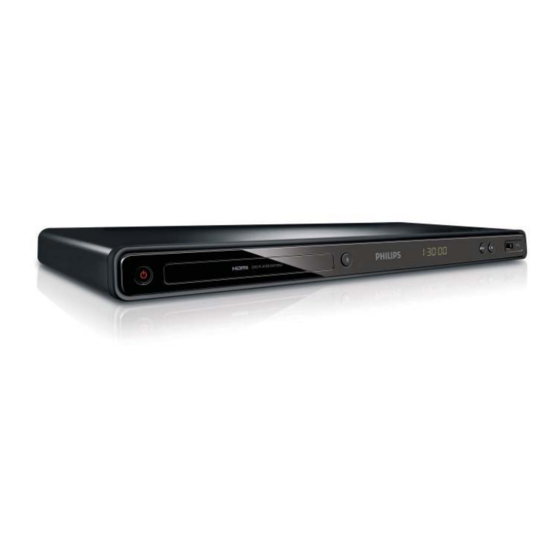
2 Your DVD player Remote control Congratulations on your purchase, and welcome to Philips! To fully benefi t from the support that Philips offers, register your product at www.philips.com/welcome. Playable media This product can play: • DVD, DVD-Video, DVD+R/+RW, DVD-R/-RW, DVD+R/-R DL (Dual Layer) •... -
Page 6: Connect
3 Connect If the device supports HDMI CEC, you can control compliant devices with a single remote control (see “Get started” > “Use Philips EasyLink”). All audio/video cables are sold separately. Make the following connections to use this product. Basic connections: •... -
Page 7: Connect Audio Cables
Option 2: Connect to the component Connect the audio cables to: • AUDIO OUT L/R jacks on this product. video jack • the audio input jacks on the TV. Route audio to other devices Route the audio from this product to other devices to enhance audio play. -
Page 8: Connect Power
Connect power Caution • Risk of product damage! Ensure that the power supply voltage corresponds to the voltage printed on the back of the product. • Before connecting the AC power cord, ensure you have completed all other connections. Note Press SETUP. -
Page 9: Use Philips Easylink
Use Philips EasyLink Note • Check the types of discs supported (see “Your DVD This product supports Philips EasyLink which uses the player” > “Playable media”). HDMI CEC (Consumer Electronics Control) protocol. • If the password entry menu is displayed, enter the... - Page 10 • If PBC is turned off, it skips the menu Button Action display and starts play from the fi rst Search slow-forward or slow- track. backward. Press repeatedly to change the search speed. Preview disc contents For VCD/SVCD, slow-backward During play, press INFO.
-
Page 11: Play Music
Quick skip play Press REPEAT A-B again to set the end point. » Repeat play starts. During play, press INFO repeatedly to To cancel repeat play, press REPEAT A-B again. select an option. Display Action Note [Disc Go To] Skip play to a specifi c time within •... -
Page 12: Play Musical Slideshow
» • To display photos in color (Fun Mode) or in black Audio continues to play until the end of and white (Simple Mode), press DISC MENU. the disc. • To preview the photos in thumbnail, press • To stop slideshow play, press INFO. -
Page 13: Create Mp3 Fi Les
» Once complete, a new folder is created Select an audio track, and then press OK. automatically in the USB fl ash drive to store • To select another track, repeat step 7. all the new fi les. • To select all tracks, select [Select all] in the menu, and press OK. -
Page 14: Audio Setup
• [Lock] - Restrict the access to the current • To exit the menu, press SETUP. disc. At the next time when you want to play [Analogue Output] this disc or unlock it, you need to enter the Select an analogue setting based on the audio password. -
Page 15: Video Setup
Select a picture as the wallpaper. Press SETUP. • [Default picture] - The default wallpaper » [General Setup] menu is displayed. preset as the Philips logo. • [Saved picture] - A captured video image or Press to select [Video Setup], and then JPEG photo. -
Page 16: Preferences
TV/devices manual for details. Enjoy untouched and uncompressed JPEG pictures • Philips does not guarantee 100% interoperability with all at its original resolution when you connect this HDMI CEC compliant devices. product and the TV with an HDMI cable. - Page 17 Display the software version of this product. Note • This information is required when you want to fi nd out if a newest software version is available at the Philips website that you may download and install on this product.
-
Page 18: Additional Information
Signal system: PAL / NTSC version of this product to compare with the latest • Composite video output: 1 Vpp ~ 75 ohm software (if available) at the Philips website. • Component video output: 0.7 Vpp ~ 75 ohm •... -
Page 19: Troubleshooting
No sound on HDMI connection. If you contact Philips, you will be asked for the model • You may not hear any sound from the HDMI and serial number of your product. The model... - Page 20 © 2010 Koninklijke Philips Electronics N.V. All rights reserved. DVP5992_12_UM_V3.1_1022...
Need help?
Do you have a question about the DVP5992 and is the answer not in the manual?
Questions and answers