
Related Manuals for Pandigital PAN3502W02


Summary of Contents for Pandigital PAN3502W02
-
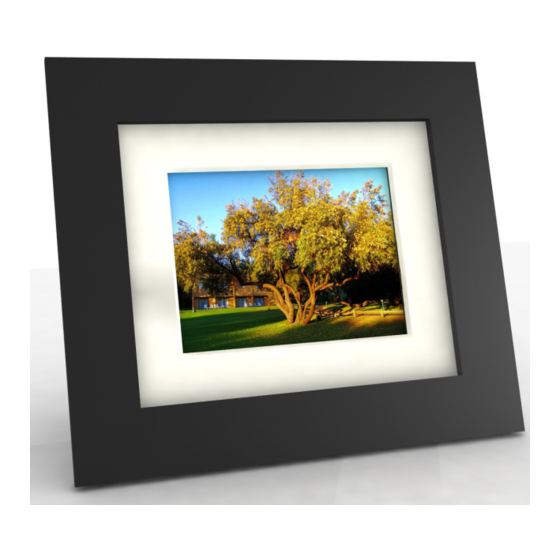
Page 1: Digital Photo Frame
Effortlessly Moving Images Out of your Camera and Into your Life Digital Photo Frame User Guide PAN3502W02... - Page 2 UG-E_PAN35XX_V4.0_06-09...
-
Page 3: Table Of Contents
Table of Contents Important Safety Precautions ..............4 Cleaning the Digital Photo Frame .............. 4 Introduction ....................5 Key features:....................5 What’s In the Box ..................5 Overview of Digital Photo Frame (DPF) ............6 The Control Buttons ..................7 Setting Up the DPF .................. -
Page 4: Important Safety Precautions
Important Safety Precautions Always follow these basic safety precautions when using your Digital Photo Frame. This will reduce the risk of fire, electric shock, and injury. Warning: Do not expose this product to rain or moisture. Warning: Do not remove the cover. There are no user-serviceable parts inside. -
Page 5: Introduction
Introduction Welcome to the Pandigital Multimedia Photo Frame! Now you can display your digital photos directly from your memory card, no computer is necessary. Simply insert a memory card into the Digital Photo Frame (DPF), and power it on. A slideshow of your photos will automatically begin. It’s as easy as that. -
Page 6: Overview Of Digital Photo Frame (Dpf)
Overview of Digital Photo Frame (DPF) Depending on the model, your DPF will resemble one of the following units: Adjustable Stand Pull-out Stand... -
Page 7: The Control Buttons
The Control Buttons You can access all of the DPF’s features by using the buttons on the back of the DPF. Button Action Exit the current display, or go back a screen. SETUP/EXIT Press button for 2 seconds to open the Onscreen Menu. UP or Move the selection up or left, display the previous photo, or select Left arrow... -
Page 8: The Dpf Function Screens
The DPF Function Screens You will access the DPF’s functions through a series of screens, and control them with the buttons on the back of the frame. The Card Selection Screen Use the Card Selection screen to choose between memory cards and the internal memory. -
Page 9: Photos
Open the Thumbnails Screen to display still Photos photos and jpeg slideshows. View all of the files on the memory source. File (Availability depends on model) Show the current date and time Clock PHOTOS You can view all photos on the selected memory source, select a single photo to display, multiple or all photos to play slideshows. -
Page 10: Rotate A Photo On The Full Screen
next photo. 5. To stop the display and return to the photo thumbnails screen, press SETUP/EXIT Rotate a Photo on the Full Screen You can rotate a displayed photo on the full-screen by pressing SETUP/EXIT and then press arrows or buttons to selection. -
Page 11: Delete Photos From The Internal Memory
2. Press arrows or buttons to highlight the desired Left/Right UP/DOWN memory card, and then press to select the card; the Mode ENTER Selection screen opens. 3. Press arrows or buttons to highlight the photo you Left/Right UP/DOWN want to copy, and then press ;... -
Page 12: The Setup Screen
4. Select to delete the highlighted photo. Delete Selected CAUTION: You will not be asked to confirm or have a chance to change your mind. It is a good idea to keep copies of the photos you copy onto your DPF. The SETUP Screen You can set the viewing options through the SETUP MENU. -
Page 13: Set The Clock
2. The Calendar/Clock screen will look similar to this example. The slideshow displays photos from the currently selected memory source. Set the Clock 1. From the HOME screen, press arrows or buttons to Left/Right UP/DOWN highlight , and then press ENTER Clock 2. -
Page 14: Setup Menu
Setup Menu Display Option Settings Description The DPF can optimize your photos Original Display Image Size for display. (Availability depends on Optimal model.) Normal Random Slideshow Ver Close Door Special effects as one photo Transition Curtain transitions to the next in a Slideshow. Open Door Cross Comb Fast... -
Page 15: Frequently Asked Questions
Frequently Asked Questions Q: How do I set up my Digital Photo Frame? A: It is very simple to get your Digital Photo Frame out of the box and running in just a few minutes. Just plug the power adapter into a standard wall socket, and then the other end into the DPF’s USB port. -
Page 16: Limited Warranty
LABOR: For a period of one (1) year from the date of purchase, if this product is found to be defective, Pandigital will repair or replace the product, at its option, at no charge. After this one (1) year, labor charges will be charged on a case by case basis. - Page 17 This warranty does not provide protection for the loss of data, regardless of format. Pandigital reserves the right to modify and design this product without prior notice, written or otherwise. To obtain warranty service, you must deliver the product freight prepaid in either its original packaging or packaging affording an equal degree of protection, plus proof of purchase.
-
Page 18: Fcc Statement
FCC Statement FCC Part 15 Information This equipment has been tested and found to comply with the limits for a Class B digital device, pursuant to Part 15 of the Federal Communication Commission (FCC) Rules. These limits are designed to provide reasonable protection against harmful interference in a residential installation.
Need help?
Do you have a question about the PAN3502W02 and is the answer not in the manual?
Questions and answers