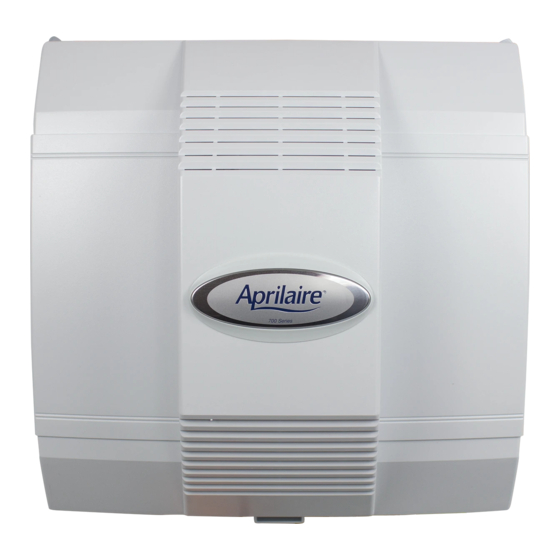
Aprilaire 110 Safety And Installation Instructions
Hide thumbs
Also See for 110:
- User manual ,
- Owner's manual (20 pages) ,
- Maintenance instructions (2 pages)
Table of Contents
Advertisement
Quick Links
R E A D C O M P L E T E I N S T A L L A T I O N I N S T R U C T I O N S A N D T E M P L A T E B E F O R E S T A R T I N G .
Attention Installer:
WARNING
WARNING
1. 120 volts may cause serious
injury from electrical shock.
Disconnect electrical power to
the furnace before starting
installation.
2. Sharp edges may cause serious
injury from cuts. Use care when
cutting plenum openings and
handling ductwork.
THESE INSTALLATION INSTRUCTIONS ARE FOR THE APRILAIRE HUMIDIFIER CONTROL ONLY!
For Aprilaire
STEP 1:
Unpack the Humidifier Control Carton
Make sure all components are present (see Figure A):
A. Humidifier Control
B. Outdoor Temperature Sensor
STEP 2:
Disassemble the Humidifier Control
Remove door from the Humidifier Control by pulling the bottom of the door
straight out.
STEP 3:
Check the Mode Switch
With the door removed, notice the switch labeled BYPASS and POWER (partially
covered by the enclosure). Make sure the switch is correctly set for the type of
humidifier being installed.
POWER HUMIDIFIERS: 110, 112, 445, 448, 760, 700 (formerly 768)
BYPASS HUMIDIFIERS: 220, 224, 400, 440, 550, 558, 560, 568, 600
STEP 4:
Check the Change Water Panel indicator setting.
This setting will control when the indicator light turns on, reminding you to change
your Water Panel. If your Control came with a humidifier, the Control is pre-set. If
the installation site has a 3-month or shorter heating season or very hard water,
you may want to adjust the setting. (see Figure B). The Control must be energized to
reset the Water Panel Indicator.
STEP 5:
Determine Location for Humidifier Control
and Mount It
Humidifier Control must be mounted in the Return Duct. For proper operation, the
Humidifier Control must be at least 6 inches upstream of any of the following:
• Humidifier
• Humidifier Bypass Ductwork (if applicable)
• Fresh Air Intake Ductwork (if applicable) (see Figure C)
After location for Control is selected, use the perforated Humidifier Control template
(attached to these instructions) to mark the duct opening and cut it. Use 4 sheet
metal screws (not provided) to mount the Humidifier Control in the duct opening and
make sure Humidifier Control is sealed tightly to duct.
This product must be installed by a qualified heating and air conditioning contractor.
Failure to do so could result in serious injury from electrical shock.
CAUTION
1. Do not set humidity higher than recommended. Condensation damage may result.
2. Do not set humidity up to recommended levels if there is condensation on the inside of windows of any
unheated living space. Condensation damage may result.
3. Do not mount Humidifier Control on supply plenum or duct. The unit will not withstand supply temperatures.
4. When installing Humidifier Control on downflow furnaces, ensure blower continues to run after a heat call
is satisfied to eliminate high temperatures from damaging the Humidifier Control.
5. Do not mount Humidifier Control downstream of the bypass outlet. False humidity conditions will cause
humidifier to operate incorrectly.
®
Humidifier installation, follow Aprilaire Humidifier Installation Instructions.
C. Manual Mode Label
D. Manual Mode Resistor Case
HUMIDIFIER CONTROL
Safety and Installation Instructions
Water
Panel
Change
Indicator
Use the "OFF" setting to turn the
Water Panel Change indicator OFF
Use setting "A" for Model 400
humidifiers. The indicator will
light after 75 hours of inlet valve
operation, which corresponds
to approximately 300 hours of
humidifier operation.
Use setting "B" for Model 600
and 700 humidifiers when the
heating season is 3 months or
less, or if hard water is used.
The indicator will light after 300
hours of humidfier operation.
Use setting "C" for Model 600 and 700
humidifiers when the heating season is
longer than 3 months. The indicator will
light after 600 hours of humidfier operation.
HUMIDIFIER
CONTROL
RETURN
DUCT
FRESH AIR
INTAKE
A
D
6" MIN.
APRILAIRE HUMIDIFIER
BYPASS
CONNECTION
C
B
Figure A
Mode
Switch
Figure B
Figure C
B2202617
Advertisement
Table of Contents

Subscribe to Our Youtube Channel
Summary of Contents for Aprilaire 110
-
Page 1: Installation
300 hours of POWER HUMIDIFIERS: 110, 112, 445, 448, 760, 700 (formerly 768) humidifier operation. BYPASS HUMIDIFIERS: 220, 224, 400, 440, 550, 558, 560, 568, 600 Use setting “B” for Model 600... - Page 2 • Whether using ACCESSORY TERMINALS OR an EXTERNAL TRANSFORMER, the minimum VA required is; 2.0 VA for Power Humidifiers (Models 110, 112, 445, 448, 700, 760, 768); or 10.0 VA for Bypass Humidifiers (Models 220, 224, 400, 440, 550, 558, 560, 568, 600)
- Page 3 When the knob is set in the “Test/Reset” position, the green “Change Water Panel” 8. Inform homeowner to refer to the Aprilaire Owner’s Manual for the initial adjustment light will blink. Make sure the knob is not left in the “Test/Reset” position when the period.
- Page 4 Humidifier Control Troubleshooting Guide Applies to both Automatic and Manual Operation unless indicated otherwise. SYMPTOM TROUBLESHOOTING PROCEDURE Humidifier operates only in TABLE 1 • If outdoor temperature is greater than 60°F or less than -30°F, the Humidifier Control will only operate in the “Test”...


Need help?
Do you have a question about the 110 and is the answer not in the manual?
Questions and answers