Sign In
Upload
Download
Table of Contents
Contents
Add to my manuals
Delete from my manuals
Share
URL of this page:
HTML Link:
Bookmark this page
Add
Manual will be automatically added to "My Manuals"
Print this page
×
Bookmark added
×
Added to my manuals
Manuals
Brands
AV123 Manuals
Speakers
x-cs
Enjoyment manual
AV123 x-cs Enjoyment Manual
X-series
Hide thumbs
1
Table Of Contents
2
3
4
5
6
7
8
9
10
11
12
13
14
15
16
17
18
19
20
21
22
23
24
page
of
24
Go
/
24
Contents
Table of Contents
Bookmarks
Table of Contents
Table of Contents
Thank You for Your X-Series Purchase
Safety Precautions
Unpacking and Product Registration
Inventory
Limited Warranty Coverage
Features and Descriptions
X-Ls 2-Way Monitors
X-Cs 2-Way D'appolito Monitors
X-Sub Powered Subwoofer
X-Sls 2-Way Towers
X-Mtm 2-Way D'appolito Towers
X-Pls 3-Way D'appolito Towers W/Powered Sub
Speaker Placement Considerations
Front (Left And Right) Speaker Placement
Center Channel Speaker Placement
Surround Speaker Placement
Subwoofer Placement Considerations
Speaker Placement Alternatives 1
Tower Speakers
Shelf Mounting
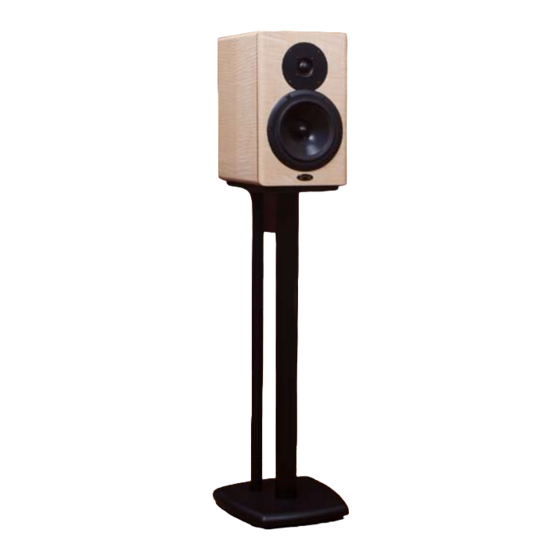
Stand Mounting
Wall Mounting
Connections
Left/Right Connections
Center Channel Connections
X-Sub or X-Pls Subwoofer Connections
Wiring for Correct Polarity
Calibration
Spl Measurements
X-Sub/X-Pls Crossover and Phase Adjustments
Caring for Your X-Series Speakers
Technical Specifications
Limited Warranty and Return Policies
Service Assistance For Av123 X-Series Speakers
User Notes
Advertisement
Quick Links
1
X-Sub Powered Subwoofer
2
X-Ls 2-Way Monitors
3
X-Sls 2-Way Towers
4
X-Mtm 2-Way D'appolito Towers
5
X-Sub or X-Pls Subwoofer Connections
6
Technical Specifications
Download this manual
x-series
Enjoyment Guide
Table of
Contents
Previous
Page
Next
Page
1
2
3
4
5
Advertisement
Table of Contents
Need help?
Do you have a question about the x-cs and is the answer not in the manual?
Ask a question
Questions and answers
Related Manuals for AV123 x-cs
Speakers AV123 x-sls Enjoyment Manual
X-series (24 pages)
Speakers AV123 x-mtm Enjoyment Manual
X-series (24 pages)
Speakers AV123 Strata mini Enjoyment Manual
(16 pages)
Speakers AV123 ELT525 Enjoyment Manual
(22 pages)
Speakers AV123 Strata Mini Loudspeakers Enjoyment Manual
(16 pages)
This manual is also suitable for:
X-pls
X-sub
X-sls
X-ls
X-mtm
Table of Contents
Print
Rename the bookmark
Delete bookmark?
Delete from my manuals?
Login
Sign In
OR
Sign in with Facebook
Sign in with Google
Upload manual
Upload from disk
Upload from URL


Need help?
Do you have a question about the x-cs and is the answer not in the manual?
Questions and answers