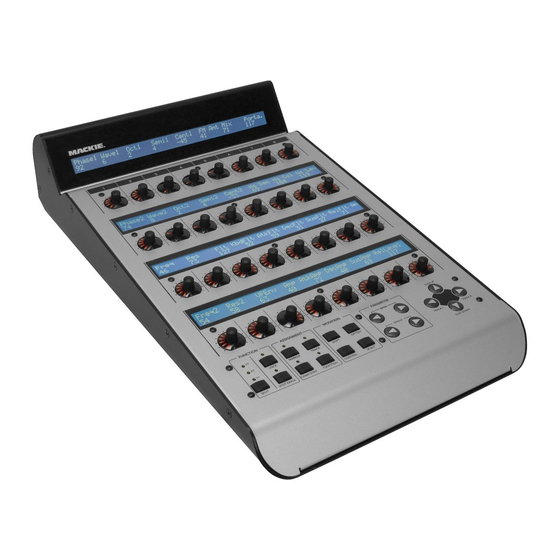
Mackie C4 Software Manual
Reason remote™ support for mackie control surfaces
Hide thumbs
Also See for C4:
- User manual (20 pages) ,
- Programming manual (12 pages) ,
- Quick start manual (4 pages)
Advertisement
Quick Links
Reason Remote™ support for Mackie
control surfaces
This document describes the Remote implementation for Mackie Control,
Extender and C4. For general information about how to use Remote in Reason,
please refer to the Operation Manual in the Reason program folder.
About Map Versions
The default mappings described below refer to the latest versions of the Mackie
Remote files (map version 1.0.6 or later). If controls don't seem to be mapped as
described, please check that you have the latest Remote files installed.
To check the version of a Remote map file:
1. Navigate to
C:\Documents and Settings\All Users\Application Data\Propellerhead
Software\Remote\Maps\Mackie (Windows) or
Library:Application Support:Propellerhead Software:Remote:Maps:Mackie
(Mac OS X)
2. Use a text editor application to open the .remotemap file in question.
3. At the beginning of the .remotemap file, look for the line that starts with "Map
Version".
Advertisement

Related Manuals for Mackie C4


Summary of Contents for Mackie C4
- Page 1 Reason Remote™ support for Mackie control surfaces This document describes the Remote implementation for Mackie Control, Extender and C4. For general information about how to use Remote in Reason, please refer to the Operation Manual in the Reason program folder. About Map Versions The default mappings described below refer to the latest versions of the Mackie Remote files (map version 1.0.6 or later).
-
Page 2: Mackie Control
Reason supports the Mackie Control, or (typically) the Mackie Control Universal in "Mackie Control" mode. If you are using a Mackie Control Universal, you need to select the "Mackie Control" mode of operation: Hold down the SELECT buttons for Ch 1 and Ch 2 and turn on the device - you are then asked which mode of operation to use. - Page 3 Cancel Button : Mute on/off for the current target track (the track with master keyboard input) Save Button : Mute off for all tracks (lights up when any track is muted) Enter Button : Solo on/off for the current target track Undo Button : Solo off for all tracks (lights up when any track is soloed) Trim Button : Undo Group Button : Redo...
- Page 4 "Mackie Control" mode of operation for both control surfaces: Hold down the SELECT buttons for Ch 1 and Ch 2 and turn on the first control surface - you are then asked which mode of operation to use. Select "Mackie Ctrl" by pressing the corresponding V-Pot.
- Page 5 When you use a combo of Mackie Control and Extender, the default mapping is very similar to that of the Mackie Control - please see that description (earlier in this document) for details about all global mappings (transport, navigation, etc.).
- Page 6 Mackie Extender This section describes using the Extender as a stand-alone control surface. If you use it together with the Mackie Control (as a single unit), please use one of the “Combo” control surface options, as described on the previous pages.
- Page 7 Combinator The first four rotary encoders and Select buttons are mapped to the Combinator controls. Record button 4 controls the Run Pattern Devices button. Subtractor There are two keyboard shortcut variations, "Filter" and "Amp & Osc". Redrum Use the Select 8 button to select which drum channels should be controlled (1-7 or 8-10).
- Page 8 Control Surfaces and Keyboards page in the Preferences. About the default mapping: Transport and other global functions: The buttons at the lower section of the C4 panel give you basic control over Reason’s transport and other global settings: Spot Erase button: Record...
- Page 9 Left/Right buttons. In EQ mode, the second row of rotary buttons is mapped to the EQ on/off switches. In Aux Send 3-4 mode, the second row of rotary buttons is mapped to the Aux Send 4 Pre Fader switches. Line Mixer 6:2 The lowest row of rotaries controls channel levels, with the rotary buttons serving as Solo buttons.
- Page 10 The second highest row rotaries control the band levels. Which bands are controlled (1-8, 9-16, 17-24 or 25-32) is selected with the Parameter (Single) Left/Right buttons. Matrix Pattern Sequencer The rotary buttons in the second highest row select pattern, and the first rotary buttons in the third row select bank.
Need help?
Do you have a question about the C4 and is the answer not in the manual?
Questions and answers