
Related Manuals for DeLonghi EC152.CD


Summary of Contents for DeLonghi EC152.CD
-
Page 1: Instruction For Use
COFFEE MAKER Instruction for use Please retain instructions for future reference EC152.CD... -
Page 2: Electrical Requirements
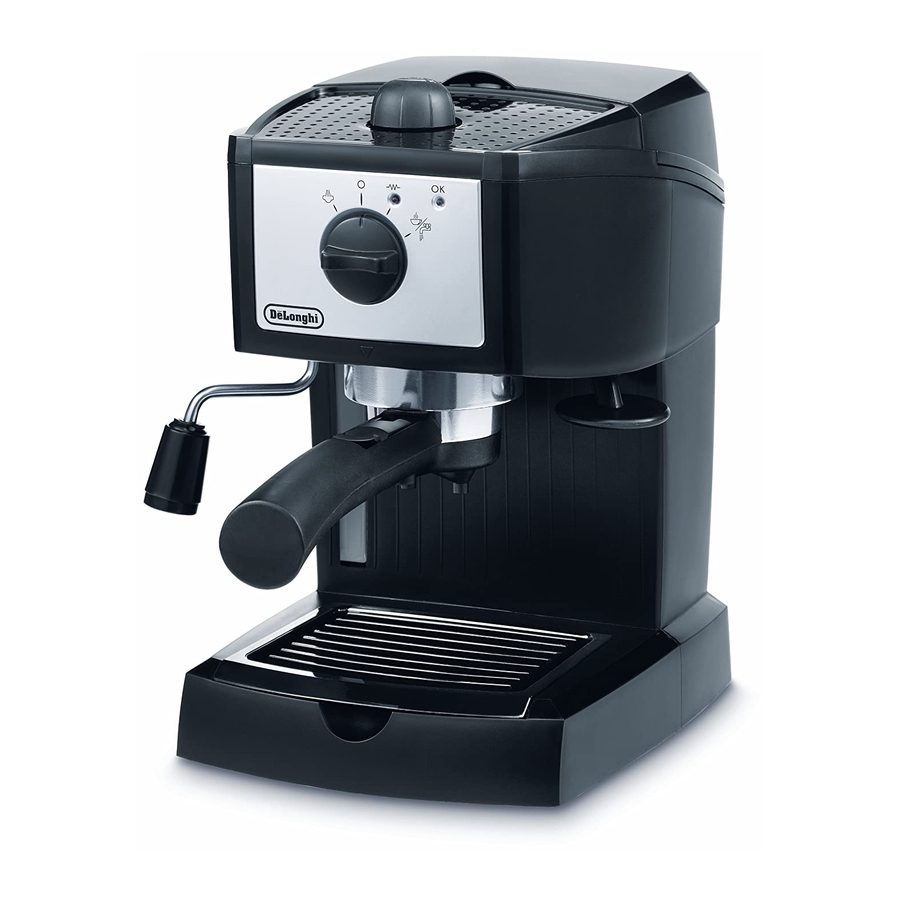
Electrical requirements Before using this appliance ensure that the voltage indicated on the product corresponds with the main voltage in your home, if you are in any doubt about your supply contact your local electricity company. The flexible mains lead is supplied connected to a B.S. 1363 fused plug having a fuse of 13 amp capacity. - Page 3 Description OK indicator light position Steam On indicator Coffee- hot water light delivery position position Water tank Water tank lid Steam dial Filter compartment Power supply cable Coffee tamper Selector dial Steam or hot water tube Drip tray Cappuccino nozzle Boiler outlet Filter Filter holder...
- Page 4 fig. 3 fig. 2 fig. 1 fig. 5 fig. 6 fig. 4 fig. 8 fig. 9 fig. 7 fig. 11 fig. 12 fig. 10...
- Page 5 fig. 15 fig. 14 fig. 13 fig. 17 fig. 18 fig. 16 fig. 20 fig. 21 fig. 19 fig. 22 fig. 24 fig. 23 fig. 25 fig. 26...
- Page 6 Safety Symbols used in these instructions to the enclosed guarantee leaflet for details. The important recommendations have these symbols. These Attention: recommendations must be followed. Keep the packaging material (plastic bags, expanded Danger! polystyrene) out of the reach of children. Failure to comply can be or is the cause of injury due to Attention: life-threatening electric shocks.
- Page 7 Introduction Instructions for use Only connect the appliance to a correctly installed socket Thank you for choosing this coffee machine. To get the with a minimum rating of 10A and correctly earthed. very best out of your new coffee machine it is advisable In the case of incompatibility between the socket and to read these instructions before using the appliance.
-
Page 8: Making Espresso
Making espresso Making espresso coffee can run out slowly. If you press too lightly, the coffee can run out too fast. Please Note: first use 3. Remove any excess coffee from the rim of the filter- Before using the appliance for the first time, rinse the holder and attach it to the machine: turning it fully internal piping thoroughly, operating it as you would home to the right (fig. - Page 9 Cappuccino To switch off the appliance, turn the selector dial to Making a cappuccino position. 1. Prepare the espresso coffee as described in the 9. Pour the frothed milk into the cups containing the previous paragraphs, using cups that are large previously prepared espresso coffee.
- Page 10 Hot water • Cleaning Producing hot water filter (fig. 25), making sure that the pin is inserted 1. Switch the machine on by turning the selector dial into the hole of the support itself (see arrow fig. to the position (the relative light comes on) (fig. 25).
- Page 11 Descaling · Disposal Descaling which it is made in order to make significant savings in energy and resources. It is recommended to descale the machine about every The product has the crossed-out wheeled bin mark as a 200 coffees. reminder of the obligation to dispose of household appliances Follow this procedure: separately.
-
Page 12: Troubleshooting
Troubleshooting Problem Possible causes Solution Espresso coffee does not flow out No water in the tank Fill the water tank The holes in the filter-holder are blocked Clean the holes in the filter-holder spouts The espresso boiler outlet is blocked Clean as indicated in the “Cleaning the boiler outlet”...
Need help?
Do you have a question about the EC152.CD and is the answer not in the manual?
Questions and answers