Table of Contents
Advertisement
ARTISAN™ BLENDER
INSTRUCTIES
ARTISAN™ BLENDER
INSTRUCTIONS
BLENDER/MIXEUR ARTISAN™
MODE D'EMPLOI
ARTISAN™ BLENDER/STANDMIXER
BEDIENUNGSANLEITUNG
FRULLATORE ARTISAN™
ISTRUZIONI PER L'USO
LICUADORA ARTISAN™
INSTRUCCIONES
ARTISAN™ MIXER
INSTRUKTIONER
ARTISAN™ BLENDER
BRUKSANVISNING
ARTISAN™-TEHOSEKOITIN
OHJEET
ARTISAN™ BLENDER
INSTRUKTIONER
LIQUIDIFICADOR ARTISAN™
INSTRUÇÕES
ARTISAN™ BLANDARI
LEIÐBEININGAR
ΜΠΛΕΝΤΕΡ ARTISAN™
OΔHΓIEΣ
Model 5KSB555
Blender
Advertisement
Table of Contents

Related Manuals for KitchenAid ARTISAN 5KSB555


Summary of Contents for KitchenAid ARTISAN 5KSB555
- Page 1 ARTISAN™ BLENDER INSTRUCTIONS BLENDER/MIXEUR ARTISAN™ MODE D’EMPLOI ARTISAN™ BLENDER/STANDMIXER BEDIENUNGSANLEITUNG FRULLATORE ARTISAN™ ISTRUZIONI PER L’USO LICUADORA ARTISAN™ INSTRUCCIONES ARTISAN™ MIXER INSTRUKTIONER ARTISAN™ BLENDER BRUKSANVISNING ARTISAN™-TEHOSEKOITIN OHJEET ARTISAN™ BLENDER INSTRUKTIONER LIQUIDIFICADOR ARTISAN™ INSTRUÇÕES ARTISAN™ BLANDARI LEIÐBEININGAR ΜΠΛΕΝΤΕΡ ARTISAN™ OΔHΓIEΣ Model 5KSB555 Blender...
-
Page 2: Table Of Contents
Troubleshooting ......................11 Blender Tips ........................12 Household KitchenAid™ Blender Warranty ..............14 Service Centers ......................14 Customer Service ......................15 NOTE: DUE TO THE UNIQUE CONTAINER AND BLADE DESIGN, READ THESE INSTRUCTIONS AND RECIPES BEFORE USING YOUR NEW KITCHENAID™ BLENDER TO ACHIEVE MAXIMUM PERFORMANCE RESULTS. -
Page 3: Blender Safety
Blender Safety Your safety and the safety of others are very important. We have provided many important safety messages in this manual and on your appliance. Always read and obey all safety messages. This is the safety alert symbol. This symbol alerts you to potential hazards that can kill or hurt you and others. -
Page 4: Important Safeguards
12. Always operate Blender with cover in place. 13. The use of attachments, including canning jars, not recommended by KitchenAid may cause a risk of injury to persons. 14. When blending hot liquids, remove center piece of two-piece cover. -
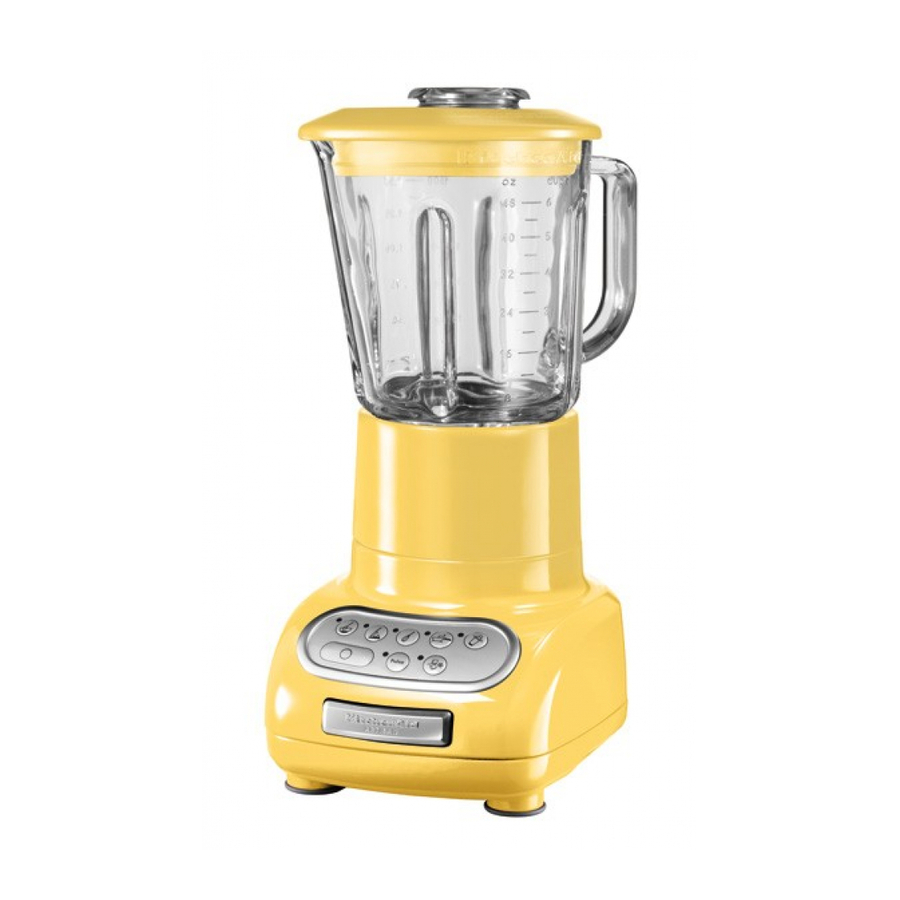
Page 5: Blender Features
Blender Features (Model 5KSB555) Stay-Put Lid with Clear, 60 ml Ingredient Cup Easy Pour 1,5 L Glass Pitcher Patented Stainless Steel Blade Locking Collar and Blade Assembly Speed Selection Durable Buttons Steel-Reinforced Couplers Clean Touch Control Pad Die-Cast Metal Base... - Page 6 Blender Features This Blender was built and tested to Durable Steel-Reinforced Couplers KitchenAid quality standards for optimum Commercial-quality couplers with 12 performance and long, trouble-free life. interlocking teeth provide direct transfer of motor power to the blade. Pitcher coupler Robust Motor is coated for quiet operation.
-
Page 7: Preparing The Blender For Use
Preparing the Blender for Use 3. Align the pitcher tabs with the slots of Before First Use the locking collar. Before using your Blender for the first time, wipe Blender base with a warm sudsy cloth, then wipe clean with a damp cloth. Dry with a soft cloth. -
Page 8: Using The Blender
- Do not remove pitcher lid in the locking collar and assembly is Operating the Blender positioned on the Blender base. The KitchenAid™ Blender has five speeds: STIR ( , CHOP ( ), MIX ( PUREE ( ), and LIQUEFY ( ). -
Page 9: Crush Ice
Using the Blender NOTE: If a gap exists between the locking CRUSH ICE collar and the base, the pitcher might not Your KitchenAid™ Blender offers a be locked into the locking collar or the CRUSH ICE ( ) feature. When selected,... -
Page 10: Pulse Mode
Using the Blender indicator will return to blinking. To PULSE Mode pulse again or at another speed, simply Your KitchenAid™ Blender offers PULSE ( press and hold the button of the mode, which allows a “Pulse-at-any- desired speed. Speed” feature. -
Page 11: Speed Control Guide
Speed Control Guide Item Speed Item Speed Blended ice drink ....Gravy ......Cheesecake . -
Page 12: Care And Cleaning
Care and Cleaning The Blender pitcher, locking collar and To Clean Without Disassembly blade assembly can be easily cleaned as 1. Put the pitcher on the Blender base, individual components or together without fill half full with warm (not hot) water, disassembly. -
Page 13: Troubleshooting
Troubleshooting The Blender does not operate when a setting is selected: Check to see if the Blender is plugged into an outlet. If it is, press “O”, then unplug the Blender. Plug it back in to the same outlet. If the Blender still does not work, check the fuse or circuit breaker on the electrical circuit the Blender is connected to and make sure the circuit... -
Page 14: Blender Tips
Blender Tips Quick Tips How To ... • In order to produce a smoother texture, Reconstitute frozen juice: For a 175 ml blend with CRUSH ICE ( ) if you’re can of orange juice concentrate, combine making beverages using ice. the juice and correct amount of water in •... - Page 15 Blender Tips Chop fruits and vegetables: Put 2 cups Combine flour and liquid for (475 ml) of fruit or vegetable chunks in thickening: Place flour and liquid in pitcher. In PULSE ( ) mode, cover and blend pitcher. Cover and blend at STIR ( ) until at STIR ( ), pulsing a few times, about...
-
Page 16: Household Kitchenaid Blender Warranty
KITCHENAID DOES NOT ASSUME ANY RESPONSIBILITY FOR INDIRECT DAMAGES. Service Centers All service should be handled locally by In the U.K.: an Authorized KitchenAid Service Center. Call: 0845 6011 287... -
Page 17: Customer Service
+44 (0) 20 8616 5148 Address: KitchenAid Europa, Inc. PO BOX 19 B-2018 ANTWERP 11 BELGIUM www.KitchenAid.co.uk www.KitchenAid.com ® Registered Trademark of KitchenAid, U.S.A. ™ Trademark of KitchenAid, U.S.A. © 2009. All rights reserved. Specifications subject to change without notice. W10236556A (6707AdZw709)