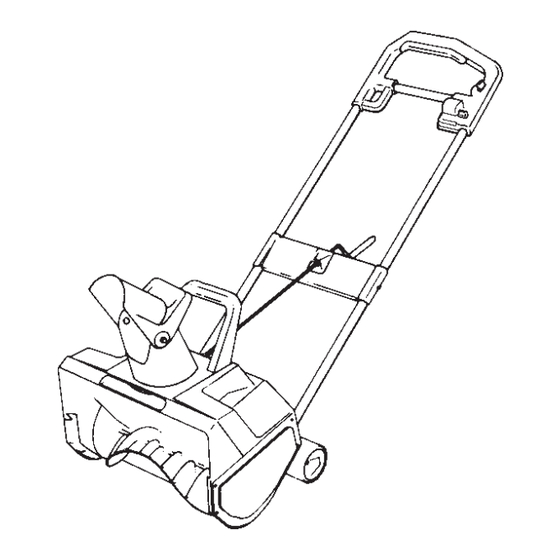
Summary of Contents for Toro 38025—220020001
- Page 1 Form No. 3327-516 1800 Power Curve Snowthrower Model No. 38025—220020001 and Up Operator’s Manual Domestic English (EN)
-
Page 2: Table Of Contents
Authorized Service precautions. Dealer or Toro Customer Service and have the model and This manual uses 2 other words to highlight information. serial numbers of your product ready. Figure 1 illustrates... -
Page 3: Important Safety Instructions
Don’t abuse cord—Never carry snowthrower by cord or MPORTANT AFETY yank it to disconnect from receptacle. Keep cord from heat, oil, and sharp edges. (Does not apply to NSTRUCTIONS battery-operated snowthrowers.) Keep hands away from moving parts. When using an electrical appliance, basic precautions should always be followed, including the following: Keep guards in place and in working order. -
Page 4: Safety And Instruction Decals
Safety and Instruction Decals Safety decals and instructions are easily visible to the operator and are located near any area of potential danger. Replace any decal that is damaged or lost. On Handle 73-0460 1. Read the Operator’s 3. Cutting/dismemberment of Manual. -
Page 5: Installing The Discharge Chute
SQUEEZE 1533 Figure 4 1. Chute crank 2. Chute crank gear 1531 7. Secure the upper and lower tubing and the mounting Figure 2 plate together with 2 machine screws and locknuts. 1. Upper tubing 2. Lower tubing Note: Position the screw heads on the outside of the mounting plate. -
Page 6: Before Starting
3. Secure the deflector to the discharge chute with Extension Cord Chart 2 carriage bolts, metal washers, and locknuts. If length of extension cord is 100 ft. 150 ft. Note: Ensure that the square shoulders on the carriage less than or equal to: (30 m) (46 m) bolts align with the inside square on the discharge chute. -
Page 7: Operation
Operating Tips the handle socket, insert the enlarged prong into the wide slot in the extension cord end. Refer to Important Safety Instructions on page 3 for additional information. Warning If snowthrower hits a foreign object while in operation, the object could be thrown in operator’s or bystander’s direction. - Page 8 Warning Warning A gap between the discharge chute and the chute When using the secondary handle, never direct deflector may allow snow and anything that can the snow discharge chute at the operator or at be picked up by snowthrower to fly in the bystanders.
-
Page 9: Maintenance
Replacing the Rotor Maintenance 1. Remove the 3 screws that secure the right side cover Note: Determine the left and right sides of the and the skid to the snowthrower frame (Fig. 13). snowthrower by standing in the normal operating position. Warning If the extension cord is plugged into the snowthrower and the key is in the handle,... -
Page 10: Replacing The Large Belt
Caution The idler spring could fly in your face while you remove it, causing personal injury. Wear safety goggles when working with the idler spring. 1525 Figure 16 2. Remove the idler spring from the idler arm (Fig. 18). 1. Hex nut 3. -
Page 11: Replacing The Small Belt
4. Remove the 2 washers and the small pulley (Fig. 22). If your snowthrower requires service or maintenance, your nearest Toro Master Service Dealer is the best dealer to assist you. Refer to the “Yellow Pages” of your local telephone directory in the section titled “Lawn Mowers.”... - Page 12 General Conditions The Toro Company and its affiliate, Toro Warranty Company, pursuant to an agreement between them, jointly warrant this product for two years against defects in material or workmanship when used for normal residential purposes. To receive a replacement or repair, at our option, return the complete unit, postage prepaid, to the seller.


Need help?
Do you have a question about the 38025—220020001 and is the answer not in the manual?
Questions and answers