
Related Manuals for BBQ 23672

Summary of Contents for BBQ 23672
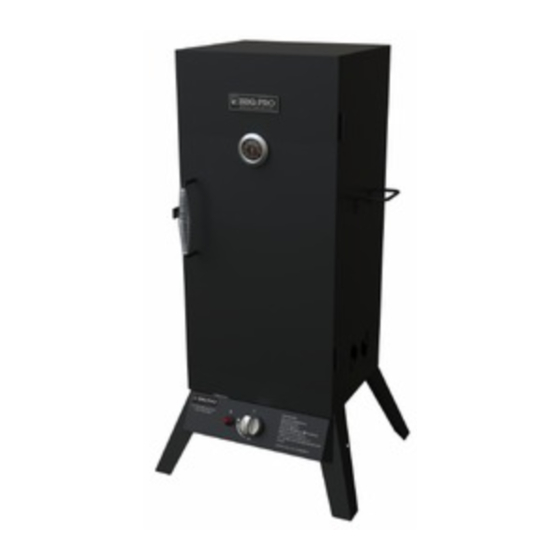
- Page 1 I,IH,,,,,,, OWNER'S MANUAL VERTICAL LP GAS SMOKER Product code: 23672/0-05057329_4 Mode|:137:23672310 UPC code: 8605748940520 Date of purchase: _______/___...
- Page 2 CALIFORNIA PROPOSITION Burning wood chips gives off carbon 1. Combustion by-products produced when using "nonoxide, which has no odor and can cause death. this product contain chemicals known to the State of California to cause cancer, birth defects, and DO NOT bum wood chips inside homes, other reproductive harm.
- Page 3 BBQPROGRILLWARRANTY OneYearFullWarrantyon BBQProGrill Call Grill Service Center For Help and Parts If this grill fails due to a detect in material or If you have questions or need assistance during workmanship within one year from the date assembly, please call 1-888-577-9820. You will of purchase, call 1-800-4-MY-HOME®...
- Page 4 1.Never operate this appliance unattended. you smell gas: 2.Never operate this appliance within 10 feet (3m) 1. Shut off gas to the appliance. of any structure, combustible material or other 2.Extinguish any open flame. gas cylinder. 3.Openlremove door. 3.Never operate this appliance within 25 feet 4Jr odor continues, keep away from the (7.5m) of flammable liquids.
- Page 5 • Use 20LB (9kgs) gas cylinder that has protective procedures. collar (cylinder not included with unit). • Keep fuel supply hose away from unit while in • Installation of unit must conform with IocaI codes operation. in the absence of local codes, with Nationa! Fuel •...
- Page 6 WARNINGS • Soapy Water Test MUST be performed each time Apply solution to hose regulator ApI_y so_utian the fu]_ length of_e hose gas cylinder valve gas cylinder is connected to burnedhose or each time it is used. • Soapy Water Test MUST be performed outdoors...
- Page 7 PERFORM "SOAPY WATER TEST" BEFORE EACH USE. SEE "SOAPY WATER TEST" SECTION MANUAL. EXTINGUISH ALL OPEN FLAMES BEFORE CONNECTING REGULATOR TO GAS CYLINDER. TURN GAS OFF AFTER EACH USE. • Inspect hose before each use. If there are signs of does not occur, see match tight directions below.
- Page 8 Calh Customer Service at 1-888-577-9820, Please have Model Number and Se[iaI Number available when calling. DO NOT RETURN TO RETAILER For Assembly Assistance, Missing or Damaged Parts These numbers are located on silver label on back of unit. PART PART QUANTITY DESCRIPTION QUANTITY...
- Page 9 _6%2-35PCS MS*_O-SPCS MSNUt-15PCS MSNZzt-2PCS MB_25-2PCS WingNut- Carriage bolt MS-IPC PART NO DESCRIPTION ITEM NO Smoker Body Smoker Door Air Damper (pre-assembled) Rear Legs Control Panel Burner Box Door Handte Body Handles Flame Disk Bowl Water Bowl Water Bowl Holder Cooking Grate Temperature Gauge Valve (pro-assembled) Ignitor (pro-assembled)
-
Page 10: Phillips Head Screwdriver
- BEFORE ASSEMBLY READ ALL INSTRUCTIONS CAREFULLY. • ASSEMBLE UNIT ON A CLEAN, FLAT SURFACE. • • TOOLS NEEDED:ADJUSTABLE WRENCH, PHILLIPS HEAD SCREWDRIVER Carefully position grill as shown, Do not tighten screws all the way. Leg frames may need to be adjusted during assembly, STEP 1 Attach rear legs (4), right front leg (25) - Page 11 STEP 4 Attach heat shield (20) to burner box (6) using self tapping screws shown. Tighten all hardware at this time. STEP 5 Mount body handle (8) tosmoker body (1) using M6"12 (A) and MdNut(C) • STEP 6 Insert door handl_ (7) into smoker ..
- Page 12 STEP 7 Inserttemperature gauge (13) into smoker door (2). Secure in place with wing nut (F). STEP 8 Mount air damper (3) to smoker body (1) using M6"12 (A) and M6Nut (C). STEP 9 Insert cooking grate supports (2!) into smoker body (1) using M6"12 (A) and M6Nut (C).
- Page 13 STEP 10 Hang matchstick (22) on side of smoker body (1) as shown using Carriage Bolt M5 (G) and M5 Nut (D). STEP11 Insert small hook end of grease clip (18) all of the way up throughlarge hote in bottom of smoker body (1), turn grease clip clock-wise/counter/ clockwise so that it is supported...
- Page 14 STEP STEP 14 When not in use, hang regulator/hose Fasten the hose hook (23) on the right (23) on body handle (8) as shown° front leg (25) with M5"10 (B) and M5Nut (D). Let the smoker for about 30 minutes, Curing your smoker will rid the unit of chemicals...
- Page 15 Pro-soak wood chips in water for at least 30 This allows food drippings to go into the water bowl. minutes. • This is a smoker. There will be a lot of smoke Before starting unit, place 1-2 cups (0.24I-O.561) produced when using wood chips, Smoke will wood chips in flame disk bowl.
- Page 16 sears Made in I Hecho en CHINA Distributed by Sears, Roebuck and Co., Hoffman Estates, IL60179 extensive assortment outdoor living products on-line www.kmart.€om at www.sears.com...
Need help?
Do you have a question about the 23672 and is the answer not in the manual?
Questions and answers