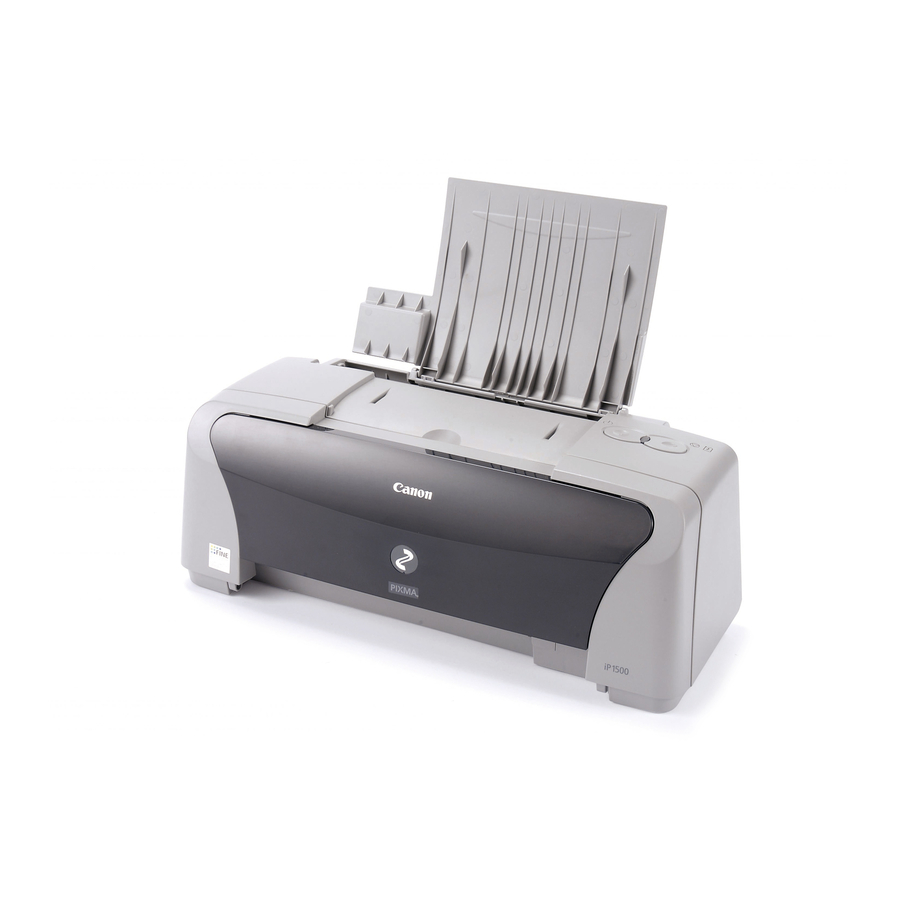
Canon PIXMA iP1500 Quick Start Manual
Bubble jet printer
Hide thumbs
Also See for PIXMA iP1500:
- Quick start manual (76 pages) ,
- Service manual (22 pages) ,
- Easy setup instructions (2 pages)

Related Manuals for Canon PIXMA iP1500


Summary of Contents for Canon PIXMA iP1500
-
Page 1: Table Of Contents
Quick Start Guide Table of Contents Preface Shipping Materials Introduction Setting Up Preparing the Printer Connecting the Printer to the Computer Installing the Print Head Loading Paper Installing the Printer Driver Basic Operations Printing with Windows Printing with Macintosh Print Head Maintenance Appendix Notes on Handling the USB Interface (for Windows Users) For Further Details... -
Page 2: Exif Print
® International ENERGY STAR Program ® As an ENERGY STAR Partner, Canon Inc. has determined that this product meets the ENERGY STAR guidelines for efficiency. ® The International ENERGY STAR Office Equipment Program is a global program that promotes energy saving through the use of computer and other office equipment. -
Page 3: Preface
Trademark Notices ® • Canon is a registered trademark of Canon Inc. • PIXMA and BJ is a trademark of Canon Inc. ® ® • Microsoft and Windows are registered trademarks of Microsoft Corporation in the U.S. and other countries. -
Page 4: Setting Up
Setting Up 1 Preparing the Printer Place the printer on a flat surface. Remove the tape from the printer as shown. The tape position is subject to change. Open the Paper Support and the Front Paper Support Cover. Remove the tape and the shipping material. -
Page 5: Connecting The Printer To The Computer
2 Connecting the Printer to the Computer Use a USB cable. Recommended: Canon or other computer manufacturer cable, up to 5 meters in length. • If your computer has an earth connection, make sure that this is attached. • If you do not intend to use the printer for a long period of time, unplug the power cord from the power outlet after turning off the printer. -
Page 6: Installing The Print Head
3 Installing the Print Head • Never attempt to plug the power cord into the power outlet or unplug the power cord when your hands are wet. • Never damage, modify, stretch, or excessively bend or twist the power cord. Do not place heavy objects on the power cord. -
Page 7: Print Head
Raise the Lock Lever. Lock Lever Do not touch internal parts other than the Lock Lever. Remove the protective cap from the Print Head. Print Head electrical Nozzles contacts • Do not touch the Print Head Nozzles or electrical contacts. •... -
Page 8: Installing The Ink Tanks
Installing the Ink Tanks • For safety reasons, store ink tanks out of the reach of small children. • Do not drop or shake ink tanks as this may cause the ink to leak out and stain your clothes and hands. Take out the black ink tank. -
Page 9: Loading Paper
4 Loading Paper Loading A4 (Letter) Size Plain Paper Open the Paper Support as shown. Load the paper, aligning it with the right print side side of the Auto Sheet Feeder. You can load a maximum of 100 sheets of plain paper (64 gsm). -
Page 10: Installing The Printer Driver
5 Installing the Printer Driver Installing the Printer Driver – Windows • Do not disconnect the cable or remove the CD-ROM during the installation. The driver cannot be correctly installed. • The screens below refer to Windows XP installation. Screen may differ depending on the operating system you are using. - Page 11 Place the Setup Software & User’s Guide CD-ROM in the CD-ROM drive. • If the CD-ROM does not run automatically, click Start and select My Computer, then double-click the CD-ROM icon. For non-Windows XP, double- click My Computer in the Windows screen, then double-click the CD-ROM icon.
- Page 12 When the screen shown on the left appears, turn the printer on. If the printer is recognized, the printer driver will be automatically installed. If the connection is not recognized, refer to the section “Notes on Handling the USB Interface (for Windows Users)”...
- Page 13 Place the Setup Software & User’s Guide CD-ROM in the CD-ROM drive. Double-click the Mac OS X folder, and then double-click the Printer Driver folder. Double-click PIXMA iP1500 270.pkg. Click Continue. Read the License Agreement and click Continue, then click Agree.
- Page 14 Select a destination to where you want to install the printer driver, and click Continue. Click Install. Enter an administrator name and a password, then click OK. When you have forgotten the administrator name and/or password, click and follow the instructions in Mac Help.
-
Page 15: Basic Operations
• If you detect smoke, unusual smells or strange noises around the printer, immediately switch the printer off and always unplug the printer. Contact your local Canon service representative. • To avoid injury, never put your hand or fingers inside the printer while it is printing. - Page 16 Click this for a more detailed explanation of the functions in the tab. (This may not appear in Windows XP or Windows 2000. If this happens, click Start and select All Programs (or Programs), Canon PIXMA iP1500 and Guide). (6) ? Click this to change the cursor shape to “?”.
-
Page 17: Printing With Macintosh
Printing with Macintosh Adjusting the print settings according to your needs allows you to produce better quality prints. Printing Open the Page Setup dialog box in your application. On the File menu, click Page Setup. Check the application’s user’s manual for the actual procedures. Specify the page setup, then click OK. -
Page 18: Page Setup
Page Setup Use the Page Setup dialog box to specify the Paper Size settings. Select paper size you wish to use. Basic Print Settings For the best print quality, specify the minimum requirement settings in the Print dialog box. Select Quality &... -
Page 19: Print Head Maintenance
Print Head Maintenance If Blurring Occurs or If a Specific Color Does Not Print Perform print head cleaning to improve the print quality. Ensure that the printer is turned on and follow the instructions below. Windows Open the printer driver settings screen and click the Maintenance tab. Click Cleaning. (1) Click Start and select Control Panel, Printers and Other Hardware and Printers and Faxes (For non-Windows XP users, click Start, and then select Settings and Printers). - Page 20 Install the new ink tank. Close the Front Cover when finished. When you enable the low ink warning, reset the ink counter of the ink tank installed. Refer to the User’s Guide for more detailed procedures and information about maintenance.
-
Page 21: Appendix
Start and select All (2) Double-click the Manual folder. (3) Double-click the User's Guide folder. Programs (or Programs), Canon PIXMA iP1500 and User’s Guide. (4) Select a language folder. (5) Double-click the icon for the... - Page 22 Applications Included in the CD-ROM Package Easy-PhotoPrint (Windows/Macintosh) You can make a Borderless Print easily and quickly, just by selecting a photograph taken with a digital camera and the paper type on which to print. Also it has tools to correct red eye caused by the camera’s flash or smooth and beautify the facial skin.
-
Page 23: Regulatory Information
Do not make any changes or modifications to the equipment unless otherwise specified in the manual. If such changes or modifications should be made, you could be required to stop operation of the equipment. Canon U.S.A., Inc. One Canon Plaza Lake Success, NY 11042... - Page 24 The following ink tanks are compatible with this printer. For details on ink tank replacement, refer to “Print Head Maintenance” in this guide. QA7-3251-V01 ©CANON INC.2004 PRINTED IN VIETNAM...