Table of Contents
Advertisement
Quick Links
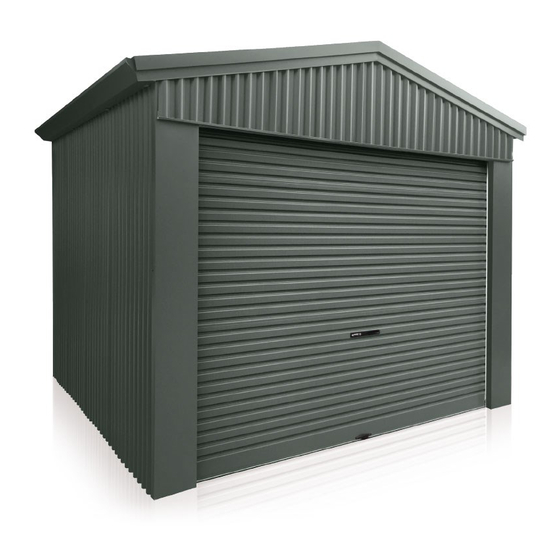
Single Roller Door
TYPE 9
INSTALLATION GUIDE
Complete the steps below while building the wall panels on the ground in conjunction with Figures 4-8 of the Gable Homeshed
Framework Installation Guide. Roller door column flashings can be installed when the completed wall frames are standing.
Step One
Start by bolting both the left and right side roller door columns to the
respective portal frame columns. Secure the header beam to each
roller door column using two header beam brackets. Use two plain
10x16mm self tapping screws in each flange of the header beam
brackets. The bottom face of the header beam should measure
300mm from the top of the top girt (refer to Figure 1) to allow a fixing
point for the 300mm Superdek® header sheets (refer to Figure 3).
Flanged Purlin Bolts
300mm
to the
top of
the girt
LHS
Roller Door
Column
Column
12x30mm
RHS
Roller Door
Column
Header
Beam
Column
Header Beam
Bracket
10x16mm
Self Tapping Screws
Figure 1
Step Two
Position the roller door column flashings over the roller door
columns, and in corner applications over the ends of the gable end
sheets. Fasten the two roller door column flashings (corner or wall
depending on application) to your roller door columns using coloured
10x16mm self tapping screws at 600mm centres. In applications
where the roller door column wall flashings are used, the flashing
will need to be notched as shown in Figure 2. Rivet the roller door
header flashing into place on the header beam using 3.2mm rivets at
600mm centres so that both bottom faces are flush (Refer to Figure 2).
3.2mm
10x16mm
Self Tapping
Screws
Roller Door
Column Wall
Flashing
(adjacent wall
applications)
Roller Door
Header
Flashing
Rivets
Bottom
faces flush
Roller Door
Column Corner
(in corner
applications)
Figure 2
Advertisement
Table of Contents

Summary of Contents for Stratco Single Roller Door
- Page 1 Single Roller Door TYPE 9 INSTALLATION GUIDE Complete the steps below while building the wall panels on the ground in conjunction with Figures 4-8 of the Gable Homeshed Framework Installation Guide. Roller door column flashings can be installed when the completed wall frames are standing.
- Page 2 All brands and logos/images accompanied by ® or ™ are All brands and logos/images accompanied by ® or ™ are purlin bolt to secure it. trade marks of Stratco (Australia) Pty Limited. trade marks of Stratco (Australia) Pty Limited. www.stratco.com.au...
Need help?
Do you have a question about the Single Roller Door and is the answer not in the manual?
Questions and answers