Sign In
Upload
Download
Table of Contents
Contents
Add to my manuals
Delete from my manuals
Share
URL of this page:
HTML Link:
Bookmark this page
Add
Manual will be automatically added to "My Manuals"
Print this page
×
Bookmark added
×
Added to my manuals
Manuals
Brands
Miele Manuals
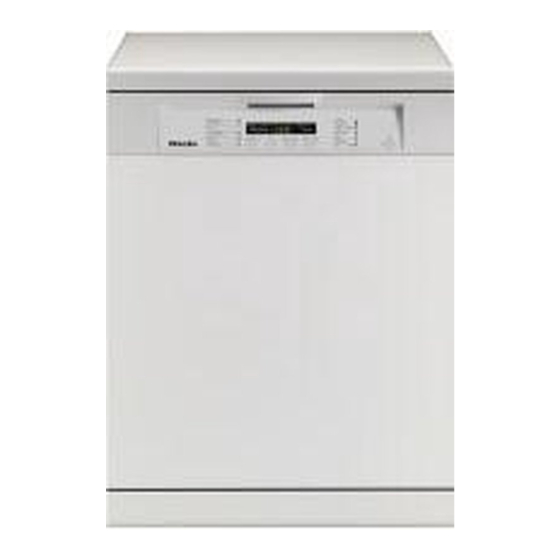
Dishwasher
G 1520
Operating instructions manual
Miele G 1520 Operating Instructions Manual
Hide thumbs
1
Table Of Contents
2
3
4
5
6
7
8
9
10
11
12
13
14
15
16
17
18
19
20
21
22
23
24
25
26
27
28
29
30
31
32
33
34
35
36
37
38
39
40
41
42
43
44
45
46
47
48
49
50
51
52
53
54
55
56
57
58
59
60
61
62
63
64
65
66
67
68
page
of
68
Go
/
68
Contents
Table of Contents
Bookmarks
Table of Contents
Operating Instructions
Table of Contents
Description of the Appliance
Appliance Overview
Control Panel
Warning and Safety Instructions
Caring for the Environment
Disposal of the Packing Material
Disposal of Your Old Appliance
Energy Saving Washing
Before Using for the First Time
To Open the Door
To Close the Door
Child Safety Lock
Before Using the Appliance for the First Time You Require
To Call up the Water Hardness Level in the Display
External Water Softening System
Filling the Salt Reservoir
Salt Indicator
Rinse Aid
Adding Rinse Aid
Rinse Aid Indicator
Setting the Rinse Aid Dosage
Loading the Dishwasher
Items Not Suitable for Dishwashers
Upper Basket
Spiked Insert
Hinged Cup Rack
Positioning Rail (Depending on Model)
Support Rail (Depending on Model)
Adjusting the Upper Basket
Lower Basket
Variable Inserts
Vario Inserts
Bottle Holder
Cutlery
Cutlery Tray (Depending on Model)
Cutlery Basket (Depending on Model)
Operation
Detergent
Adding Detergent
Switching on
Selecting a Programme
Starting a Programme
Display
Glass Care Indicator
Programme Sequence Indicators
At the End of a Programme
Switching off
Unloading the Dishwasher
Interrupting a Programme
Changing a Programme
Additional Functions
Tab Function
Delay Start
Buzzer
Factory Default Setting
Adjust Sensor Wash
Cleaning and Care
Cleaning the Wash Cabinet
Cleaning the Door and the Door Seal
Cleaning the Door Front
Cleaning the Control Panel
Cleaning and Care
Checking the Filters in the Wash Cabinet
Cleaning the Filters
Cleaning the Spray Arms
Problem Solving Guide
Problem
The Dishwasher Does Not Fill/Drain
General Problems
Noises
Unsatisfactory Washing Result
Problem Solving
Cleaning the Water Inlet Filter
Cleaning the Drain Pump and Non-Return Valve
Programme Chart
After Sales Service
Repairs
Future Updates (PC)
For Testing Institutes
Optional Accessories
Electrical Connection
Plumbing
Connection to the Water Supply
Drainage
Technical Data
Advertisement
Quick Links
1
Operating Instructions
2
Appliance Overview
3
Control Panel
4
Problem
5
Technical Data
Download this manual
Operating instructions
for dishwashers
G
To avoid the risk of accidents or
damage to the appliance it is
essential to read these instructions
as well as the installation plan before
it is installed and used for the first time.
M.-Nr. 06 702 760
Table of
Contents
Previous
Page
Next
Page
1
2
3
4
5
Advertisement
Table of Contents
Need help?
Do you have a question about the G 1520 and is the answer not in the manual?
Ask a question
Questions and answers
Related Manuals for Miele G 1520
Dishwasher Miele G 1530 Operating Instructions Manual
(68 pages)
Dishwasher Miele G 1552 Operating Instructions Manual
(68 pages)
Dishwasher Miele G 1542 Operating Instructions Manual
(68 pages)
Dishwasher Miele G 1552 SC Operating Instructions Manual
(68 pages)
Dishwasher Miele G 1570 Operating Instructions Manual
(68 pages)
Dishwasher Miele G 1582 Operating Instructions Manual
(68 pages)
Dishwasher Miele G 1572 Operating Instructions Manual
(68 pages)
Dishwasher Miele G1574 Operating Instructions Manual
(76 pages)
Dishwasher Miele G 15640-45 SCi SL Installation Drawings
Semi-integrated dishwashers (2 pages)
Dishwasher Miele G 15690-45 SCVi SL Installation Drawings
Fully integrated dishwashers (2 pages)
Dishwasher Miele G 15640 SCi SL Installation Drawings
(2 pages)
Dishwasher Miele G 15350-60 Vi Active Plus Installation Manual
Fully integrated dishwashers (2 pages)
Dishwasher Miele G 1171 Operating Instructions Manual
(60 pages)
Dishwasher Miele G 1232 SC Operating Instructions Manual
(64 pages)
Dishwasher Miele G 1830 Operating Instructions Manual
(88 pages)
Dishwasher Miele Dishwasher Operating Instructions Manual
(80 pages)
This manual is also suitable for:
G1530
G2520
G2530
G1531
G2531
Table of Contents
Print
Rename the bookmark
Delete bookmark?
Delete from my manuals?
Login
Sign In
OR
Sign in with Facebook
Sign in with Google
Upload manual
Upload from disk
Upload from URL


Need help?
Do you have a question about the G 1520 and is the answer not in the manual?
Questions and answers