Table of Contents
Advertisement
Advertisement
Table of Contents

Subscribe to Our Youtube Channel
Summary of Contents for Marshall Amplification JFX-1
- Page 1 S E R A N U A L...
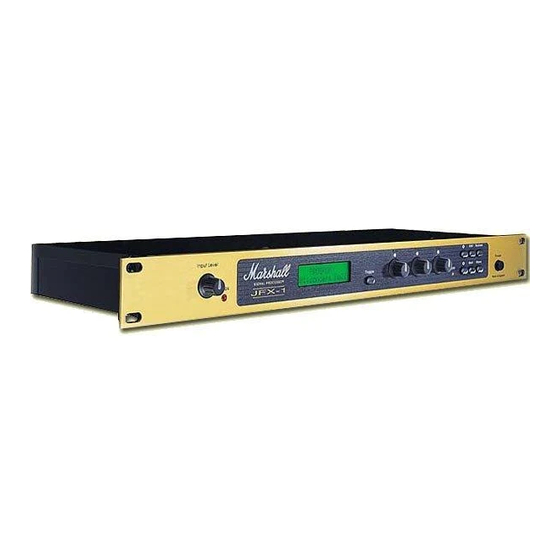
- Page 2 2.4 - Naming a Program Section 11 - Storing a Program of the JFX-1, the first Marshall Digital Signal Processor. Section 3 - Front Panel Section 12 - The System Menu...
-
Page 3: Section 1 - Connection Diagrams
If you want to use the JFX-1 with an amp head or combo which has channel switching facilities the special Remote Jack can be programmed to activate the Channel switch as part of the selected program. -
Page 4: Section 2 - Quick Reference Guide
If you wish to store the altered parameters to S t o r e To recall a stored program in the JFX-1, press the the same location, press ‘STORE’ a second time. UP or DOWN keys until you reach the desired program location. -
Page 5: Section 3 - Front Panel
MIDI function to be switch channels as you switch programs on the JFX-1. you and the JFX-1 by displaying the current status of menus such as MODE -where they scroll through the programmed until you return to the initial system all operating and programming functions in 2 lines of 4. -
Page 6: Section 4 - The Mixer Section
Mono Flanger : The Display shows: Here the Resonance parameter is From the input of the JFX-1 the signal is split The optimum levels for each are set at around 80 - D a t a active in feeding the delayed signal back on itself. -
Page 7: Section 6 - Multi-Tap Mode
The Pan parameter under DELAY. is adjusted using Data Control . The JFX-1 features 6 stereo voices tappable from Then press the Down key until you reach Multi-Tap. E d i t Press ‘Edit’ to display the Delay time parameter. -
Page 8: Section 7 - Delay Only Mode Mono
7.2 - Delay Parameters From this point you can now go on to store and name The JFX-1 contains three different delay types to DELAY : NAME : MODE your program as described in sections 10 - 11 and... -
Page 9: Section 8 - Reverb
(see Section 4.1). Having 8.2 - Reverb Characters toggled back from the output levels into the program In addition to the four reverb types, the JFX-1 screen, you should then press ‘Edit’. E d i t... - Page 10 (1 to 4 for each). D a t a Scroll through to the next unnamed program The Multi-Effect section of the JFX-1 provides a The Display shows: (for example 54) using the ‘Up’ or ‘Down’ keys.
-
Page 11: Section 10 - Naming An Edited Program
S t o r e Once back to the main menu of any of the five key. processor such as the JFX-1 which in turn could be (i.e. incoming command 001 will automatically effects modes you should use the ‘Up’ or ‘Down’... - Page 12 You would need to connect a standard MIDI progress display. the most useful for your needs (see 12.6 for listing of cable from the MIDI OUT of the JFX-1 to the MIDI Parameter Name Value Abb. Description MIDI controller parameters available for each mode).
-
Page 13: Section 13 - Re-Initialising The Jfx
MIDI Implementation Chart Re-Initialising the JFX-1 Program No. Name If at any time you wish to restore the programmed information within the JFX-1 to the same condition in which it left the factory it is possible to re-initialise it. BYPASS Function Transmitted...
Need help?
Do you have a question about the JFX-1 and is the answer not in the manual?
Questions and answers