Advertisement
Quick Links
1.
POWER SUPPLY
1-1
DC Power - Batteries (not included)
This unit is powered by 6 "C" (R-14) size batteries. Weak batteries will
result in poor performance. Insert batteries as follows:
1. Remove the battery compartment cover and take out the batteries.
2. Insert new batteries making sure that the polarity is correct.
3. It is advisable to replace all 6 batteries at the same time and never
mix batteries. Use alkaline batteries for maximum performance.
1-2
AC Power
You can also use an AC adapter with the following specification: 9-12V DC output, 250-300mA, centre positive.
Note: Do not leave the adapter plugged in for long periods of time if the unit is not in use.
2.
Preparation
2-1 Connect the unit with other MIDI equipment you may have:
MIDI IN
MIDI Sound Module
MIDI Keyboard
2-2
Turn on the POWER switch.
2-3
Turn all other equipment on.
3.
Setting the MIDI TRANSMIT Channel
There are 16 MIDI transmit channels available. Once you have set the unit's MIDI channel, the unit sends all MIDI messages
on this MIDI channel. Be sure to match the channel with the RECEIVE channel of any connected equipment.
3-1
Press the CHANNEL switch. The LED shows the present TRANSMIT channel
3-2
Press one (or two) of the numeric keys to change the channel. The LED changes to the pressed number.
3-3
You can also use +/- switches to increase or decrease the value.
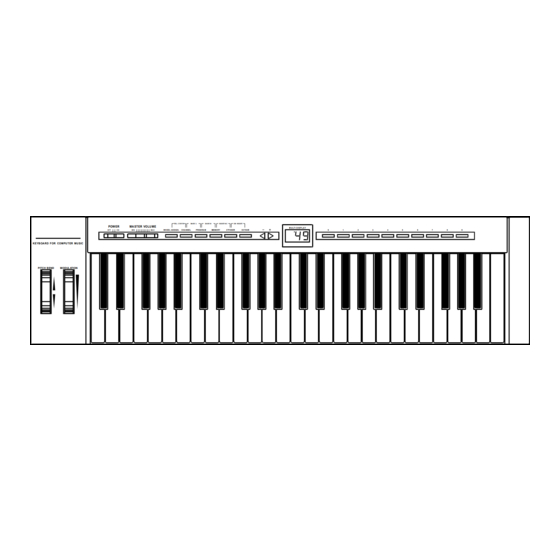
Evolution MK-149
www.evolution.co.uk
VEL. C U R V E
BA N K L
POW ER
MA STER VOLU ME
OF F
O N
M I N
M A X
WH EEL ASSIGN.
CHA NNEL
KEYB OA RD FOR COMPU TER MU SIC
PITCH BEND
MODULATION
MIDI KEYBOARD MANUAL
MIDI IN
MIDI IN
Computer
B A N K M
R ES ET-A C
G M -R ES ET
M U LT I D ISP L A Y
PROGRA M
MEMORY
X'POSER
OCTAVE
0
1
MIDI OUT
2
3
4
5
6
7
8
9
Advertisement

Related Manuals for Evolution MK-149


Summary of Contents for Evolution MK-149
- Page 1 Evolution MK-149 www.evolution.co.uk VEL. C U R V E BA N K L B A N K M R ES ET-A C G M -R ES ET POW ER MA STER VOLU ME M U LT I D ISP L A Y...
- Page 2 Note: * if you do nothing after step 3-1 for about 5 seconds, the LED will return to show the present PROGRAM CHANGE number. * The default CHANNEL is 1 when power is turned on. Volume Control Moving the MASTER VOLUME slider transmits MIDI VOLUME messages to connected equipment. This allows you to control the master volume of connected devices, e.g.
- Page 3 OCTAVE CHANGE This function allows you to shift the pitch up to two octaves higher or one lower. Press the OCTAVE switch. The LED starts to flash showing the current OCTAVE value. Press the “+” or “-” switch and the pitch will be shifted one octave higher or lower. * Press + and - switches simultaneously to reset the pitch to the default value.
- Page 4 Selecting a VELOCITY CURVE The VELOCITY CURVEs determine the relationship between how hard the keys are struck and the corresponding velocity that the unit transmits. This unit allows you to select from 10 VELOCITY CURVEs. 12-1 Simultaneously press the WHEEL ASSIGN and CHANNEL switches. The LED starts to flash showing the current number of the VELOCITY CURVE.
-
Page 5: Midi Implementation Chart
APPENDIX MIDI IMPLEMENTATION CHART Function Transmitted Received Remarks Basic :Default 1-16 Channel:Changed 1-16 :Default --------- Mode :Messages :Altered ********* Note 12-120 Number:True Voice ********* Velocity: Note ON : Note OFF After :Key’s Touch :Ch’s Pitch Bend 0,32 Bank select Modulation Breath Control Control Data Entry...