Advertisement
Quick Links
Advertisement

Subscribe to Our Youtube Channel
Related Manuals for Kogan KALCD22DVDAB


Summary of Contents for Kogan KALCD22DVDAB
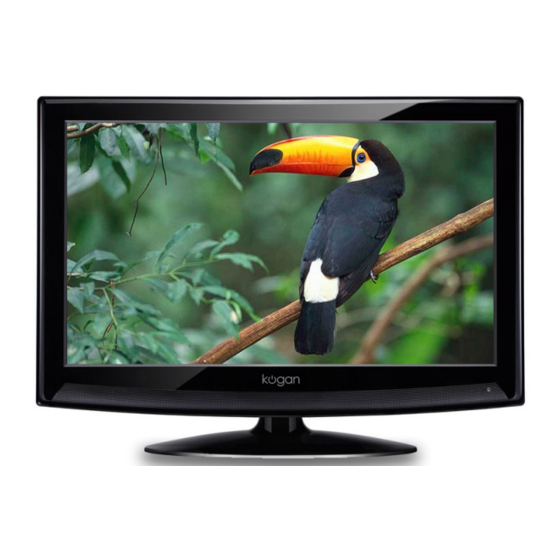
- Page 1 KALCD22DVDAB USER MANUAL...
- Page 2 USB..............
- Page 4 Remote control/batteries Power cord...
- Page 5 Remote control indicator Power/Standby button FREEZE P.MODE S.MODE SLEEP Sleep function button Picture mode button Picture frozen button Sound mode button Numeric buttons A/DTV -/-- Return channel button Multi-digits channel buttton Signal source select button Menu button SOURCE MENU Navigation buttons (Up, Down, Left, Right) Confirm button EXIT Menu exit button...
- Page 6 P.MODE: Picture mode button, setting the picture mode. S.MODE: Sound mode button, setting the sound mode. I/II: Press the I/II button to choose a different audio channel. SLEEP: Sleep button, setting TV power off time. 0,1-9: TV channel selection button. USB/SD: Press the USB/SD button to choose USB or SD card function.
- Page 7 POWER SOURCE MENU POWER SOURCE MENU Power indicator. Remote sensor. Power on/off button. 8. SD/MMC/MS card slot. 9. USB2 port (Only available in DVD mode). 10. STOP button. Insert DVD with Label to the Front 11. OPEN/CLOSE button. Insert DVD with Label to the Back 12.
- Page 8 USB1 COAXIAL HDMI Pb/Cb RF(75 ) DC IN Pr/Cr VIDEO USB1 input (Available for performing Media or PVR function). Component video input terminals (Y Pb/Cb Pr/Cr). Composite video & audio input terminals (AV).
- Page 9 YPbPr USB1 COAXIAL HDMI RF(75 ) DC IN VIDEO Pb/Cb Pr/Cr...
- Page 10 If this is the first time switch on, the First time installation menu will appear on the display. Please select an OSD Language Language English Español Italiano Press o/p/b/a button to select the desired language, Deutsch Français then press OK button to enter the “Channel Tuning” screen.
-
Page 11: Channel Menu
1 CHANNEL MENU The image on the left depicts the channel menu. The definition of each option: Auto Tuning: Press button to this position, then Auto Tuning ATV Manual Tuning press or OK button to enter auto tuning of both ATV DTV Manual Tuning Programme Edit CHANNEL... - Page 12 ATV Manual Tuning: Current CH: Press b/a button to select the channel ATV Manual Tuning number you want to store. Current CH Color System: Press b/a button to change the color Color System system as Auto, SECAM, PAL. Sound System Sound System: Press b/a button to change the sound Fine-Tune 44.00 MHz...
-
Page 13: Picture Menu
2 PICTURE MENU The image on the left depicts the picture menu. The definition of each option: Picture Mode: Changes the picture mode in sequence: Picture Mode Personal Contrast Dynamic Standard Mild Personal. You may select Brightness Colour PICTURE Tint the picture mode by pressing P.MODE button repeatedly. - Page 14 4 TIME MENU The image on the left depicts the time menu. The definition of each option: Clock (For DTV only): Display the current system time. Clock 01/Jan 11:11 Time Zone NSW/ACT It’s not available. Sleep Timer Auto Standby TIME Time Zone (For DTV only): Press p/o/b/a button to OSD Timer...
- Page 15 Set Password: You can change the password by entering the old and a new password and then re-entering it to Please enter old password confirm the new one. Please enter new password Confirm new password Clear Cancel Block Program: Press Green button to lock the desired Block Program channel, press it again to unlock it.
-
Page 16: Setup Menu
Hotel Mode: Have the priority than other options below. To set below options, this item must be set to “On” firstly. Source Lock: To set the input source item which you Hotel Mode Source Lock want to be locked. Default Source Default Prog HOTEL Max Volume... - Page 17 Press button on the remote control to start recording [00:00:59] (0000:23:40) the programme. “ ” mark appears at the top left corner Play Prev. Next Pause Stop 9 Nine Digital 15:51 of the TV screen, and the title bar appears at the bottom which includes the recording information.
- Page 19 Basic operation Before operating Media menu, plug in USB device in USB1 port, then press SOURCE button to set the input source to Media. Press o/p button to select Media in the source menu. then press OK or a button to enter. Press b/a button to select the submenu: PHOTO, MUSIC, MOVIE or TEXT, and press OK button to confirm.
- Page 20 EXIT Exit EXIT Exit Press b/a button to select the file you want Press OK button to start a slideshow. to watch in the file selecting menu. Press Red button then select “Yes” or press OK button to delete the file selected. When highlighting the option you select, the Press INFO button to show the menu in the file information will appear on the right and...
- Page 21 Press b/a button to select one function in the bottom you want to run, then press OK button to operate. Press EXIT button to return to the main menu. You can press relevant buttons on the remote control to perform such functions directly. l button: Pause or resume playing.
- Page 22 TEXT EXIT Exit Press b/a button to select “TEXT”, then Press b/a button to select the file you want press OK button to enter. to watch in the file selecting menu. When highlighting the option you select, the file information will appear on the right and text will be previewed in the center.
- Page 29 DVD.SETUP TV SYSTEM SCREEN SAVER TV TYPE PASSWORD RATING DVD.SETUP POWER RESUME DEFAULT TV SYSTEM NTSC SCREEN SAVER TV TYPE AUTO PASSWORD RATING POWER RESUME DEFAULT...
- Page 30 Screen Saver TV SYSTEM Power Resume SCREEN SAVER TV TYPE PASSWORD RATING POWER RESUME DEFAULT TV Type TV SYSTEM SCREEN SAVER TV TYPE 4:3PS PASSWORD 4:3LB RATING 16:9 POWER RESUME DEFAULT Password Rating...
- Page 31 1 KID SAFE TV SYSTEM SCREEN SAVER 3 PG TV TYPE 4 PG13 PASSWORD 5 PG-R RATING POWER RESUME 7 NC-17 DEFAULT 8 ADULT TV SYSTEM SCREEN SAVER TV TYPE PASSWORD RATING POWER RESUME DEFAULT RESTORE GERMAN SPANISH FRENCH ITALIAN...
- Page 33 FULL 6 / 8 4 / 8 2 / 8...
- Page 36 21.5 inch 476.64mm (H) X 268.11mm (V) 16:9 1920 X 1080 250 cd/m 1000:1 0.24825mm (H) X 0.24825mm (V) 16.7M 2 (5W, 4 Ohm) YPbPr Input (For YPBPR, AV) USB Input 1920x1080 DC 12V 5A...
Need help?
Do you have a question about the KALCD22DVDAB and is the answer not in the manual?
Questions and answers