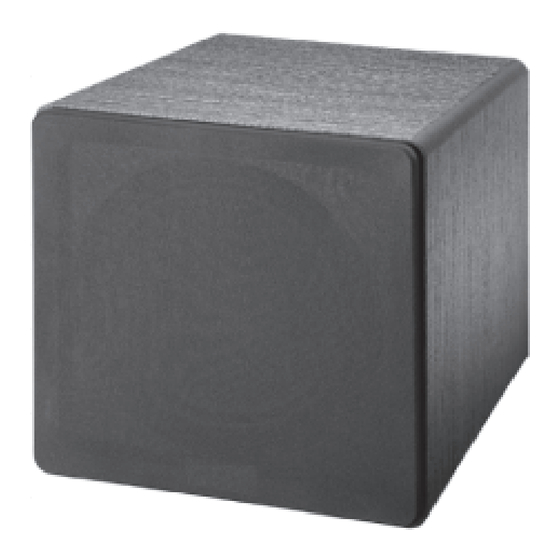
Summary of Contents for Pure Acoustics SUB-80
- Page 1 100W Powered Subwoofer SUB-80 User’s Guide Please read this user’s guide before using your new subwoofer.
-
Page 2: Table Of Contents
Contents Important Safety Instructions ............................3 Package Contents ................................. 6 Features ....................................6 Setup ......................................6 Choosing a Location ..............................6 Connecting to an Amplifier ............................10 Connecting to Subwoofer Out/Pre-out Terminals ................... 10 Connecting to Speaker Terminals .......................... 12 Connecting to Power .............................. - Page 3 Do not use this product near water. Use only with the cart, stand, tripod, bracket, or table specified by the manufacturer or sold with the apparatus. When a cart is used, use caution when moving the cart/apparatus combination to avoid injury from tip-over. Exercise caution when moving any product and cart combination.
-
Page 4: Package Contents
Package Contents • Subwoofer • User’s G Guide Features Adjustable high-cut filter plus high and low level inputs. Crossover frequency can be modified for optimal integration with the other speakers in your system. Setup Choosing a Location The metal control panel on the back of the subwoofer acts as the heat sink for the subwoofer’s internal amplifier. - Page 5 To AC outlet POWER FUSE ON/OFF Subwoofer Level (Volume) – Match the subwoofer’s output level to your satellite speakers’ output (if used). Power indicator – Lights when the subwoofer is powered. Phase (Polarity) Switch – Inverts the subwoofer’s output polarity so you can set it to match the main speakers.
-
Page 6: Connecting To An Amplifier
Connecting to an Amplifier You can connect your subwoofer to an amplifier or receiver’s subwoofer out, preout jacks, or speaker terminals. Caution: To avoid any damage to the subwoofer or amplifier, disconnect power from your components before making any connections. Do not connect to both the subwoofer out or pre-out jacks and the speaker terminals at the same time. -
Page 7: Connecting To Speaker Terminals
Connecting to Speaker Terminals Connect the amplifier/receiver’s SPEAKER OUTPUT terminals to the subwoofer’s SPEAKER INPUT terminals. Connect the terminals in phase, connecting positive (+) to positive and negative (–) to negative. Right Speaker Left Speaker Receiver / Amplifier Depending upon where your subwoofer is located in relation to the rest of your speakers, slide the PHASE switch to either to NOR (0, normal) or REV (180, reverse). -
Page 8: Operation
Operation Adjusting the Volume Once you have made all connections, follow these steps to adjust the subwoofer’s volume. Rotate SUBWOOFER LEVEL to MIN. Turn on your amplifier/receiver and an audio source (such as a radio, CD player, or turntable). Begin playing the audio source and adjust the amplifier and speaker’s overall volume to a comfortable level. -
Page 9: Replacing The Fuse
Replacing the Fuse If your subwoofer stops operating properly, you might need to replace the fuse with a slow operating, type 2A / 250V fuse. Caution: Before replacing the fuse, disconnect the subwoofer’s AC plug and turn off the amplifier/receiver. Do not use a fuse with ratings other than those specified. - Page 10 UMA0460A...


Need help?
Do you have a question about the SUB-80 and is the answer not in the manual?
Questions and answers