Table of Contents
Advertisement
Advertisement
Table of Contents

Related Manuals for Fender MUSTANG 3

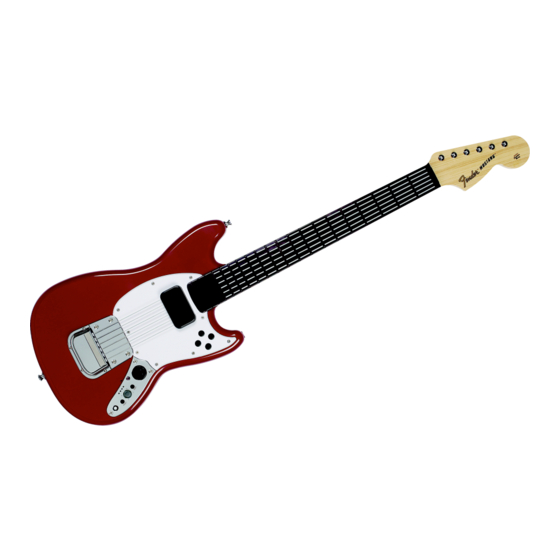
Summary of Contents for Fender MUSTANG 3
- Page 1 ENDER USTANG UITAR MIDI U ser G uide : 01 EVISION Date: 07/16/10...
-
Page 2: Table Of Contents
Introduction .. 3 What i s M IDI? .. 3 Features .. 3 Getting S tarted ..4 Control S urface F unctions i n M IDI M ode ..5 Connection ... -
Page 3: Introduction
NTRODUCTION The Rock Band 3 Fender Mustang Pro-Guitar isn’t just video game controller; it is also a genuine musical instrument that can be used in your MIDI Studio or in a live performance. We created this manual to express the Rock Band 3 Fender Mustang Pro-Guitar’s capabilities as a MIDI device. -
Page 4: Getting Started
2. Slide the power switch to ON (PlayStation 3/Wii) or press and hold the Xbox Guide button (Xbox 360). 3. Connect the guitar to a MIDI sound module or a MIDI interface with a 5-Pin MIDI Cable. ... -
Page 5: Control S Urface F Unctions I N M Idi M Ode
UNCTIONS I N Function 102 buttons to simulate fretting action 6 velocity-sensitive guitar strings 4 LEDs to indicate various guitar states or user actions Enable/Disable Synth Mode Provides secondary functions for other buttons Change pedal function to foot controller... -
Page 6: Midi Out Port
Pedal Port M IDI S ORKING I N A Common MIDI Studio setups include a MIDI Controller (Rock Band 3 Fender Mustang Pro-Guitar), personal computer, MIDI sequencing software and/or a standalone MIDI sound module. ... -
Page 7: Connecting T O A M Idi S Ound M Odule
To connect to a MIDI sound module, connect one end of the MIDI cable to the MIDI Out port on the guitar, and the other end of the cable to the MIDI In port on a sound module. Audio output will be provided by the sound module. -
Page 8: External P Edal F Unctionality
XTERNAL EDAL UNCTIONALITY The pedal jack supports an optional analog Expression Pedal and/or digital Stomp Switch. The analog expression pedal has three available functions – Expression, Channel Volume, and Modulation. To change pedal function, press the appropriate button on the directional pad. -
Page 9: Understanding T He Controls
HANGE ROGRAM The default Program value of 28 (Electric Guitar – Clean) is adjustable from 1 to 127 using the Program increment and decrement buttons. Pressing both the Program increment and decrement buttons simultaneously will reset the current Program value to the default of 28. -
Page 10: Accelerometer
CCELEROMETER Rotational motion of the guitar can activate certain MIDI functions. To toggle these functions, the correct button combination must be pressed. Accelerometer MIDI Mapping Axis Output Toggle Key Combination... -
Page 11: Default Settings
PS3/Wii - slides power switch to OFF Synth Mode Toggles Accelerometer X Axis (Modulation) Output MIDI Channels 1 – 6 Strum Disabled Value 28 (Electric Guitar – Clean) Expression Resulting LED State (PS3/Wii illustrated to show player #s) LED Key = LED Off... - Page 12 Toggles Accelerometer Y Axis (Expression) Output Toggles Accelerometer Z Axis (Pitch Bend) Output Presses either Octave or Program increment button Presses either Octave or Program decrement button Resets either Octave or Program setting Disable Display Count: Continuous Enable Disable Display Count: Continuous Enable Disable Display Count: 1x...
-
Page 13: Faq
MIDI Out port on the guitar. 2. If the guitar is considered a ‘real instrument’ why doesn’t it make any sound? This is true for many MIDI Controllers. One of the key features of a MIDI controller is its ability to generate sounds through other devices such as: drum machines, organs and sound modules.
Need help?
Do you have a question about the MUSTANG 3 and is the answer not in the manual?
Questions and answers