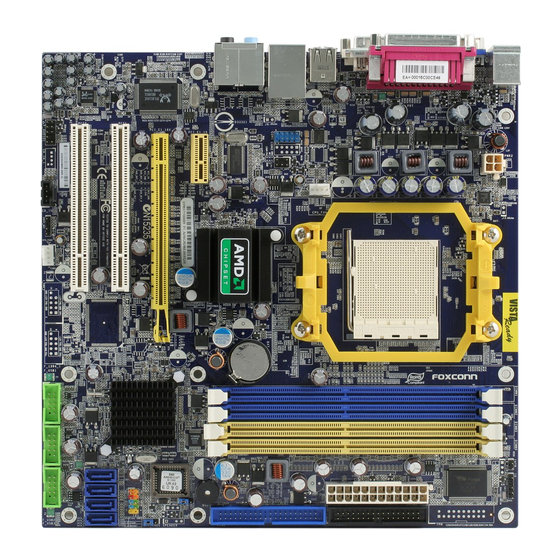
Summary of Contents for Foxconn A690GM2MA
- Page 1 A690GM2MA A690VM2MA SATA RAID User Guide Edition V1.0 Trademarks All brand or product names mentioned are trademarks or registered trade- marks of their respective holders.
-
Page 2: Table Of Contents
Contents Using Serial ATA RAID....................1 1. Introduction......................1 2.Installing SATA Hard Disks................3 3.BIOS Configration....................3 4.RAID BIOS Setup....................4 5.Install operating system with RAID Mode............7 6.How to create RAID driver floopy disk.............9 7.Initializing and Using the Disk Array..............10... -
Page 3: Using Serial Ata Raid
Using Serial ATA RAID This motherboard adopts AMD SB600 southbridge chipset that supports Serial ATA (SATA) hard disk.For optimal performance,please install identical drives of the same model and capacity when creating a RAID set. 1.Introduction RAID Basics RAID(Redundant Array of indenpendent Disks)is a method of combining two hard disk drives into one logical unit .The advantage of an Array is to provide better performance or data fault tolerance. - Page 4 or does not respond ,the remaining drive will continue to function. Due to redundancy, the drive capacity of the array is the capacity of the smallest drive. Under a RAID 1 setup, an extra drive called the spare drive can be attached . Such a drive will be activated to replace a failed drive that is part of a mirrored array.Due to the fault tolerance,if any RAID1 drive fails ,data access will not be affected as long as there are other working drivings in the array.
-
Page 5: Installing Sata Hard Disks
2.Installing SATA Hard Disks Different RAID mode needs different number of the SATA hard disks.You need two SATA hard disks to support RAID 0 and RAID1. And RAID 0+1 needs four SATA hard disks. For JBOD, two, three or four SATA hard disks are all right . STEP1: Install the SATA hard disks into the drive bays. -
Page 6: Raid Bios Setup
4.RAID BIOS Setup After rebooting your PC,wait until you see the RAID software prompting you to press <Cntrl- F> to enter FastBuild (tm) utility .The RAID prompt appears as part of the system POST and boot process prior to loading OS. Press<Cntrl - F>... - Page 7 STEP2: In the Delete LD Menu, select a member of an array and press <Del>. Then a warning message will show up and press “Y”to delete it or press”N” to cancel. Note: This operation will delete all the data from hard disk, so please take care.
- Page 8 To Create RAID 0 Press the [Space] key to select the RAID 0 model in [Define LD Menu]. Then press the [ ] key to set the assignments. To create RAID 0,you need set at least one drive to “Y” in the [Drives Assignments].Then the “Total Drv” will show the number of the drivers which have been set to RAID 0.
-
Page 9: Install Operating System With Raid Mode
D.View Drives Assignments In the main menu of FastBuild (t m) utility press 4. You will enter the “Control- ler Configuration”.This page is used to tell you the system resouce information. 5. Creating a RAID Driver Floppy Disk A floppy disk with the RAID driver is required when installing W indows 2000/XP/ 2003 Operating System on a hard disk driver that is included in a RAID set. - Page 10 i. Select floopy drive from the list, then click “OK”. i. RAID floppy tool will format your floppy. j.Then start to create RAID driver. After finished, “RAID floppy creation complete. ” message will be displayed.Click “OK” to finish the steps. Note: Please make sure 3.5-inch standard model FDD is used.
-
Page 11: How To Create Raid Driver Floopy Disk
6. Install Operating System with RAID Mode a. Set RAID mode in FastBuild (t m) utility,exit the utility, then reboot the computer. b. Insert the OS installation CD into the CD-ROM. c. Press the <F6> when the following pictures appear: d. -
Page 12: Initializing And Using The Disk Array
7.Initializing and Using the Disk Array The RAID array is now ready to be initialized under Windows. 1. Launch Computer Management by clicking “Start” —> “Settings” —> “Control Panel” then open the “Administrative Tools” folder and double click on “Computer Management”.


Need help?
Do you have a question about the A690GM2MA and is the answer not in the manual?
Questions and answers