
Related Manuals for Fantom VPW49H


Summary of Contents for Fantom VPW49H
-
Page 1: Pressure Washer
PRESSURE WASHER OWNER'S MANUAL Model VPW49H 120V., 60 Hz., 13 Amps. FANTOM 94 Main Mill Street, Door 16 Plattsburgh, NY 12901 Tel.: 1 (800) 275-9251... -
Page 2: Safety & Warning Instructions
Insulated". Product may also be marked with symbol shown. Model VPW49H FANTOM warrants this product to be free from defects in material and workmanship for a period of three (3) years from the date of the original purchase, when utilized for normal household use, subject support. -
Page 3: Troubleshooting
"ON". adequate. Running pump dry causes serious damage. • Do not operate the pressure washer with the inlet water screen removed. Keep screen clear of debris and sediment. • NEVER operate pressure washer with broken or missing parts. Check equipment regularly and repair or replace worn or damaged parts immediately. -
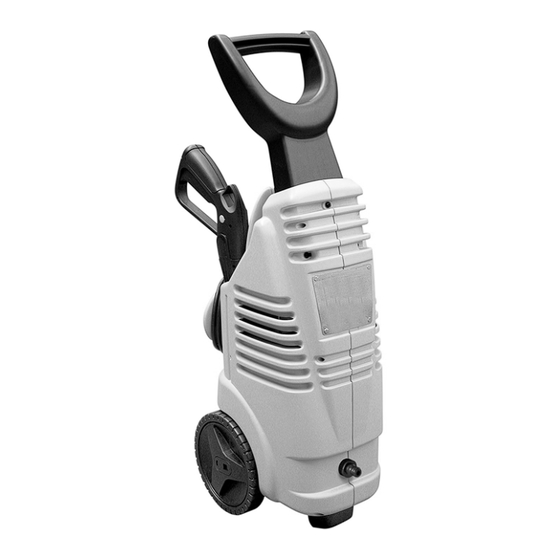
Page 4: Getting To Know Your Pressure Washer
Winterizing & Long Term Storage 1. Disconnect all water connections. Lubrication: The pressure washer is 2. Turn the pressure washer on for a supplied with a closed lubrication system, so no addition of oil is needed. 3. Turn the unit off immediately. - Page 5 Correct Use of the Pressure Washer • Place the pressure washer in a safe area and on a horizontal surface. • When using the pressure washer, hold the trigger gun firmly with one hand on the handle and the other on the lance.
- Page 6 3. Let the handle slide down to its lock the wheels in place. (Fig. 2) resting place as shown in Fig 5 & 6. 3. Turn the pressure washer upside 4. To secure the handle to the unit, down and slide the front support screw 1 1/4”...
Need help?
Do you have a question about the VPW49H and is the answer not in the manual?
Questions and answers