Subscribe to Our Youtube Channel
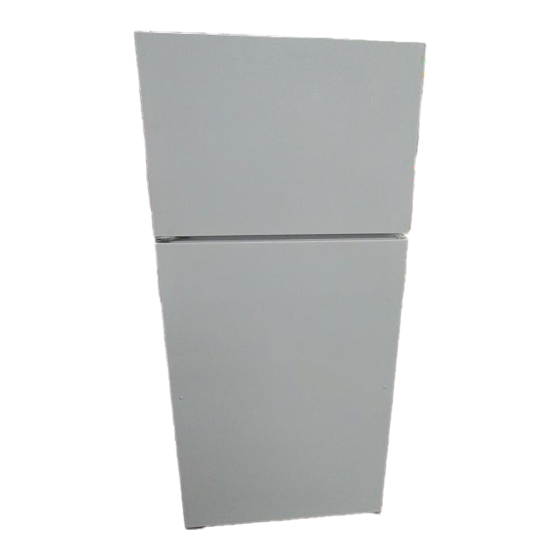
Summary of Contents for Kirkland Signature ST14CKXSQ01
- Page 1 TOP-MOUNT REFRIGERATOR Table of Contents ..........2262175...
-
Page 2: Table Of Contents
TABLE OF CONTENTS REFRIGERATOR SAFETY ............. Proper Disposal of Your Old Refrigerator ........3 INSTALLATION INSTRUCTIONS ..........Unpacking ..................Location Requirements ..............Electrical Requirements ............... Water Supply Requirements ............Refrigerator Doors: Removing, Reversing (optional) and Replacing ..................Door Closing ................. Water Supply Connection ............ -
Page 3: Refrigerator Safety
REFRIGERATOR SAFETY Your safety and the safety of others are very important. We have provided many important safety messages in this manual and on your appliance. Always read and obey all safety messages. This is the safety alert symbol. This symbol alerts you to potential hazards that can kill or hurt you and others. All safety messages will follow the safety alert symbol and either the word "DANGER"... -
Page 4: Installation Instructions
INSTALLATION INSTRUCTIONS Excessive Weight Hazard Use two or more people to move and install refrigerator. Failure to do so can result in back or other injury. Removing packaging materials Explosion Hazard • Remove tape and glue residue from surfaces before turning on the refrigerator. - Page 5 % %/,'%/11%J1t/'%/,'1 /t,,,_d,,/ //%/ Read all directions carefully before you begin. IMPORTANT: • If you turn the refrigerator on before the water line is connected, turn the ice maker OFE • All installations must meet local plumbing code requirements. • Use copper tubing and check for leaks.
- Page 6 _<= TOOLS NEEDED: %e in. hex-head socket wrench, No. 2 Phillips screwdriver, flat-blade screwdriver, 54ein. open-end wrench, flat 2 in. putty knife. IMPORTANT: Before you begin, turn the refrigerator control OFE Unplug refrigerator or disconnect power. Remove food from doors. Top Hinge _°_, 1.
- Page 7 Refrigerator door Door and Hinge Removal 1. Remove the screw cover (see Graphic 6). 2. Remove refrigerator handle assembly as shown. Keep all parts together (see Graphic 6). 3. Remove door hinge hole plug from refrigerator door. Move to opposite side hinge hole as shown (see Graphic 3). in.
- Page 8 Style 1 Using a grounded drill, drill a 1/4in. (6.35 mm) hole in the cold water pipe you have selected....1. Cold Water Pipe 5. Compression Sleeve 2. Pipe Clamp 6. Shutoff Valve 3. Copper Tubing 7. Packing Nut 4.
-
Page 9: Refrigerator Use
Style 2 REFRIGERATOR U SE In order to ensure proper temperatures, you need to permit airflow between the refrigerator and freezer sections. As shown in the illustration, cool air enters through the bottom of the freezer section and moves up. Most of the air then flows through the freezer section vents and recirculates under the freezer floor. -
Page 10: Refrigerator Features
Mid-setting "4" To manually turn the ice maker off, lift the wire shutoff arm to the OFF (arm up) position and listen for the click to make sure the ice maker will not continue to operate. EFRIGERATOR IMPORTANT: Give your refrigerator time to cool down completely before adding food. - Page 11 To remove and replace a shelf: 2. Replace the crisper(s) by sliding the crisper(s) in fully past the stop. 1. Remove items from the shelf. Style 1 2. Slide the shelf straight out to the stop. To remove and replace the plastic cover: 3.
-
Page 12: Freezer Features
2. Locate each end of the rail above the rail's pocket opening, FREEZER F EATURES and push the rail straight down until it stops. Your model may have some or all of these features. Features that can be purchased separately as product accessories are labeled with the word "Accessory."... -
Page 13: Unpacking
Do not allow the Stainless Steel Cleaner & Polish to come into 2. If your refrigerator has an automatic ice maker: contact with any plastic parts such as the trim pieces, • Raise wire shutoff arm to OFF (up) position or move the dispenser covers or door gaskets. -
Page 14: Changing The Light Bulb
Are the condenser coils dirty? This prevents air transfer and • makes the motor work harder. Clean the condenser coils. TROUBI ESHOOTING Refer to the "Cleaning" section. NOTE: Your new refrigerator will run longer than your old one due to its high-efficiency motor. -
Page 15: Ensuring Proper Air Circulation
USA, objects from in front of the air vents. Refer to the "Ensuring Proper Air Circulation" section for the location of air vents. Call the Costco Support Line for KIRKLAND SIGNATURE ® appliances by Whirlpool Corporation toll free: 1-866-403-5448. •... -
Page 16: In The U.s.a
Service" section or by calling our support line, 1-866-403-5448 (toll-free), from anywhere in the U.S.A. or writing: Whirlpool Corporation, Customer Interaction Center for KIRKLAND SIGNATURE ®appliances, 553 Benson Road, Benton Harbor, MI 49022-2692. 5/03 Keep this book and your sales slip together for future Dealer name reference.

Need help?
Do you have a question about the ST14CKXSQ01 and is the answer not in the manual?
Questions and answers