Advertisement
Instructional Manual Continuous Ink System for use in Epson Stylus C41/C42/C43
Before using this product, please read and follow all instructions. After opening your package, make sure to check that all the accessories
shown in figures 1-1 through 1-3 below.
Conduct Parts Check:
1. Accessories
a. Continuous Ink System (1)
d. Adhesive pads for tube attachment (8)
Fig.1-1
2. Set-Up Continuous Ink System (CIS)
a.
Before installation, layout all your parts in front of your printer.
b.
Check your system for any leakage, and make sure your tubing system is tightly bounded and straight as shown in (Fig. 1-1).
c.
Place the CIS on the right hand side of the printer as shown in (Fig. 2-1), and keep it at the same level with the printer.
d.
Hold down the ink tank with one hand and unplug the original air stopper (Fig. 2-2).
e.
Insert the air breather plugs provided as shown in (Fig. 2-3).
Fig. 2-1
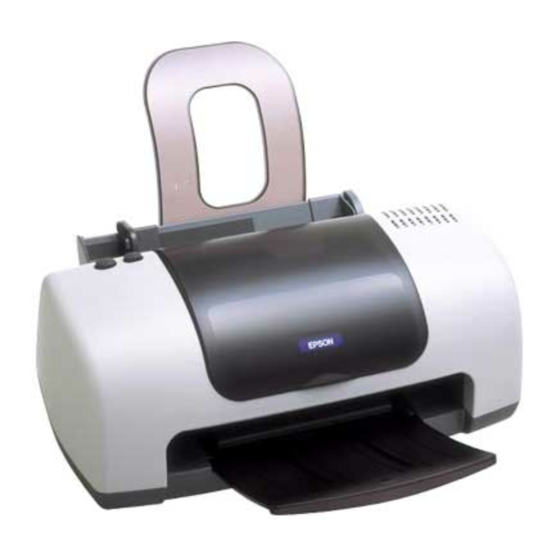
3. Cartridge and Cover Installation
a.
Open printer cover & unplug the printer.
b.
Behind normal cartridge sitting position is a white button, push button in and this allows for the cartridge compartment to move
freely.
c.
Remove original cover, and carefully install CIS cover (Fig.3-1 and Fig.3-2).
d.
Ensuring that colors correspond, push cartridges all the way down in cartridge compartments.
Fig. 3-1
b. Cartridge cover (1)
d. Zip Ties (optional) (6)
Fig 1-2
Fig. 2-2
Fig. 3-2
c. Air breather plugs (6)
f. Syringe (1)
Fig 1-3
Fig 2-3
1
Advertisement
Table of Contents

Related Manuals for Epson STYLUS Stylus C41


Summary of Contents for Epson STYLUS Stylus C41
- Page 1 Check your system for any leakage, and make sure your tubing system is tightly bounded and straight as shown in (Fig. 1-1). Place the CIS on the right hand side of the printer as shown in (Fig. 2-1), and keep it at the same level with the printer.
- Page 2 4. Tube Adjustment and Positioning Use adhesive pads to attach tube guide securely on the top right of the printer (Fig 4-1). Make sure the tubes are not twisted and are straight. (Fig. 4-2). Fig. 4-1 Adjust tubing between cartridge compartment and tube guide to correct length; allowing enough room for the cartridges to move back and forth freely.
- Page 3 6. Ink Levels If your computer gives you a low ink warning but your ink tanks are still full, turn off your printer, wait for one minute and turn on again. The printer will reset itself and will continue printing normally.
Need help?
Do you have a question about the STYLUS Stylus C41 and is the answer not in the manual?
Questions and answers