Table of Contents
Advertisement
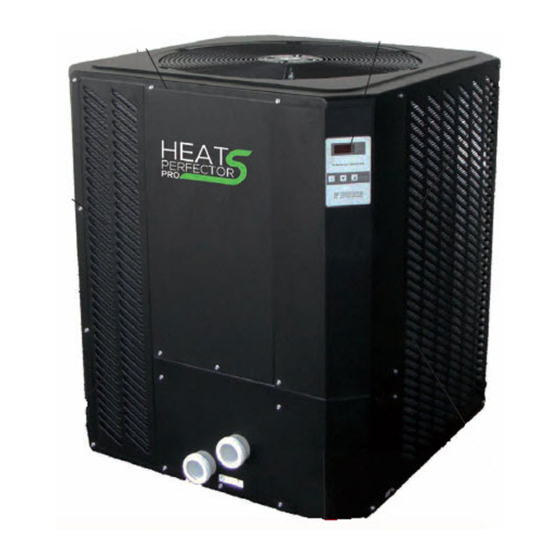
INSTALLATION & OPERATING
Heat Pump
Pool & Spa
Heater
Model Series
5356, 5357, 5358,
6356, 6357, 6358,
8357 & 8358
FOR YOUR SAFETY: Do not store or use gasoline or other flammable vapors and
liquids or other combustible materials in the vicinity of this or any other appliance. To
do so may result in an explosion or fire.
NOTE: The instructions in this manual are for the use of qualified individuals specially trained and experienced
in the installation and maintenance of this type of equipment and related system components. Installation and
service personnel are required by some states to be licensed. Persons not qualified shall not attempt to install,
service, or maintain this equipment.
This manual should be maintained in legible condition and kept adjacent to the heat pump pool heater or in a
safe place for future use.
Effective: 03-14-11
INSTRUCTIONS
Replaces: 01-04-11
R
C
US
P/N 241428 Rev. 3
Advertisement
Table of Contents

Summary of Contents for Heat Perfector Pro 5356 Series
-
Page 1: Heat Pump
Persons not qualified shall not attempt to install, service, or maintain this equipment. This manual should be maintained in legible condition and kept adjacent to the heat pump pool heater or in a safe place for future use. -
Page 2: Water Chemistry
For your health and the protection of your pool equipment, it is essential that your water be chemically balanced. The following levels must be used as a guide for balanced water. Recommended Level(s) Water Temp. (Deg. F) Total Alkalinity (PPM) Calcium Hardness (PPM) Salt (PPM) Free Chlorine (PPM)*... -
Page 3: Table Of Contents
Water Chemistry Warnings Pay Attention to These Terms Introduction Installation Considerations Electrical Connections Water Connections Controls Controls Operating Instructions To Select Pool or Spa Mode To Increase the Desired Water Temperature (Pool or Spa Mode) To Lower Desired Water Temperature (Pool or Spa Mode) To Select Temperature in °C or °F System Start-Up... -
Page 4: Warnings
This manual, as well as the pool/spa heat pump pool heater itself, contains ANSI-approved product safety signs and labels. Please read these signs and labels, as they convey important safety information about hazards that may be potentially present in and around the heat pump pool heater. -
Page 5: Introduction
As with all heat pump pool heaters, compared to other types of heaters such as gas or oil-fired, this heat pump pool heater has lower heating capacity on a BTUH/hr basis. -
Page 6: Electrical Connections
3 FT (90cm) FLOW HEATER • When installed in areas where freezing tempera- tures can be encountered, drain the water circuit to prevent possible freeze-up damage. See the Freeze Protection Section. Electrical Connections Refer to the unit rating plate below the control panel for precise power requirements for your unit, and for ampacity and over-current protection requirements. -
Page 7: Water Connections
CAUTION: The heat pump pool heater inlet and outlet connections are NOT interchangeable. They must be connected as instructed below. 1. Connect the heat pump pool heater in the return water line between the filter and the pool/spa. See the Plumbing Diagrams beginning on page 12. -
Page 8: Controls Operating Instructions
Pool and Spa is higher than the displayed current water temperature. 3. Allow the heat pump pool heater to operate for a few minutes to stabilize operating pressures and to allow various component temperatures to normal- ize. -
Page 9: Summer Shutdown
4. Set the valves to ensure proper water flow through the unit. Summer Shutdown If you do not plan to use the heat pump pool heater during the summer months, secure and protect it as follows: 1. Turn the unit circuit breaker or disconnect switch to OFF. -
Page 10: Troubleshooting
8–10 hours per day. NOTE: If the pool pump and heat pump pool heater shut OFF before the water temperature is raised to the desired level, you must lengthen the running time of both. -
Page 11: Service Call Verification
Service Call Verification Before you make a service call, first determine if the problem is: • Warranty Service • Unit operation (power supply, water flow, or time clock adjustment) NOTE: The MANUFACTURER IS NOT RESPON- SIBLE for these adjustments. Power Supply •... -
Page 12: Plumbing Diagrams
Plumbing Diagrams Fig. 4: For systems with pumps of less than 2 HP (under 80 gpm), no external bypass is required. Connections are 2-inch unions. Plumb the heat pump pool heater AFTER the filter and BEFORE any chlorinators. - Page 13 Fig. 5: For systems with pumps of 2 HP or greater (over 80 gpm), an external bypass is required. Adjust the bypass valve to divert a minimum of 40 gpm through the heat pump pool heater. Connections are 2-inch unions. Plumb the heat pump pool heater AFTER the filter and BEFORE any chlorinators.
- Page 14 Fig. 6: Pool Piping for Heat Pump Pool Heater and Gas Pool Heater...
- Page 15 Fig. 7: Pool Piping for Heat Pump Pool Heaters, Multiple, Primary/Secondary...
-
Page 16: Wiring Diagram 220/240V Single-Phase
Wiring Diagram 220/240V Single-Phase... -
Page 17: Wiring Diagram 200/220V Three-Phase
Wiring Diagram 200/220V Three-Phase... -
Page 18: Wiring Diagram 380/420V Three-Phase
Wiring Diagram 380/420V Three-Phase... -
Page 19: Installing A Remote Control Device
Installing a Remote Control Device Wiring For a 2-wire control, use the TOTAL and COMMON connections on the heat pump pool heater wiring block. For a 3-wire control, use the COMMON, SPA and POOL connections on the heat pump pool heater wiring block.
Need help?
Do you have a question about the 5356 Series and is the answer not in the manual?
Questions and answers