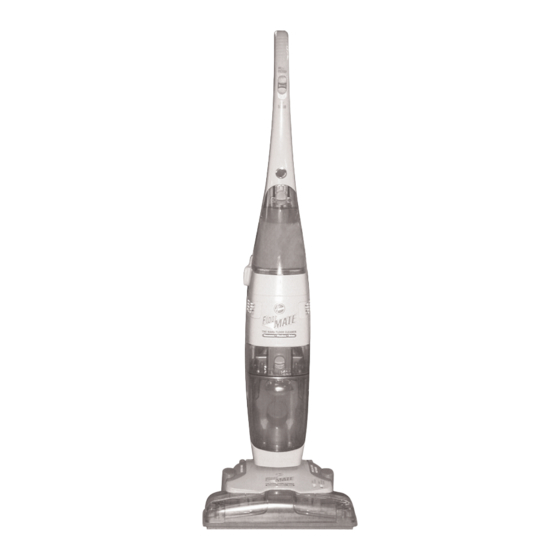
Hoover FloorMATE Owner's Manual
With spinscrub brushes the hard floor cleaner
Hide thumbs
Also See for FloorMATE:
- User instructions (134 pages) ,
- Instruction manual (71 pages) ,
- Owner's manual (44 pages)
Table of Contents
Advertisement
Quick Links
HOOVER
!TM
m
m
OwneF_s
Manua|
English
e pp, 1.13
Espa_ol ,,_ pag. 15-22
Fran_ais ,,_ p. 24-31
This cleaner inspected and packaged carefully before being shipped
from the factory.
If you should happen to need assistance during
assembly or operation:
Visit us online at _,¢ww.hoover.com
to find the service
outlet nearest you (click on the "Service" button) or
Catl 1-800-944-9200 for an automated referral of authorized
service outlet locations (U.S. only) or
Call 1-330-499o9499 to speak with a representative
in our
Consumer Response
Center.
PLEASE
DO NOT RETURN
THiS PRODUCT
TO THE STORE.
J
Review
this
manua|
before
operating
c|eaner.
wwwoh@@verocem
®
Advertisement
Table of Contents

Related Manuals for Hoover FloorMATE


Summary of Contents for Hoover FloorMATE
- Page 1 If you should happen to need assistance during assembly or operation: Visit us online at _,¢ww.hoover.com to find the service outlet nearest you (click on the "Service" button) or Catl 1-800-944-9200 for an automated referral of authorized service outlet locations (U.S.
- Page 2 Connect to a propedy grounded outlet only. See "Grounding instructions". • Do not clean over floor electrical outlets. © 2001 The Hoover Company www,hoover.com • Do not use without tanks in pmace. • Use extra care when cleaning on stairs.
- Page 3 Look on the list provided with the product for your local Hoover Factory Service Center or in the Yel= low Pages under "Vacuum Cleaners = Household" for the nearest...
- Page 4 Inserttwoscrewsintobackof handle Withcordhook(B)to backofcleaner, Pushbrushcontrol s witch(C)downto connect s witchrod.Youwill heara pushupperhandledownontocleaner. asshown. T ighten witha Phillips Insertscrewwithwasher infrontof screwdriver. "click"whentheswitchrodis in place. tankarea. Tighten screwwitha Phillips screwdriver. Liiili Replace clean solution tank by posi- To install brushes, place handle in Press brush assembly firmly to snap tioning bottom first.
- Page 5 The assembled cleaner will look like This cleaner is intended for house- 11. Wet/Dry pedam: Press pedal to hold use. this drawing, change between wet and dry Hand grip cleaning, Operate cleaner only at voltage Solution trigger: squeeze to 12. WettDry indBcators: Shows release clean solution, either wet or dry cleaning usage,...
- Page 6 General Operation Your HOOVER FloorMate Cleaner can be used to both vacuum dry debris and wet clean non-carpeted floor surfaces such as vinyl, tile and sealed wood, It is not intended use on carpet or rugs. CAUTION: To prevent damage to...
- Page 7 CAUTION: Machine FormuNa LYSOL® Floor Cleaning Concen- trate and OLD ENGUSH® Wood Floor CleanEng Concentrate cannot be used in Hoover SteamVac products. Doing so could damage your SteamVac rubber ring (J) on cap has become Pour cleaning concentrate into tank.
- Page 8 How to Empty Turn cleaner off and disconnect from emectrical outlet. Although not necessary for satisfacto- ry performance, it is recommended that the recovery tank be emptied after dry vacuuming and before wet operation. Check the solution tank also. It may need to be refilled at this time.
- Page 9 Cleaning Sequence Use your HOOVER 'F!oorMate' Cleaner to: Dry Vacuum to remove loose dirt, hair and debris. Wet Clean the floor surface. The brushes will provide light agitation to help loosen dirt. Wet Pickup reduces drying time of the floor surface.
- Page 10 Cleaning (see chart page 9). Floors Do not use your 'FloorMate' Cleaner Your HOOVER _FloorMate' Cleaner 6. Dry hands and plug cleaner in to to wet clean the floor if any of these a propeNy grounded outlet.
- Page 11 Toreplacebrushes, f irstremove solu- Pressbrushassembly f irmlyto snap Cleaning Nozzle tiontank(Fig.2-8)andrecovery tank intoplace. Turn cleaner OFF and disconnect (Fig.2-!6). Settanksaside. Thiswill from electrical out{et. prevent p ossible leaking. The cleaner's nozzle (E) can be Withhandle in uprightposition, tilt removed for easy cleaning. cleaner b ackso thatit restsonthe floor.
- Page 12 (Fig. 2-22). outlet locations (U.S. only). Possible cause Do not send your cleaner to The Hoover Possible solution Company in North Canton for service, this PossibJe cause , Automatic shut-off activated will only result in delay.
- Page 13 Proof of purchase will be required before service is rendered, 1. Hoover Factory Service Centers. 2. Hoover Authorized Warranty Service Dealers (Depots), For an automated referral of authorized service outmets in the U.S.A.,...