Table of Contents
Advertisement
Quick Links
Advertisement
Table of Contents

Related Manuals for Curtis DPF828


Summary of Contents for Curtis DPF828
-
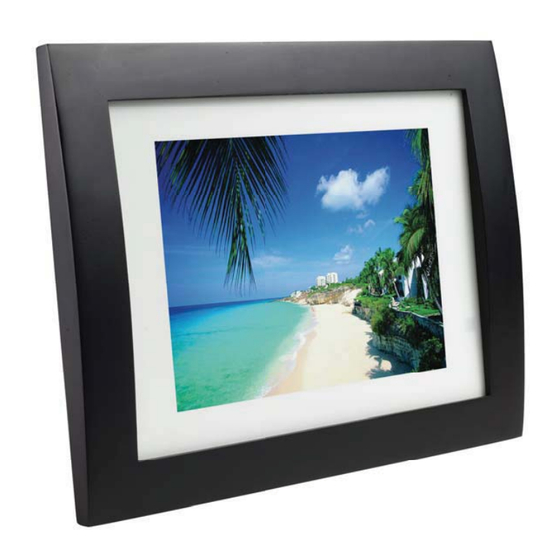
Page 1: Digital Photo Frame
Digital Photo Frame MODEL NO: DPF828... -
Page 2: Table Of Contents
Contents Welcoming to Using the Product ………………..…..….. Features …………………………………………..………..…. Back Panel Layout …………………………………….……. Remote control …………………………………...……….…. Preparation for use …………………………...…………..…. 1. Initial setup……………………………………………..…. 2. Operation with cards…………………………………..….…. 3. Main interface…………………………………………..…. Basic Operation ..……………………..……..…...…. 1 Photo Function ……………………………………………..2 Music Function……………………………………………..3 Movie Function…………………………………………….. -
Page 3: Welcoming To Using The Product
Welcome to using Digital Photo Display Please read through all materials attached to your Digital Photo Display before you use the device. Introducing all functions performed by the device, this User’s Manual will make facilitate you to use the product. With it, you will better understand the device and its operations. -
Page 4: Features
Features Screen : 8-inch TFT screen for displaying. Playing picture : Supports pictures with JPEG, BMP and GIF formats. Playing audio files : Supports audio files with MP3 and WMA formats. Playing video files : Playing video files with Mpeg1, Mpeg2 and Mpeg4 standards, with high quality. -
Page 5: Remote Control
Left: In background audio files or video mode, press it to turn up the volume (6) Down: In background audio files or video mode, press it to go back to the next track (7) Function: Press and hold down this key to set up through the menu (8) SD/MMC/MS card’s interface (9) USB Host’s interface (10) DC In interface... - Page 6 sequence Description Function number Power To start up the device Playing pictures To allow the device to be in picture-playing mode Mute To allow the device to be in mute mode Menu To reach the menu Video To play the video files Audio To play the audio files Picture+Audio files...
-
Page 7: Preparation For Use
Preparation for use 1. Initial setup This Digital Photo Display can be horizontally placed or hung where you desire in the room and serve as a photo display, MP3 player or MP4 player after connected to power supply. fixed onto the body. Insert one end of the power cord into the receptacle, and another end to the device. -
Page 8: Main Interface
3. Main interface Basic Operation In the main interface, use the buttons to choose the desired item and press the OK button to enter the corresponding function. [Tips] When entering the main interface, if you insert SD or MMC or MS and USB into the device, firstly you need to choose to enter the SD/MMC/MS or USB, use buttons to choose the desired card and press OK button to enter. -
Page 9: Music Function
2 Music Function After entering “Music”, you can have a tracklist. With buttons, you can choose your favorite music; and press the OK button to start the play of the selected music. In the play interface, the defaulted play order is Repeat All. Under such option, press the FUNC button to switch button function, press the button to choose the desired music cycle mode, such Repeat All,... -
Page 10: Calendar
4. Calendar Enter “Calendar”, then you can see calendar and photos. In Clock Calendar state, press the FUNC button to enter the photo display mode window, with the button, you can choose different photo display mode,; press the OK button to confirm. 5. -
Page 11: Option Of Display
Option of Display Item Instruction LCD setting Adjust screen contrast /backlight/brightnes s /color. Select the desired option and then press the OK button to confirm, press the UP/DOWN button to adjust. For LCD setup, you can set contrast, backlight, brightness and color. You can conduct the setup according to your color and brightness interest and the setup scope includes 10 levels totally. -
Page 12: Option Of Time
Option of Time Item Instruction Date&Time 1 To set a date/time: select the yy-mm-dd/Time option and press the OK button to confirm, and then press the UP/DOWN button to select the desire date/time. Press the OK button to confirm. 2 Sets the time Mode to 12 or 24 hours Auto Power To set a Power On/Off Time: To set the power on/off frequency: select Repeat... -
Page 13: Option Of Device
Option of Device Item Instruct ion Firmware Update Type Sets the update type. From Device Update from memory device installed on this digital photo frame. Reset Resets all settings to their factory default state. -
Page 14: Specifications
Specifications Displaying : 8-inch TFT LCD screen (definition: 800*600) Power supply : DC 5V/1.2A Ports : SD/MMC/MS interface USB interface DC power port File format : Picture: JPEG *.jpg BMP *.bmp *.gif Music: MP3 *.mp3 WMA * .wma Video: DivX *.avi MPEG1/ MPEG2 /MPEG4 *.mpg Operating temperature: 5-35°C (30 80[%RH])
Need help?
Do you have a question about the DPF828 and is the answer not in the manual?
Questions and answers