Table of Contents
Advertisement
Quick Links
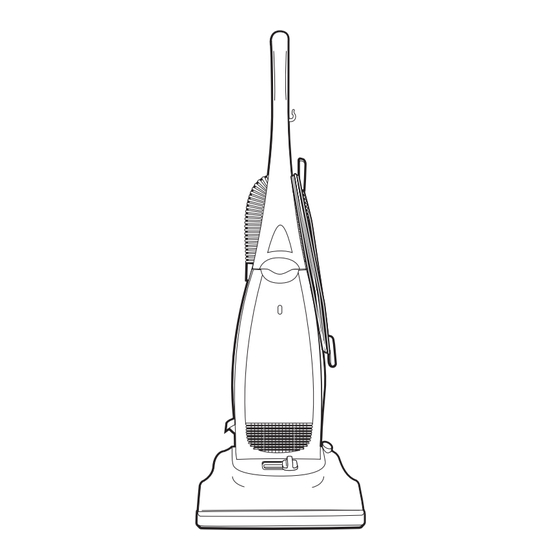
Upright Vacuum Cleaner
Household Type
Owner's Guide
Z2270-Z2290 Series
Index
Important Safeguards .............2
Service Information ................4
Assembly .............................5-6
Use .........................................7
Thermal Cut Off ............... 4 & 7
Accessories ............................8
Brush Roll ...............................9
Brush Roll Belt ...................9-10
Dust Bag ..........................10-11
Hose Blockage ................12-13
Motor Filter ...........................14
Bonus Hose ..........................15
Problem Solving ...................17
Guarantee ...............................4
IMPORTANT
For any advice
on your cleaner and to
order dust bags, fi lters
and accessories,
please telephone
the Customer helpline
08706 055055
www.electrolux.com
Advertisement
Table of Contents

Related Manuals for Electrolux Z2270-Z2290 Series


Summary of Contents for Electrolux Z2270-Z2290 Series
-
Page 1: Table Of Contents
Upright Vacuum Cleaner Household Type Owner’s Guide Z2270-Z2290 Series Index Important Safeguards ...2 Service Information ...4 Assembly ...5-6 Use ...7 Thermal Cut Off ... 4 & 7 Accessories ...8 Brush Roll ...9 Brush Roll Belt ...9-10 Dust Bag ...10-11 Hose Blockage ...12-13 Motor Filter ...14... -
Page 2: Important Safeguards
2. Examine the mains supply cable for damage (only after removing the plug from the socket outlet). 3. If there is any sign of damage to the supply cable it MUST be renewed. The repair MUST be carried out by an Electrolux Service Agent or a similar qualifi... -
Page 3: Before You Start
13A ASTA ap proved BS1362 fuse or a BSI approved fuse. The cover must be re placed before the plug is used again. In the event of loss of the fuse cover, re place ments can be obtained from your Electrolux Retailers and must be of the same colour as indicated by the col oured insert on the base of the plug. - Page 4 The guarantee may be invalidated by unauthorised repair or modifi cation of the appliance. d. You may be charged by Electrolux if you call for an engineer to resolve a problem that we believe is covered in the instruction booklet. (example: blocked/dirty fi lters) The Company does not accept liability for defects arising from neglect, misuse or accident.
-
Page 5: How To Assemble
HOW TO ASSEMBLE CAUTION: Assemble the cleaner before using. CAUTION: Moving parts, make sure on/off switch is in off position before plugging in. NOTE: Features may vary by model yet all parts assemble the same. Step A Attach Handle CAUTION: Do not catch cord under handle. 1. - Page 6 Step C Check Disposable Dust Bag/Reusable Cloth Bag Remove front cover. Press down on handle latch and lift cover away from cleaner. Step D Store Electrical Cord Handle Latch Check to be sure the paper bag/reusable cloth bag inlet hole is secure on the inlet tube. Replace front bag cover.
-
Page 7: Thermal Cut Off ............... 4
HOW TO USE The upright vacuum cleaner design allows use on multiple types of carpeting and on upholstery or bare fl oors with attachments. When using the attachment tools, place the handle in the upright position. Do not place cleaner on furniture or steps as the brush roll may cause damage. -
Page 8: How To Use Accessories
How To Use Accessories NOTE: Do not place cleaner on furniture or steps as the brush roll may cause damage. Place cleaner on fl oor with the handle in storage position while using accessories. 1. Remove hose from rear of cleaner. 2. -
Page 9: How To Maintain
HOW TO MAINTAIN The instructions in this booklet serve as a guide to routine maintenance. To avoid unnecessary service calls, check the bag, belt, and brush roll often. Brush Roll The brush roll turns as it sweeps and combs the carpet nap. Remove hair and threads from the brush roll so it continues brushing the carpet. -
Page 10: Bag Change Indicator
Change the dust bag to restore maximum performance. Be sure to use GENUINE ELECTROLUX bags for best performance. If a clean dust bag does not restore maximum performance, check for obstructions in the hose or airfl ow passage. - Page 11 How To Replace Bags–Style E82 or Reusable Cloth Bag NOTE: Turn off the switch and unplug the electrical cord before changing bag. Never operate the vacuum cleaner without the bag or the fi lter. It may be more convenient to lower the handle to the fl oor before changing the bag. To Remove Bag: Your cleaner may come with a disposable paper bag or a reusable...
-
Page 12: Hose Blockage
How to Check and Clear Hose Blockages Low suction or poor pickup may be due to a blockage in the vacuum cleaner. 1. Remove attachment hose and check suction at end of hose – if little or no suction, check disposable dust bag. Change if needed. - Page 13 How to Check and Clear Blockages in Base 1. Remove the attachment hose from the lower hose retainer and look into the hose retainer for any obstructions. Proceed to Step 2 to check for any other blockages. 3. Hold power head together and turn over with hood side up.
-
Page 14: Motor Filter
Motor Filter/HEPA Filter Check the motor/HEPA fi lter with each disposable dust bag change. Clean or replace as needed. To Clean Motor Filter-Style EF2 1. Remove bag cover. Press down on handle latch and lift cover away from cleaner. 2. The fi lter is located under the bag compartment. To remove fi... -
Page 15: How To Assemble And Use
STAIR CLEANING HOSE WARNING: Never position any cleaner on the stairs as this could damage the carpet. Some models will come complete with an extra bonus hose which is ideal for cleaning stairs. HOW TO ASSEMBLE AND USE Step 1 - Remove the hose attached to the cleaner. Step 2 - Connect the hose cuff to the end of the bonus hose. -
Page 16: Problem Solving
PROBLEM SOLVING NOTE: Turn off the switch and unplug the electrical cord before servicing. PROBLEM Motor will not start. Motor suddenly stops. Does not clean the carpet or fl oor. No suction at the end of the hose. Noise from the brush roll area. Cleaner is hard to push. - Page 17 Nested extension wands to add reach. • Grasp both wands near ridges. • Pull apart. • Turn ridge end to center. Thank you for selecting a Electrolux cleaner. Part No. 71636A (2/05) Questions? Call 08706 055055 • Push wands together.
Need help?
Do you have a question about the Z2270-Z2290 Series and is the answer not in the manual?
Questions and answers