
Related Manuals for PRESONUS STUDIO ONE ARTIST


Summary of Contents for PRESONUS STUDIO ONE ARTIST
- Page 1 G E T T I N G S T A R T E D W I T H S T U D I O O N E A R T I S T © 2009, PreSonus Audio Electronics, Inc. All Rights Reserved.
- Page 3 TABLE OF CONTENTS Studio One Artist Features ........3 System Requirements ..........4 Installation and Authorization ......... 5 Enabling Your Audio Driver ........9 Configuring Your External MIDI Devices....11 Configuring Your Audio I/O........16 Creating a New Song ..........19...
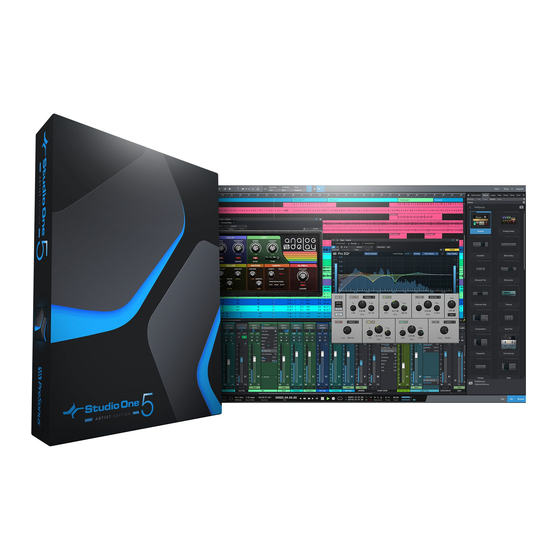
- Page 4 FEATURES All PreSonus audio interfaces now include PreSonus Studio One Artist recording software, which comes with over 4 GB of plug ins, loops, and samples, giving you everything you need for music recording and production. Summary of Studio One Artist features •...
- Page 5 NOTE: The speed of your processor, amount of RAM, and size and speed of your hard drives greatly affect the overall performance of your recording system. A more powerful system (faster processor with more RAM) allows for lower latency (signal delay) and better overall performance. 4 | PreSonus 2009...
-
Page 6: Installation & Authorization
PreSonus customers, please visit www.presonus.com. Once you have installed your PreSonus interface’s drivers and connected your interface, you can use the PreSonus Studio One Artist music production software included with your Presonus interface to begin recording, mixing, and producing your music. - Page 7 Activating Studio One Artist Online. If your computer is not connected to the Internet, visit the Studio One product page at www.presonus.com on an Internet connected computer to create your account. After you have created your account, skip to Activating Studio One Artist Offline.
- Page 8 Studio One Content Installer will appear. If it does not appear, navigate to Help/Studio One Installation. At the top of the installation menu, select the source from which the content will be installed, as well as the location 7 | PreSonus 2009...
- Page 9 Studio One Artist content can be installed at any time by accessing the Help/Studio One Installation menu. If you choose not to install any portion of the content, you can install it at a later time. 8 | PreSonus 2009...
- Page 10 ENABLING YOUR AUDIO DRIVER Studio One and Studio One Artist were designed with PreSonus interfaces in mind. Your PreSonus interface is already integrated into Studio One Artist, so setup is quick and easy. When Studio One Artist is launched, by default you will be taken to the Start page.
- Page 11 PreSonus interface. Click the Apply button and then OK. After you have verified that the PreSonus driver has been detected, please continue to the next Section to set up your external MIDI devices. If you do not have any MIDI devices to connect at this time, please skip Configuring Audio I/O.
- Page 12 MIDI devices. Before we set up a new Song for recording, let’s take a moment to configure external devices. Connect the MIDI Out of your external MIDI controller to the MIDI In of your PreSonus interface 11 | PreSonus 2009...
- Page 13 Studio One Artist will send MIDI data to your keyboard. If your keyboard controller does not need to receive MIDI data from Studio One (say, for moving motorized faders and the like), you can leave this unselected. If your 12 | PreSonus 2009...
- Page 14 Studio One Artist refers to all tone generators as Instruments. Once you have set up your MIDI keyboard controller, take a moment to configure your sound module. 13 | PreSonus 2009...
- Page 15 CONFIGURING YOUR MIDI DEVICES STEP 1 Connect the MIDI In of your external sound module to the MIDI Out of your PreSonus interface. STEP 2 In the External Devices window, click the Add button. STEP 3 The Add Device window will launch.
- Page 16 Studio One Artist. The remainder of this guide will go over how to set up a Song and will discuss some general workflow tips for navigating through the Studio One Artist enviroment. 15 | PreSonus 2009...
- Page 17 STEP 3 When the Song window launches, launch the Audio Setup window by going to File | Options… (PC) or Studio One | Preferences (Mac), and click on the Audio Setup button. 16 | PreSonus 2009...
- Page 18 We recommend that you create a mono input for each of the inputs on your PreSonus interface. If you plan on recording in stereo, you should also create a stereo bus and assign it to the appropriate set of inputs.
- Page 19 Studio One Artist. In general, you will want this to be the Main Out bus. If you would like this output configuration available every time you launch Studio One Artist, click the Make Default button. 18 | PreSonus 2009...
- Page 20 Audio I/O Setup from here. If you would like to add a Track for each of the available inputs and have the routing automatically assigned, simply go to Track | Add Tracks for All Inputs. 19 | PreSonus 2009...
- Page 21 To begin recording, create an audio track, assign it to Input 1, and connect a microphone or instrument to Channel 1 of your PreSonus interface. Select the record enable ( ) and monitor ) on your track in Studio One Artist. Turn up the Channel 1 gain knob on your PreSonus interface while speaking/singing into the microphone or playing your instrument.
- Page 22 When you are ready to mix your Song, you must convert the recorded MIDI data to an audio waveform by recording a new audio track 21 | PreSonus 2009...
- Page 23 Browse Instrument buttons open Instrument Browser. Select instrument or one of its patches and drag it into the Arrange view. Studio One Artist will automatically create a new track and load the Instrument as the input. 22 | PreSonus 2009...
- Page 24 If you drag the file to an existing track, the file will be placed as a new part on the track. 23 | PreSonus 2009...
Need help?
Do you have a question about the STUDIO ONE ARTIST and is the answer not in the manual?
Questions and answers