Advertisement
Accessories List
HDMI Cable ×1
Remote control ×1
Power cable ×1
QR Card ×1
Warranty Card ×1
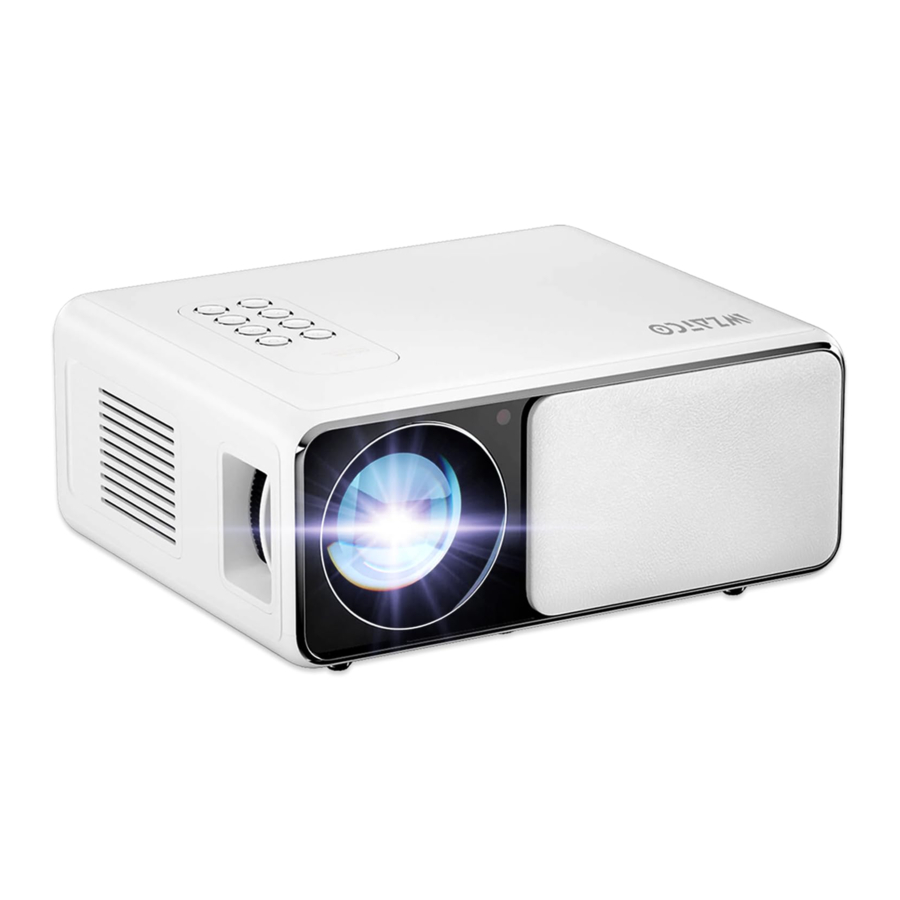
Projector Overview

- Power Key
- Source key
- Return Key
- OK Key
- Arrow Keys
- Air Outlet
- Headphone Jack
- AV Port
- USB1 Port (Wired Mirroring Interface)
- USB2 Port
- HDMI1 Port
- HDMI2 Port
Specification
| Model | Yuva + | Image system | LCD |
| Lamp | LED (90W) | Native resolution | 1920×1080 |
| Language | English, 25 languages | Input voltage | 220V~ 50Hz 2A |
| Size | 228×194×100mm | ||
| Aspect Ratio | 16:9 / 4:3 | Working temp | 0-35°C |
| Weight | 1.6 KG | Input port | HDMI / USB / AV |
| Operation mode | Manual / Remote control | Output port | Headphone |
Multimedia Supported Files
| Image Format | JPG / PNG / BMP / JPEG |
| Video Format | MP4 / MKV / WMV / RMVB / RM / AVI / FLV / TRP / VOB / 3GP / DIVX / TP / TS / MPG /M2TS / F4V / DAT |
| Audio Format | MP3 / AAC / WAV / FLAC / WMA / M4A |
| File Format | TXT |
 The projector does not support Dolby audio decoding.
Remote Control

- Power Button
- Signal Source Button
- Arrow Keys
- Menu Key
- Home Button
- Volume+
- Volume-
- Mute
- Flip Key
- Confirmation Key (Play/Pause Key)
- Back Button
- Last Song
- The Next Song
New Remote Control

- Signal Indicator
- Power Key
- Arrow keys
- Home Key
- Return key
- Volume+
- Volume-
- Source key
- Confirmation key
- Menu
- Mute Key
- Previous
- Next
- Screen Flip
Focus / Keystone Correction

Image focusing
Place the projector lens perpendicularly to the projection screen or curtain wall, and adjust the focus dial until the image is clear, that means the image focusing is finished. During the focusing process, you can play the programs or pick up the product menu images to match the focusing adjustment.
Keystone correction
Please turn the trapezoidal adjustment dial until the image is displayed normally.
Note: The projector has only mechanical trapezoidal correction in the vertical direction and there is no horizontal correction. Make sure the projector is level with the projected image.

Standard Setting
Refer to the data in the table below to place the projector away from the projection screen according to the preset graphic size. When installing, place the projector on a solid, stable countertop or use a hanger to hoist it to the ceiling. The airframe should be well ventilated. Do not cover or block the vents. There should be no obstructions within 30cm of the vents.
| Aspect ratio | 16:9 |
| Picture size(inch) | Projection distance(m) |
| 50 | 1.54 |
| 70 | 2.15 |
| 100 | 3.08 |
| 120 | 3.69 |
Note: The above data is for reference only, please refer to the physical measurement.
How to Select Source
Step 1: Select the source you want in the main interface, such as HDMI and AV.
Step 2: Press OK button on the remote control to enter corresponding source interface.

Note: When the projector is in the no signal interface, please press the source button on the remote control to select the home page or other source.
How to Play Multimedia
Step 1: Connect USB to your projector.
Step 2: Select the required file to play from main interface.

Note: U-disk should be inserted if require to select multimedia files.
How to Set the Menu
Select Setting in the main interface, first press left/right keys to select sub-menu, second set up the mode you need, finally press OK key to confirm.
Submenu:
PICTURE: Picture Mode/Contrast/Brightness/Color/Tint/Sharpness/Focus/Color Temperature/ Noise Reduction.
SOUND: Sound Mode/Treble/Bass.
OPTION: OSD Language/Aspect Ratio/Projection Mode/Factory Reset/Software Upgrade/Version.

Important Safeguards
Note: As the product system is updated from time to time, the specific operation content is based on the actual situation.
- Please read the manual carefully before operating projector. To ensure stable power supply, please use standard power cable.
- Please use the power supply and cable indicated on the rating label. The projector should be kept away from cloths, sofas and anything that may block the ventilation scoop. Please keep the unit away from flammable and explosive materials.
- Please do not disassemble the unit yourself as this will invalidate the warranty service. To protect your eyes, do not stare directly at the lens when the projector is on. The projector must be kept away from water and any other liquids.
- To prevent electric shock, please keep the projector out of the rain and away from moisture. It is recommended to switch off the projector after it has run for 6 hours non-stop. Please use the original foam and other cushioning materials when transporting the projector.
- If the projector does not work, please contact the authorized service agent.
Documents / ResourcesDownload manual
Here you can download full pdf version of manual, it may contain additional safety instructions, warranty information, FCC rules, etc.
Advertisement


Need help?
Do you have a question about the YUVA+ and is the answer not in the manual?
Questions and answers