Advertisement
Quick Links
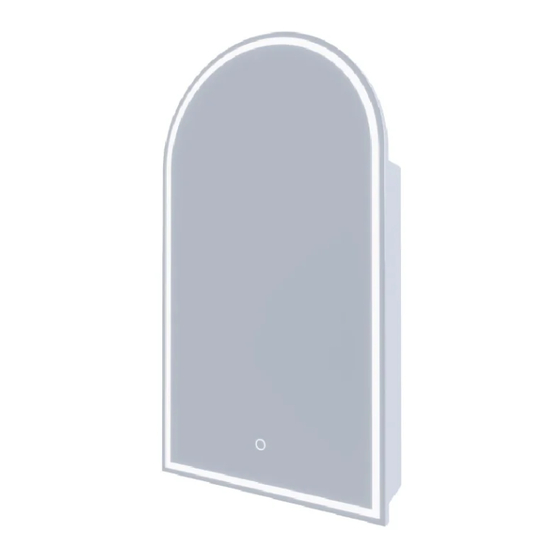
BLANCA, CAPSULE & PIAZZA
LED SHAVING CABINET
INSTALLATION MANUAL
BR50D, CR45D, PR45D
! CAUTION - This product must be installed by a licensed electrician.
It is the responsibility of the installer to ensure the product is correctly installed, as per
this instruction manual.
Please read this instruction manual & warnings carefully and refer back during
installation to ensure the product is fitted safely and that it retains its high quality.
Page 1/14
Advertisement

Related Manuals for Remer PIAZZA


Summary of Contents for Remer PIAZZA
- Page 1 BLANCA, CAPSULE & PIAZZA LED SHAVING CABINET INSTALLATION MANUAL BR50D, CR45D, PR45D ! CAUTION - This product must be installed by a licensed electrician. It is the responsibility of the installer to ensure the product is correctly installed, as per this instruction manual.
- Page 2 No claims for damages or defects will be accepted after this product is installed. For full warranty terms please visit remer.com.au/warranty FOR SAFE USE: • Our mirrors are RCM certified to Australian standards, so are recognised as electrical appliances.
- Page 3 2 x Glass Shelves 1 x Glass Shelf 2 x Glass Shelves This installation manual applies to the Blanca, Capsule & Piazza shaving cabinet only. Cabinet shape for illustrative purposes only. HANDLING TIPS: • Do not place Remer mirrors on hard surfaces.
- Page 4 WALL HUNG INSTALLATION All Remer LED products require an isolation switch as set out in the Australian Electrical Safety Standards with appropriate circuit protection. Remove the doors and lay flat on a bed or soft surface (do not stand on its end as it will damage the glass).
- Page 5 Wiring from isolation switch Neutral (usually 2 black) Blue (N) Earth (green/yellow sleeved copper) Green/yellow Switched live (usually single black) Brown (L) Attach fixings through pre-drilled holes in back of cabinet (this will stop the cabinet coming off the bracket). Cover screws and holes with supplied covers. Page 4/14 BL ANCA , CAPSULE &...
- Page 6 Install shelf and adjust. Frosted side down. Page 5/14 Edition 10.24 Installation information is correct at time of publishing and is subject to change...
- Page 7 Reinstall doors and adjust as needed. To fit the door simply clip the soft close hinges into place. This is achieved by engaging the front of the hinge into the cabinet mounting plate a) and pushing in the rear of the soft hinge until it locks into place b).
- Page 8 Door Adjustment There are three adjustment that can be made, a) will adjust the door left to right b) will adjust the gap between the door and the cabinet, c) will adjust the door height slightly. Clean with soft cloth and test. Page 7/14 Edition 10.24 Installation information is correct at time of publishing and is subject to change...
- Page 9 RECESSED INSTALLATION All Remer LED products require an isolation switch as set out in the Australian Electrical Safety Standards with appropriate circuit protection. Remove the doors and lay flat on a bed or soft surface (do not stand on its end as it will damage the glass).
- Page 10 2. Remove rubber grommets from both left and right sides of the cabinet. Using the holes as a guide, drill holes through outer edge of the cabinet. Warning: Do not drill any other area of the shaving cabinet as this will void the warranty. Connect wiring and slide cabinet into pre-framed wall cavity, tucking excess wiring out of the way.
- Page 11 Ensure cabinet is level, and fix with screws into framing to secure. Replace rubber grommets and cover back screw holes with supplied covers. Page 10/14 BL ANCA , CAPSULE & PIA ZZ A INSTALL ATION MANUAL...
- Page 12 Install shelf and adjust. Frosted side down. Page 11/14 Edition 10.24 Installation information is correct at time of publishing and is subject to change...
- Page 13 Reinstall doors and adjust as needed. To fit the door simply clip the soft close hinges into place. This is achieved by engaging the front of the hinge into the cabinet mounting plate a) and pushing in the rear of soft hinge until it locks into place b).
- Page 14 Door Adjustment There are three adjustment that can be made, a) will adjust the door left to right b) will adjust the gap between the door and the cabinet, c) will adjust the door height slightly. Page 13/14 Edition 10.24 Installation information is correct at time of publishing and is subject to change...
- Page 15 10. Clean with soft cloth and test. REMER PTY LED RESERVES THE RIGHT TO MAKE ANY CHANGES IN PRODUCT CHARACTERISTICS, PACKAGING OR AVAILABILITY AT ANY TIME WITHOUT NOTICE. PLEASE VISIT OUR WEBSITE OR CONTACT OUR MELBOURNE BASED CUSTOMER SERVICE TEAM FOR THE LATEST INFORMATION.
Need help?
Do you have a question about the PIAZZA and is the answer not in the manual?
Questions and answers