Advertisement
Quick Links
ASSEMBLY INSTRUCTIONS
INSTRUCTIONS D'ASSEMBLAGE
INSTRUCCIONES DE ENSAMBLAJE
Model/
Modèle
/ Modelo
Charcoal & Honeydew
-4257B-
Charbon et érable miellé
Carbón y arce melado
Article/
Item
/ Articulo
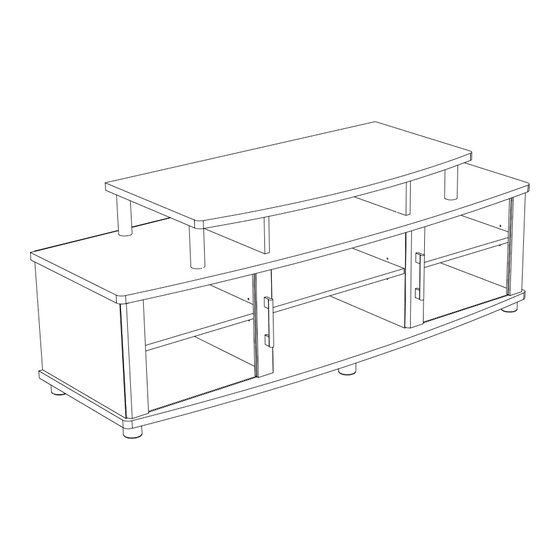
TV Stand
-601-
Support à TV
Soporte para la televisión
N.B.: It is important to carefully read the instructions
before beginning the assembly.
Identify all the parts and hardware.
We recommend that you assemble the unit
on a carpeted floor to avoid scratches.
To make the assemble easier and more pleasant,
ask a friend to help you !
In the box on that page, write the 9 (nine)
digits serial number that can be found on the label
on the furniture.
Keep the booklet as a
This page contains all pertinent information regar-
ding replacement pieces and maintenance.
N.B. Il est important de bien lire les instructions
avant de commencer l'assemblage.
Bien identifier les pièces et la quincaillerie.
Il est recommandé d'assembler l'unité
sur un tapis pour éviter les égratignures.
Pour un assemblage facile et agréable,
demandez à un ami de vous aider !
2 personnes requises !
Écrire le numéro de série à 9 chiffres provenant de
l'étiquette collée sur le meuble dans la case sur cette page.
Gardez le livret pour
références
toutes les informations pertinentes pour un rempla-
cement de pièce ou pour un entretien périodique.
N.B. Lea con detenimiento las instrucciones
antes de comenzar a ensamblar su mueble.
Identifique las piezas y los articulos de ferretería.
Se recomienda ensamblar la unidad sobre una
alfombra para evitar las rayaduras.
Para un ensamblaje facil y placentero, pida
ayuda a un amigo.
Se necesitan dos personas !
En la casilla de esta página, escribir el número de serie de
9 (nueve) dígitos que se encoentra en la etiqueta
sobre el mueble.
Guarde al cuaderno a modo de
Este cuaderno contiene todas las informaciones
necesarias para un reemplazo de pieza
o un mantenimiento periodico.
1-800-290-0465
4257B-601
10008827
Rev.:Bi1
2 people required !
reference
.
. Ce livret contient
referencia
futura.
28/10/2010
Advertisement

Related Manuals for South Shore 601


Summarization of Contents
General Assembly and Product Information
Model and Item Identification
Identifies the product model, color, and item type for assembly.
General Assembly Guidance
Provides essential tips before starting assembly, emphasizing reading instructions and preparation.
Warranty and Support Information
Details warranty coverage and provides customer support contact information.
Safety Bracket Installation
Missing Safety Bracket Procedure
Procedure to follow if the safety bracket is not included in the package.
Customer Service and Replacement Parts
Part Identification for Service
Guidance on identifying parts for ordering replacements via customer service.
Packing Material Disposal
Advice on discarding protective packing materials used during shipping.
Maintenance and Care Instructions
Cleaning and Finish Protection
Best practices for cleaning and protecting the furniture's finish from damage.
Appliance Placement Advice
Recommendations for placing items on furniture to prevent surface damage.
Hardware Usage: Dowels and Cam Nuts
Dowel Insertion and Removal
How to properly insert and remove the quick-fit dowel component.
Eccentric Nut Insertion and Locking
Steps for inserting eccentric nuts and locking pieces together securely.
Exploded View and Part Identification
Part Labeling Convention
Explains how individual furniture parts are marked or labeled for identification.
Hardware List and Required Tools
Hardware Component Details
Detailed descriptions and codes for each hardware item used in assembly.
Required Tools and Personnel
Lists the specific tools and the number of people required for assembly.
Assembly Steps: Initial Component Attachment
Step 1: Attaching Side Panels
Step-by-step guide for attaching side panels using specific hardware.
Step 2: Inserting Dowels into Frame
Instructions for inserting plastic dowels into main frame components.
Assembly Steps: Frame Construction
Step 3: Attaching J(2) Component
Attaching the J(2) component using specific hardware and tools.
Step 4: Connecting Panels to Base
Connecting side and back panels to the base unit using assembly screws.
Assembly Steps: Intermediate Structure
Step 5: Securing Top Panels
Securing top panels and covering hardware for a clean finish.
Step 6: Attaching Legs/Supports
Attaching the legs or support structures to the main top panel.
Assembly Steps: Shelving and Base Details
Step 7: Installing Internal Dividers
Installing internal dividers and securing them with specified hardware.
Step 8: Attaching Base Mounts
Attaching base mounts or feet to the bottom panel of the unit.
Assembly Steps: Back Panel and Shelves
Step 9: Securing Back Panel
Securing the back panel to ensure structural integrity and levelness.
Step 10: Installing Shelves
Installing internal shelves and sliding them into place.
Assembly Steps: Door Installation and Adjustment
Step 11: Installing Doors
Attaching doors and securing them with specified hardware.
Door Alignment and Adjustment
Instructions for aligning and adjusting doors for proper fit and function.
Unit Moving and Weight Capacity
Moving the Unit Safely
Recommendations for safely moving the furniture, requiring two people.
Product Weight Capacity
Information on the designed weight capacity and user responsibility.
Limited Warranty Information
5-Year Limited Warranty Terms
Details the terms and conditions of the 5-year limited warranty.
Warranty Limitations and Exclusions
Explains what the warranty covers, its limitations, and exclusions.
Customer Service Contact Details
Provides contact information for customer service in Canada, USA, Mexico, and internationally.
Need help?
Do you have a question about the 601 and is the answer not in the manual?
Questions and answers