Table of Contents
Advertisement
Quick Links
Advertisement
Table of Contents

Related Manuals for emaux E-POWER EPV200


Summary of Contents for emaux E-POWER EPV200
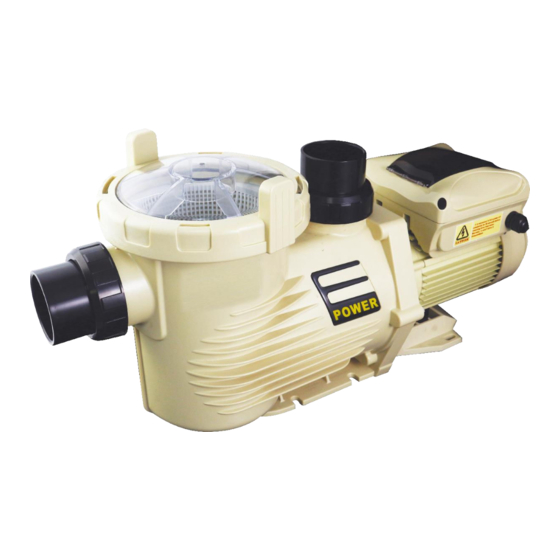
- Page 1 E-POWER Swimming pool Variable speed Pump USER GUIDE...
-
Page 2: Pump Installation
1. PUMP INSTALLATION Install the pump on a level, vibration free surface. Use short, direct suction pipe to reduce friction losses. Don't install the pump at more than 3 meters of geometrical height from water level. Leave enough space for gate valves in suction and discharge piping, if required. ... -
Page 3: Operation
Procedure: Make sure that the pump is disconnected from power source. Unscrew the control panel located on the top of the electric motor. The power connection is located at the corner where the wire comes out of the box. ... -
Page 4: Display Interfaces
Time: Built-in time clock. Current Speed: Shows operating speed. Expressed in RPM. Scheduled Program: Shows current operating schedule. Current Running Speed: Shows current operating speed. Four pre-set speeds available. LCD Display backlight will switch off after 60 seconds if no button is pressed. It can be turned on again by pressing any button. -
Page 5: Control Buttons
2.4 CONTROL BUTTONS Increase value Down Decrease value Left Move cursor left Right Move cursor left Enter Enter sub-menus or save setting Speed 1 Select Speed 1. LED next to the button turns on. Speed 2 Select Speed 2. LED next to the button turns on. Speed 3 Select Speed 3. -
Page 6: Programming Instructions
2.5 PROGRAMMING INSTRUCTIONS 2.5.1. INTERNAL SYSTEM CLOCK The internal system clock is used to program operating schedules. If the power supply is disconnected, the controller memory and programmed settings will be maintained for approximately 7 days. The clock set up will be required after this time. 2.5.2. -
Page 7: Language Setup
To revise / update "Time On" settings within “Schedules 1” menu: Use “Up” / “Down” buttons to go to “Time on” option and press “Enter”. Choose hours / minutes using “Left” / “Right” buttons. Change hours / minutes using “Up” / “Down” buttons. ... - Page 8 required language. Press “Enter” to save the setting. The interface will be shown in the selected language immediately. Otherwise, press “ESC” to exit the editing mode. Press “ESC” to exit. 2.5.7. “NO FLOW” SET UP This function is only available for motor speeds of 1800 RPM or more, it is set up through the following parameters: “Function”: Enable / Disable “No-Flow”...
-
Page 9: Factory Default Settings
2.6 FACTORY DEFAULT SETTINGS This option allows you to reset the default factory settings. 2.6.1 INTERNAL MEMORY If the pump is disconnected from the electrical supply, the programmed default settings will be maintained for approximately 7 days. 2.6.2 INTERNAL SYSTEM CLOCK The internal system clock is used to program operating schedules. -
Page 10: Programming Flow Chart
2.6.4 PROGRAMMING FLOW CHART... -
Page 11: Replacement Parts
3. REPLACEMENT PARTS Key No. Part No. Description 01020016 Nut for Lid 01041049 Transparent Lid 02010042 O-Ring for Lid 01110024 Basket 89020721 2.5’’ Union with O-ring 89020722 2.5’’ Union / 2’’ Tale with O-Ring 01112087 Pump Body 89021307 Drain Plug with O-Ring 02010213 O-Ring 01110025... - Page 12 89020720 M8 x 35 Screw with Washer for Motor 03011075 M8 x 30 Screw 89023702 Programmable Controller for EPV150 89023703 Programmable Controller for EPV200 89023704 Programmable Controller for EPV300 01321024 Fan Cover 04020113 EPV150 TYC-80M Motor 04020114 EPV200TYC-80L Motor 04020115 EPV300TYC-80XL Motor 01110026 Base...
-
Page 13: Specifications
Reset the system by turning off the power supply, leaving it for 30 seconds and then switching the pump on again. If problem persists, contact your Emaux service agent. 6.2 ERROR DISPLAY When the programmable controller is not working properly, a fault code will be shown on the controller display. -
Page 14: Safety Notes
6.3 REPLACEMENT PARTS Refer all service to your local agent or distributor as his knowledge of your equipment makes him the best-qualified source of information. Order all spare parts through your distributor. Please provide the following information when ordering spare parts: ... -
Page 15: Warranty Policy
7. Damage caused by water freezing inside the product. 8. Accident damage, fire, natural disaster or other circumstances outside the control of Emaux. 9. Items repaired or altered in any way by any person that is not authorized by Emaux. 10. Wear & tear parts. -
Page 16: Correct Disposal Of This Product
Emaux warrants any of above items from workmanship and/or material(s). Should a defect become evident during the term of warranty, Emaux will, at its option, repair or replace such item or part at its own cost and expense. Customer will need to follow the warranty claim procedures from Emaux in order to obtain the benefit on this warranty.
Need help?
Do you have a question about the E-POWER EPV200 and is the answer not in the manual?
Questions and answers