
Related Manuals for EVGA 08G-P4-6276-KR


Summarization of Contents
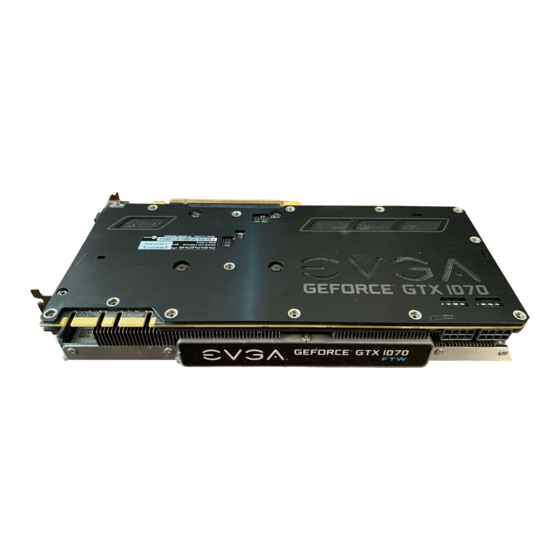
EVGA GTX 1080/1070 FTW Hybrid Installation Guide
Compatibility and Pre-installation Checks
Verify graphics card compatibility and review pre-installation steps before proceeding with the hybrid cooling kit installation.
Step 1: Remove Backplate Screws
Detach the graphics card's backplate by removing the designated screws on the rear side.
Step 2: Remove Original Cooling Screws
Remove the four spring-loaded screws securing the original cooling solution to access internal components.
Step 3: Mount Bracket Screw and Nut
Install a specific screw and nut onto the bracket to prepare for the new shroud installation.
Step 4: Clean GPU Surface
Thoroughly clean the GPU chip using high-percentage Isopropyl Alcohol and a lint-free cloth.
Step 5: Install VRM Heatsink
Place and secure the new heatsink over the VRM components using a single screw.
Step 6: Mount Waterblock
Align thermal pads and mount the waterblock onto the card, securing it with spring-loaded screws.
Step 7: Connect Power Cables
Connect the waterblock pump and fan cables to the appropriate connectors on the graphics card.
Step 8: Secure Fan Cables
Route fan cables neatly under heatsink fins and flatten them parallel to the PCB for clean management.
Step 9: Attach Tube Securing Insert
Attach a rubber insert to the card edge to hold tubing in place and route the fan connector.
Step 10: Connect LED Power
Plug the 2-pin LED power cable from the shroud into the designated LED header on the card.
Step 11: Apply Back PCB Thermal Pad
Place a thermal pad on the back of the PCB in the specified location.
Step 12: Install Shroud and Backplate
Place the shroud, align it with tubing, and reattach the backplate using the provided screws.
Important Product Information
Warranty and Liability
Details the one-year warranty and EVGA's liability limitations regarding installation and product damage.
Need help?
Do you have a question about the 08G-P4-6276-KR and is the answer not in the manual?
Questions and answers