Table of Contents
Advertisement
Quick Links
Advertisement
Table of Contents

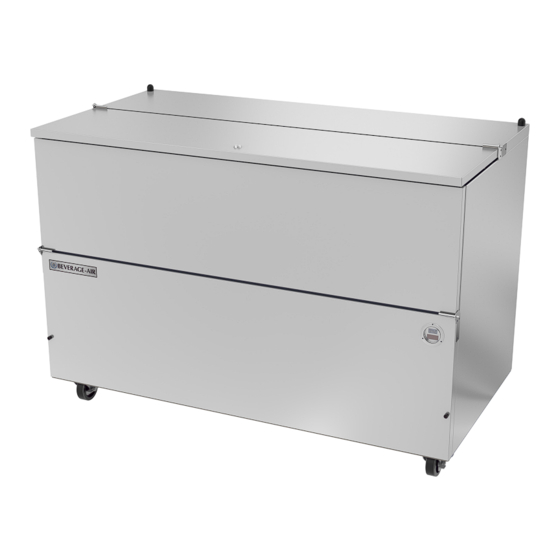
Related Manuals for Beverage-Air SM49HC-S


Summarization of Contents
Important Information
Limitations
Details on operating limitations and environmental conditions for the unit.
Agency Approvals
Information about UL and other certifications for the equipment.
Clearance and Placement
Placement Considerations
Guidelines for selecting a location, including clearance, floor load, ventilation, and power outlet.
Floor Load Requirements
Specifies floor requirements for stability and weight support.
Ventilation Requirements
Ensures proper airflow by keeping the front grille clear.
Power Outlet Requirements
Details the need for a dedicated power outlet near the unit.
Unpacking and Set Up
Uncrating Procedure
Step-by-step instructions for safely removing the unit from its shipping carton.
Leveling the Cabinet
Ensuring the unit is installed on a level surface for proper operation and drainage.
Electrical
Power Cord and Grounding
Details the 115V power cord, grounding requirements, and prohibition of extension cords.
Initial Start Up Procedure
Steps for powering up the unit for the first time and expected initial operation.
Electrical Cautions
Important safety warnings regarding refrigerant flammability and handling.
Using The Unit
Unit Operation
How to operate the unit, including temperature control and avoiding unnecessary run time.
Manual Defrost Procedure
Instructions for manually defrosting the unit to prevent ice build-up and a critical warning.
Controller Display and Messages
Explanation of the controller display, buttons, and common error/status messages.
Electronic Controller
Control Panel Display Indicators
Explanation of the indicators on the electronic controller display, including status and alarm LEDs.
Keyboard Functions
Details the function of each button on the electronic controller for adjustments and modes.
Control Panel Connections
Controller Wiring and Connections
Diagrams illustrating the terminal connections for the electronic controller.
Changing the Set Point
Step-by-step guide on how to modify the temperature set point using the controller.
Controller Alarms
Information on how controller alarms are signaled and the conditions under which they are displayed.
Alarm Trigger
Alarm Codes and Descriptions
Detailed list of alarm codes, their causes, and corresponding system responses.
Acknowledging Alarms
Procedure for acknowledging and resetting active alarms on the electronic controller.
Cleaning and Maintenance
Cleaning Schedule Overview
Overview of recommended cleaning tasks for the cabinet, condenser, and gaskets.
Cleaning Procedures
Instructions for cleaning the unit's exterior and interior surfaces, and defrosting.
Defrosting Procedure
Detailed steps for performing manual defrost on the unit to manage ice build-up.
Condenser Cleaning
Condenser Coil Cleaning Steps
Step-by-step instructions for cleaning the condenser coil for optimal operation.
Condenser Cleaning Notes
Important notes regarding difficult coil cleaning and the impact of air filters.
Help
User Troubleshooting Guide
Common malfunctions and their likely solutions for end-users.
Technician Troubleshooting Guide
Troubleshooting steps for technicians regarding compressor and cooling issues.
For The Service Tech - R290
R290 Refrigerant Service Precautions
Essential safety and procedural points for servicing R290 refrigeration systems.
R290 System Evacuation and Charging
Critical steps for system evacuation, charging, and identifying over/undercharge symptoms.
Limited Warranty
Three-Year Parts and Labor Warranty
Covers warranty for parts and labor for three years from installation or 39 months from shipment.
Extended Compressor Part Warranty
Provides an additional four years warranty specifically for the sealed compressor part.
Warranty Exceptions
Details specific models or conditions that are excluded from the extended compressor warranty.
Limited Warranty (Continued)
Warranty Conditions and Exclusions
Conditions for maintaining warranty coverage and specific exclusions like food spoilage or misuse.
Limitation of Liability
Defines Beverage-Air's liability limits and the exclusive remedy for defective products.
Need help?
Do you have a question about the SM49HC-S and is the answer not in the manual?
Questions and answers