Table of Contents
Advertisement
Advertisement
Table of Contents

Related Manuals for HomeBeyond H70-27


Summary of Contents for HomeBeyond H70-27
- Page 1 Installation Guide and Users Manual Built-In Series Range Hood H70-27 / H70-36 IMPORTANT: Read and save these instructions. NOTICE: Installer: Leave this guide with the homeowner Homeowner: Keep this guide for future reference Built-In Range Hood version:2019b...
-
Page 2: Important Safety Notice
Important Safety Notice Read all Instructions before Installing and operating this appliance • The installation in this manual is intended for qualified installers, service technicians or persons with similar qualified background. Installation and electrical wiring must be done by qualified profession- als and in accordance with all applicable codes and standards, including fire-rated construction. - Page 3 Important Safety Notice Read all Instructions before Installing and operating this appliance • Clean ventilating fan frequently. • Always use appropriate cookware and utensils size. • Always use cookware appropriate for the size of the surface element. To reduce the risk of injury to persons in the event of a stove top grease fire: •...
-
Page 4: Venting Requirements
Venting Requirements Height & Clearance • Vent system must terminate to the out- side (roof or side wall), unless using a recirculating kit. Cabinet • Do not terminate the vent system in an attic or other enclosed area. • Do not use 4” (10.2 cm) laundry-type wall caps. -
Page 5: Calculating Vent System Length
IMPORTANT: • A minimum of 6” round (standard for this range hood) must be used to maintain maximum airflow efficiency. • Always use rigid type metal/aluminum ducts if available to maximize airflow when connecting to provided duct. • Please use Duct Run Calculation below to compute total available duct run when using elbows, transitions and caps. -
Page 6: Venting Methods
Venting Methods XXXXXXXXXXXXXXXXXXXXXXXXXXXXXXXXXXXXXXXXXXXXXXXXXXXXXXXXXXX • This built-in range hood is factory set for venting through the roof or wall. For non-vented (re-circulating) XXXXXXXXXXXXXXXXXXXXXXXXXXXXXXXX installations, see Ductless Conversion (Non-Vented) below. XXXXXXXXXXXXXXXXXXXXXXXXXXXXXXXXXXXXXXXXXXXXXXXXXXXXXXXXXXX XXXXXXXXXXXXXXXXXXXXXXXXXXXXXXXXXXXXXXXXXXXXXXXXXXXXXXX • Vent work can terminate either through the roof or wall. To vent through a wall, a 90° elbow is needed. XXXXXXXXXXXXXXXXXXXXXXXXXXXXXXXXXXXXXXXXXXXXXXXXXXXXXXXXXXX IMPORTANT: •... -
Page 7: Electrical Requirements
Electrical Requirements IMPORTANT: Observe all governing codes and ordinances. (Please consult with a qualified electrician for 220-Volt 50 Hz voltage) It is the customer’s responsibility: To contact a qualified electrical installer. To assure that the electrical installation is adequate and in conformance with National Electrical Code, ANSI/ NFPA 70 —... -
Page 8: Installation
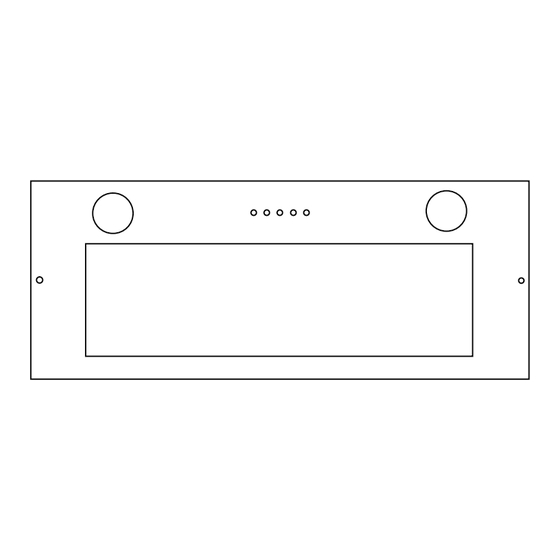
Installation Excessive Weight INSTALL THE HOOD Require two or more person to move and Due to excessive weight, two or more person is recommended for this step. install this range hood. Spinal or other bodi- ly injuries could occur if it is not followed. NOTE: the hood has to be installed, inside the cabinet, at minimum 1-1/2”... -
Page 9: Range Hood Operations
Range Hood Operations Turn On: • Press the speed control (Quiet Speed, Low Speed, High Speed) switch to select the desired level of power. Once button is pressed, the previous speed mode will cancel. • Press the Light Switch to power on the lights. Turn Off: •... -
Page 10: Troubleshooting
Troubleshooting If the range hood does not operate after installa- • Check if the range hood has been plugged in, make tion: sure that all power has been turned back on and all electrical wiring are properly connected. • Swap out light assembly to working ones to deter- mine whether it is caused by defective bulbs. -
Page 11: Specifications
Use and Care Information WARNING — TO REDUCE THE RISK OF FIRE, ELEC- lowed to accumulate on fan or filter. TRIC SHOCK, OR INJURY TO PERSONS, OBSERVE Use proper pan size. Always use cookware appropriate for THE FOLLOWING: Use this unit only in the manner in- the size of the surface element. -
Page 12: Maintenance
Maintenance SAFETY WARNING: Never put your hand into area housing the fan while the fan is operating! For optimal operation, clean range hood and all baffle/spacer/filter/grease tunnel/oil container regularly. Regular care will help preserve the appearance of the range hood. Cleaning Exterior surfaces: •... -
Page 13: Warranty
Warranty One Year Parts Warranty: For one year from the date of original purchase, your local reseller will provide free of charge, non-consumable replace- ment parts or components that failed due to manufacturing defects. Subject to the conditions and limitations set forth below, your local reseller will, at its option, either repair or replace any part of its products that prove defective by reason of improper workmanship or materials. - Page 14 Disclaimer Carefully inspect all items for damages before accepting delivery. note any damages on the freight bill or express receipt. request name and signature of the carrier’s agent and keep copy to support your claim. Upon acceptance of items, owner assumes responsibility for its safe arrival. Report damages to the carrier and file a claim immediately.
-
Page 15: Your Notes
Your Notes Page 14... - Page 16 21 Simmons ln , Menands , New York 12204 USA...
Need help?
Do you have a question about the H70-27 and is the answer not in the manual?
Questions and answers