Advertisement
Quick Links
Advertisement

Related Manuals for NuvoH2O Home System


Summary of Contents for NuvoH2O Home System
- Page 1 Installation Guide...
- Page 2 The nuvoH2O softener naturally binds minerals to prevent hard-water buildup instead of removing the minerals like old, salt-based water softeners. This mineralized water is healthier and the nuvoH2O system will not change the taste of your water. The nuvoH2O-softened water requires less soap in your dishwasher. Please decrease the amount of soap used by at least half, and avoid using pre-soaks or rinse-aids.
-
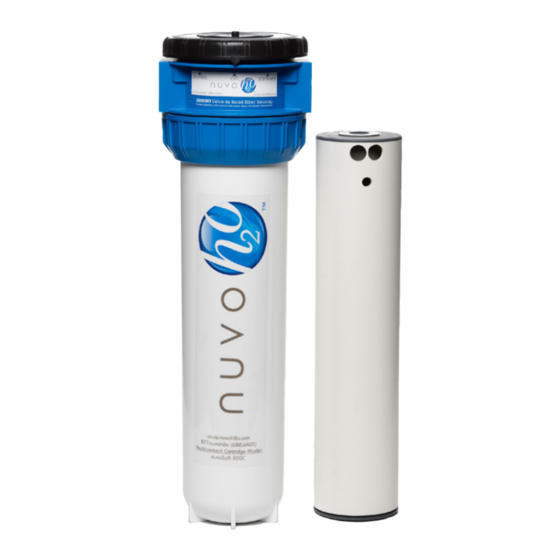
Page 3: Package Contents
No drains, no electricity, no calibration. No additional plumbing is required for a soft-water loop because nuvoH2O doesn’t change the taste of your water; it is FDA approved and safe to drink. The built-in bypass makes cartridge replacement a snap without requiring additional shut-off valves. - Page 4 Studio System (Item # DPSB) For condos, townhomes and apartments that are less than 1000 sq. feet, 1 bathroom, and low water use. • Size: 5” x 14” • Weight: 4.5 pounds • Water flow: 12-15 gpm with 3/4” ports •...
- Page 5 12 The nuvoH2O system cartridge is rated for usage and/or a specified time period. The cartridge must be replaced as directed to insure correct operation. 13 The nuvoH2O water softener is not a filter or a purifier; do not use with water that contains microbiological pathogens, is unsafe, or does not meet the minimum quality standards of municipal water.
-
Page 6: Installation Steps
INSTALLATION STEPS For Home System and Studio System Please read all instructions before beginning installation 1 Turn off main water supply line leading to proposed installation site. 2 Attach the Wall Mounting Panel horizontally (softener must hang vertically) to wall studs with screws provided. It is very important that the panel is attached to wall studs to allow for system weight and torque needed to adjust the system. - Page 7 7 Securely connect water supply line inlet & outlet to the nipples in the Housing Head. Softener functionality requires the correct water flow direction; make sure water supply inlet pipe is attached to the inlet port. (Note: Ports on Housing Head are marked “IN”...
- Page 8 INSTALLATION STEPS For Manor System Please read all instructions before beginning installation 1 Turn off main water supply line leading to proposed installation site. 2 Using screws provided, attach the Wall Mounting Panel horizontally (softener must hang vertically) to wall studs through top left hole and top right hole of Wall Mounting Panel.
- Page 9 8 Attach the appropriate nipple (not included) securely into the ports on each side of the Housing Head. The inlet and outlet ports are tapered (NPT) and require thread seal tape or sealant compound to prevent leakage. Be very careful, as over-tightening the threading can split or break the port. DO NOT OVER-TIGHTEN.
- Page 10 Cartridge Replacement 1 Before replacing your cartridge, we recommend having a towel on hand and placing a bucket underneath your softener system. 2 HOME/STUDIO CARTRIDGE - Turn the black cap at the top of the unit to “By-Pass” using the wrench that came with your system. (The “By-Pass” option will allow water to continue to flow to the rest of your home while you replace the cartridge.) Turn until you hear a clicking sound –...
-
Page 11: Money-Back Guarantee
In the unlikely event that you have trouble with your softener, nuvoH2O will, at its option, repair, modify, or exchange it at no cost to you. To qualify for the lifetime warranty, you must purchase the product from an authorized nuvoH2O reseller and use only genuine replacement cartridges and parts from nuvoH2O. - Page 12 877- 688-6426 nuvowater.com...
Need help?
Do you have a question about the Home System and is the answer not in the manual?
Questions and answers