
Related Manuals for MC 812


Summary of Contents for MC 812
- Page 1 Dedication to Performance ELECTRONIC Reference Amplifier Made in Germany Owner’s Manual...
- Page 2 This product is in conformity with the EMC directive and low-voltage directive. Your MC component complies with the household power and safety requirements in your area. Warranty MC affords a full warranty. Please pay attention to the details given in the warranty card which ac- companies unit.
-
Page 3: Table Of Contents
3. Connection the power amplifier to pre-amplifier D. Operating the remote control 1. Replacement of the batteries 2. CD player controls 3. Pre / Integrated amplifier controls F. Troubleshooting G. Specifications mc 811a / 833 / 812s /812 mc 811.a Addendum Sheet... - Page 4 Unplug the unit before cleaning! To clean the exterior surfaces of your MC unit use a dry, soft cloth. To wipe off finger prints and other grease spots, use a soft, wet cloth moistened with a mild detergent dissolved in water.
- Page 5 811a / 833 E. mc 811a / 833 Mono Power Amplifier 1.1 mc 811a / 833 front view * made of 20 mm special material to absorb mechanical resonances and signal distortion. 1.2 mc 811a / 833 rear connection panel view...
- Page 6 811a / 833 2. Standard connecting the power amplifier to the speakers There are two pairs of speaker terminals on the back of the amplifier. Two speakers can be connected to the amplifier. To connect the speakers only use high quality cables. Especially recommended are coaxial cables with high copper quality.
- Page 7 811a / 833 Bi-Wire 3. Connecting the power amplifier to the preamplifier To connect the power amplifier to the preamplifier you can either use the XRL or the RCA input. Notice: Remove all cables from inputs not in use. Never use both XLR and RCA inputs at the same time.
- Page 8 812s / 812 E. mc 812s / 812 Stereo Power Amplifier 1.1 mc 812s / 812 front view * made of 15 mm special material to absorb mechanical resonances and signal distortion. 1.2 mc 812s / 812 rear view...
- Page 9 812s / 812 2. Connecting the power amplifier to the speakers There are two pairs of speaker terminals on the back of the amplifier. Two speakers can be connected to the amplifier. To connect the speakers only use high quality cables. Especially recommended are coaxial cables with high copper quality.
- Page 10 812s / 812 3. Connecting the power amplifier to the preamplifier To connect the power amplifier to the preamplifier you can either use the XRL or the RCA input. Notice: Remove all cables from inputs not in use. Never use both XLR and RCA inputs at the same time.
-
Page 11: Operating The Remote Control
Remote Control F. Operating the remote control 1. Replacement of the batteries First unscrew the four screws on the bottom of the remote control to remove the bottom plate. Inside the unit you will find the battery holder. Insert the batteries with correct +/- orientation. Replace the bottom plate and re-screw it on the remote control. -
Page 12: Pre / Integrated Amplifier Controls
Warning: If opened by anybody other than qualified MC dealers, MC will not take responsibility for any damage to machinery or life. And any warranty claims will be voided. -
Page 13: Specifications
Specifications H. Specifications Quick Reference Technical Specifications: Models: 811a 812s Peak Pulse Power 1300W @4ohms 1500W 1300W 1200W @4ohms @4ohms @4ohms Rated Power 360W(4ohms); 720W(4ohms); 360W(4ohms); 330W(4ohms); 302W(8ohms) 604W(8ohms) 302W(8ohms) 280W(4ohms) Output Voltage Max. 35V peak 85V peak 70V peak 68V peak Output Current Max. -
Page 14: Mc 811.A Addendum Sheet
811.a Addendum Sheet mc 811.a Addendum Sheet The 811 Mono amplifier is one of our current success model and it is hot in the high end circle, our management intended to enhance it and upgrade this model to highest level. During the past year,... - Page 15 811.a Addendum Sheet Acoustic and resonance: We replaced the entire base section to a more serious professional feet mounting design. It is greatly improve of the resonance and make the appearance more promising. Sound performance: We improved the output cables with three bundle wire...
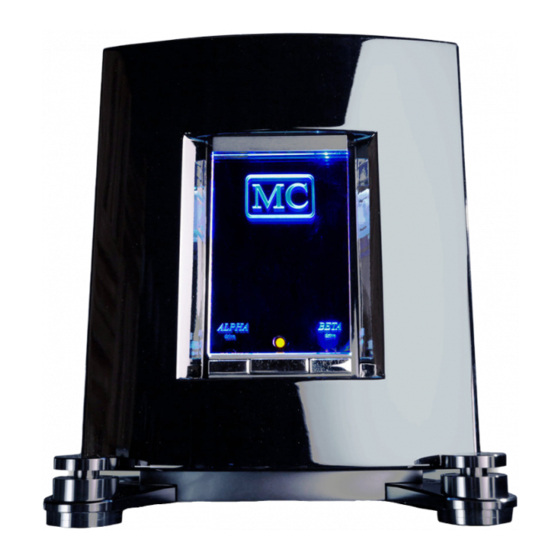
- Page 16 The central knob enables you to switch between the two different drive modes: Alpha Drive and Beta Drive. This feature allows you to tailor the mc 811.a mono amplifier output stage to your loudspeaker’s impedance, specifically whether the loudspeaker likes to be driven by voltage or by current.
- Page 17 For audiophiles, we all understand the advantage by using dual amplifier method. Besides of the (+), (-) signals running design, MC also implement our custom power management successful circuit into 811.a. Please reference below: What is “Alpha”...
- Page 18 The fit is tight so that it won’t move once in place. Level up or down the mc 811.a You can level the mc 811.a mono amplifier by turning the part of the feet with the MC logo.
- Page 19 811.a Addendum Sheet Base mounting System: A) Assembly B) Placing method...
- Page 20 Manuals are subject of copyright. It is not allowed to copy the information of this manual without written permission of MC. Every effort has been made to ensure that the information in this manual is accurate. MC is not responsible for printing or clerical errors.
Need help?
Do you have a question about the 812 and is the answer not in the manual?
Questions and answers