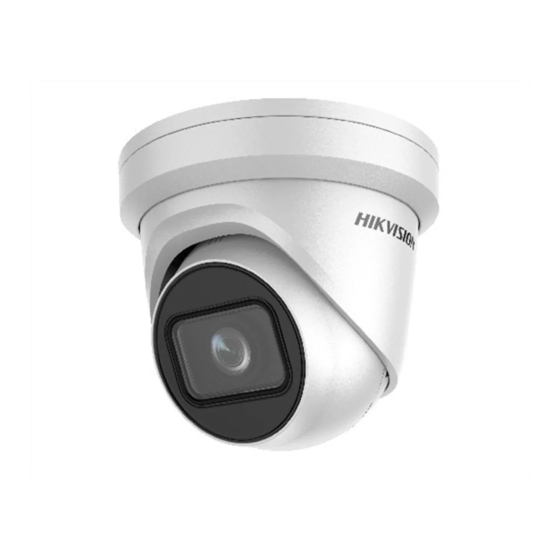

Related Manuals for HIKVISION DS-2CD2H26G2-IZS


Summarization of Contents
Quick Start Guide
About this Manual
Provides information about the manual's scope, content, and applicability to the Turret Network Camera.
Legal Disclaimer
Outlines terms, warranties, liability limitations, and user responsibilities regarding the product.
Regulatory Information
FCC Compliance and Conditions
Details FCC rules, compliance requirements, operational conditions, and measures to correct interference.
EU Conformity and Compliance
EU Conformity Statement
States compliance with applicable European standards for EMC (2014/30/EU) and RoHS (2011/65/EU).
WEEE and Battery Directives
Information on proper disposal of electronic waste and batteries in the EU according to directives.
Industry Canada Compliance
Details compliance with Industry Canada ICES-003 standards for digital devices.
Notices
Safety Instructions and Power Supply
Essential guidelines for safe usage, power supply specifications, and system security configuration.
Operating Environment and IR Reflection
Specifies operating conditions, humidity, and methods to prevent IR reflection issues.
Emergency, Time Sync, and Symbols
Covers emergency actions, time synchronization setup, and explanations of symbols used.
Disposal Information
Provides guidelines on how to properly dispose of the product and its accessories.
Installation
Package Contents and Tools
Lists and illustrates the items included in the package and the tools required for installation.
Step 1.1: Detaching Camera Cover
Shows how to remove the top dome cover of the camera for access.
Step 1.2: MicroSD Card Installation
Illustrates the process of inserting a MicroSD card into the camera slot.
Step 1.7: Attaching Camera Base
Depicts connecting the camera's base to the mounting surface.
Step 1.2: Unscrewing Camera Dome
Details unscrewing the camera dome using a T10 tool.
Step 1.3: Rotating Camera Dome
Illustrates rotating the camera dome to access internal components.
Step 1.4: MicroSD and Reset Operation
Shows inserting the MicroSD card and performing a reset operation.
Step 1.5: Rotating Camera Dome
Illustrates rotating the camera dome again, likely for securing.
Step 1.6: Securing Camera Dome
Details securing the camera dome with screws using a T10 tool.
Step 1.7: Attaching Camera Base Plate
Depicts attaching the camera's base plate to the mounting surface.
Step 2.1: Mounting Method Selection
Presents two distinct mounting methods, A and B, for installation.
Step A.1: Marking Mounting Holes
Illustrates marking drilling points on the ceiling for mounting option A.
Step A.2: Drilling Holes and Anchors
Shows drilling holes and inserting wall anchors for mounting option A.
Step A.3: Routing Cables
Depicts routing cables through the mounting plate.
Step A.4: Securing Mounting Plate
Shows attaching the mounting plate to the ceiling with screws.
Step B.1: Marking Mounting Holes
Illustrates marking drilling points on the ceiling for mounting option B.
Step B.2: Drilling Holes and Anchors
Shows drilling holes and inserting anchors for mounting option B.
Step B.3: Securing Mounting Plate
Depicts securing the mounting plate for option B with screws.
Step 2.2: Connecting Internal Cables
Shows how to connect various internal cables to the camera's connectors.
Step 2.3: Securing Ground Wire
Illustrates attaching the ground wire to the camera body.
Step 2.4: Connecting Audio, Alarm, and DC Ports
Details connecting audio, alarm, and DC power cables to specific ports.
Step 2.5: Connecting Network Cable
Shows how to connect the Ethernet network cable to the camera.
Step 2.6: Connecting SATA Cable
Illustrates connecting the SATA cable to the camera.
Step 2.7: Securing Camera Internal Assembly
Details securing the camera's internal components and dome.
Step 2.8: Initial Camera Positioning
Covers initial camera positioning and waste disposal of packaging.
Step 2.9: Final Dome Attachment
Illustrates attaching the final dome cover and securing it.
Step 2.9: Final Dome Cover Securing
Shows the final step of securely attaching the camera's dome cover.
Step 3.1: Adjusting Camera Tilt Angle
Illustrates how to adjust the camera's tilt angle.
Step 3.2: Adjusting Camera Pitch Angle
Shows how to adjust the camera's pitch angle from 0° to 75°.
Step 3.3: Adjusting Camera Yaw Angle
Illustrates adjusting the camera's yaw angle from 0° to 355°.
Step 3.4: Adjusting Camera Rotation Angle
Shows how to adjust the camera's full rotation angle from 0° to 360°.
Step 3.5: Final Dome Cover Securing Screws
Details the final step of securing the dome cover using screws.
Step 4.1: Locking Dome Cover
Shows the mechanism for locking the camera's dome cover.
Step 4.2: Cleaning Dome Cover
Illustrates cleaning the dome cover and disposing of packaging.
Operation
Activate and Access Network Camera
Guide to activating and accessing the camera using a QR code and network connection.
Maintenance
Reset and Restore Camera Settings
Instructions for resetting the camera to its default settings using the reset button.
Need help?
Do you have a question about the DS-2CD2H26G2-IZS and is the answer not in the manual?
Questions and answers