NEC NP2250 Series Quick Start Manual
Hide thumbs
Also See for NP2250 Series:
- User manual (183 pages) ,
- Command manual (60 pages) ,
- Control commands (54 pages)
Advertisement
Quick Links
NP3250/NP2250/NP1250
NP3250/NP2250/NP1250
NP3250/NP2250/NP1250
NP3250W
NP3250W
NP3250W
Quick Setup Guide
Quick Setup Guide
Quick Setup Guide
1
Connect your computer to the projector.
Připojte počítač k projektoru.
Tilslut din computer til projektoren.
Συνδέστε τον υπολογιστή σας στον προβολέα.
Kytke tietokone projektoriin.
Csatlakoztassa a számítógépet a projektorhoz.
Sluit uw computer aan op de projector.
Koble datamaskinen til projektoren.
Podłącz komputer do projektora.
Bilgisayarınızı projektöre bağlayın.
2
Connect the supplied power cable.
Připojte dodaný napájecí kabel.
Tilslut det medfølgende elkabel.
Συνδέστε το παρεχόμενο καλώδιο ρεύματος.
Kytke mukana toimitettu virtajohto.
Sluit de meegeleverde voedingskabel aan.
Koble til strømkabelen som følger med.
Podłącz dostarczony przewód zasilający.
Sağlanan güç kablosunu takın.
Turn on the main power switch.
Zapněte hlavní vypínač.
Tænd for hovedkontakten.
Θέστε σε λειτουργία τον κύριο διακόπτη λειτουργίας.
Kytke laitteeseen virta pääkytkimestä.
Kapcsolja be a főkapcsolót.
Schakel de hoofdschakelaar in.
Slå hovedbryteren på.
Włącz główny przełącznik zasilania.
Ana güç anahtarını açın.
.ضرعلا زاهجب رتويبمكلا ليصوتب مق
.قفرملا ةقاطلا لبك ليصوتب مق
.يسيئرلا ةقاطلا حاتفم ليغشتب مق
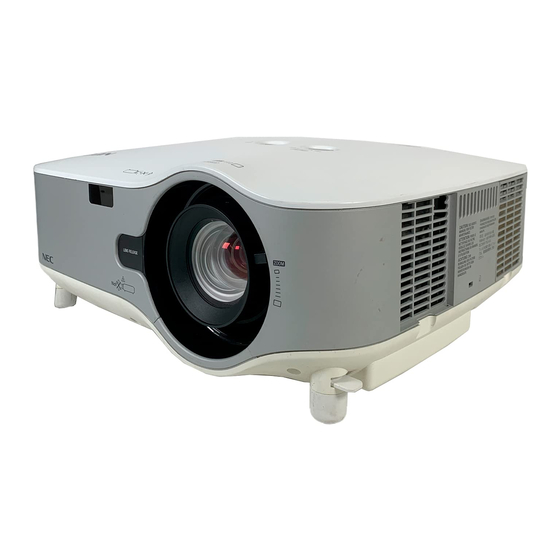
USB(LAN)
COMPUTER 1 IN
VGA signal cable (supplied)
Signální kabel VGA (dodaný)
VGA-signalkabel (medfølger)
Καλώδιο σήματος VGA (παρέχεται)
VGA-signaalikaapeli (vakiovaruste)
VGA jelkábel (tartozék)
VGA-signaalkabel (meegeleverd)
VGA-signalkabel (inkludert)
Przewód sygnałowy VGA (w zestawie)
VGA sinyal kablosu (sağlanmıştır)
ةراشإ لبكVGA ()قفرم
USB
LAMP
STATUS
POWER
Advertisement

Related Manuals for NEC NP2250 Series


Summarization of Contents
Step 1: Initial Connections
Connect Your Computer to the Projector
Connect the computer to the projector using the appropriate cable for video signal transmission.
Connect the Supplied Power Cable
Connect the projector to a power source using the provided power cable.
Step 2: Main Power Activation
Turn on the Main Power Switch
Activate the main power switch to supply electricity to the projector.
Step 3: Projector Startup
Turn on the Projector
Press the power button to start the projector and initiate the startup sequence.
Step 4: Source Selection
Select a Source
Choose the input source (e.g., Computer, Video) that matches the connected device.
Step 5: Image Adjustment
Adjust the Picture Size and Position
Modify the projected image's dimensions and placement for optimal viewing.
Rotate the Lens Shift Dial
Turn the lens shift dial to fine-tune the image position without moving the projector.
Step 6: Projector Shutdown
Turn off the Projector
Press the power button to put the projector into standby mode.
Unplug the Power Cable
Disconnect the power cable from the projector or the power outlet.
Need help?
Do you have a question about the NP2250 Series and is the answer not in the manual?
Questions and answers