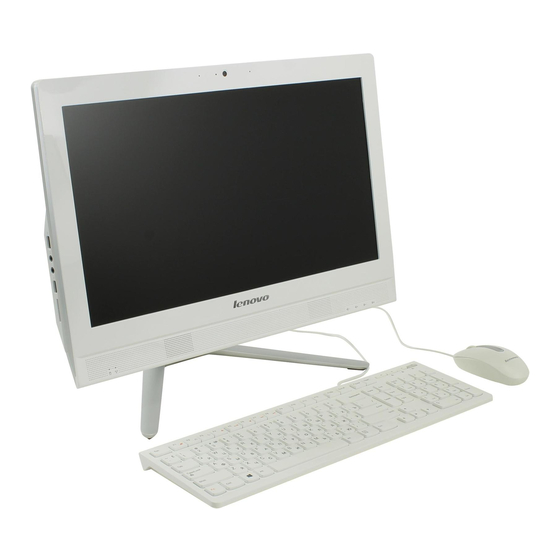
Summarization of Contents
Chapter 1. About this manual
Important Safety Information
Read all CAUTION and DANGER sections before following instructions.
Chapter 2. Safety information
General safety
Follow rules to ensure general safety, including keeping areas clear and safe lifting practices.
Electrical safety
CAUTION: Electrical current from power, telephone, and communication cables can be hazardous.
Safety inspection guide
Checklist to assist in identifying potential hazards posed by products.
Handling electrostatic discharge-sensitive devices
ESD damage can occur due to charge difference; protect by equalizing charges.
Grounding requirements
Electrical grounding is required for operator safety and correct system function.
Safety notices
CAUTION and DANGER safety notices provided in English.
Chapter 3. General information
Specifications
Lists the physical specifications for your computer, including environment and electrical input.
Chapter 5. Using the Setup Utility
Starting the Lenovo BIOS Setup Utility program
Procedure to start the BIOS Setup Utility program by pressing F1 key.
Viewing and changing settings
System configuration options are listed in the BIOS Setup Utility menu.
Using passwords
Set passwords to prevent unauthorized access to your computer and data.
Password considerations
Guidelines for creating strong passwords, up to 16 characters, mix of letters/numbers.
Administrator Password
Deters unauthorized persons from changing configuration settings.
Power-On Password
Prevents starting the BIOS Setup Utility program without a valid password.
Enabling or disabling a device
Options to enable or disable user access to devices like USB, SATA, Audio, Ethernet.
Selecting a startup device
Procedures for temporary startup device selection and changing the permanent sequence.
Exiting the Lenovo BIOS Setup Utility program
Instructions on how to save or discard changes and exit the BIOS Setup Utility program.
Chapter 6. Symptom-to-FRU Index
Hard disk drive boot error
Lists errors and actions for hard disk drive boot failures.
Power Supply Problems
Procedures to follow if you suspect a power supply problem.
POST error codes
Explains Power-On Self-Test (POST) and lists common error messages.
Undetermined problems
Troubleshooting steps for problems that cannot be identified by specific symptoms.
Chapter 7. Replacing hardware
Pre-disassembly instructions
Steps to follow before starting any disassembly procedure for safety.
Replacing the keyboard and mouse
Instructions for removing and replacing the keyboard and mouse.
Replacing the adapter
Steps to safely remove and replace the AC adapter.
Removing the stand base
Procedure to remove the stand base from the computer.
Removing the foot cover
Steps to remove the foot cover of the computer.
Replacing a memory module
Guide for safely removing and installing a memory module.
Replacing the hard disk drive
Instructions on how to remove and replace the hard disk drive.
Replacing the optical drive
Steps to remove and replace the optical drive.
Removing the stand holder
Procedure to remove the stand holder from the computer chassis.
Removing the middle cover
Steps for removing the middle cover of the computer.
Replacing the converter board
Instructions for removing and replacing the converter board.
Replacing the touch control board
Steps for removing and replacing the touch control board.
Removing the EMI cover
Procedure to remove the EMI (Electromagnetic Interference) cover.
Replacing the TV tuner card
Instructions for removing and replacing the TV tuner card.
Replacing the WLAN card
Steps for removing and replacing the wireless LAN card.
Replacing the heat-sink
Instructions for removing and replacing the heat-sink assembly.
Replacing the system fan
Steps for removing and replacing the system cooling fan.
Replacing the speaker system
Instructions for removing and replacing the internal speaker system.
Replacing the front control board
Steps for removing and replacing the front control board.
Replacing the front indicator board
Instructions for removing and replacing the front indicator board.
Replacing the motherboard
Detailed steps for removing and installing the main system motherboard.
Replacing the camera
Instructions for removing and replacing the built-in camera module.
Replacing the LED panel
Steps for removing and installing the LED display panel.
Chapter 8. General information
Additional Service Information
Provides additional information relevant to service representatives.
Power management
Explains how power management reduces power consumption of computer components.
Advanced configuration and power interface (ACPI) BIOS
Discusses ACPI BIOS system and its control over power management features.
Automatic Power-On features
Features that allow the computer to turn on automatically via Alarm or LAN.


Need help?
Do you have a question about the 365 and is the answer not in the manual?
Questions and answers