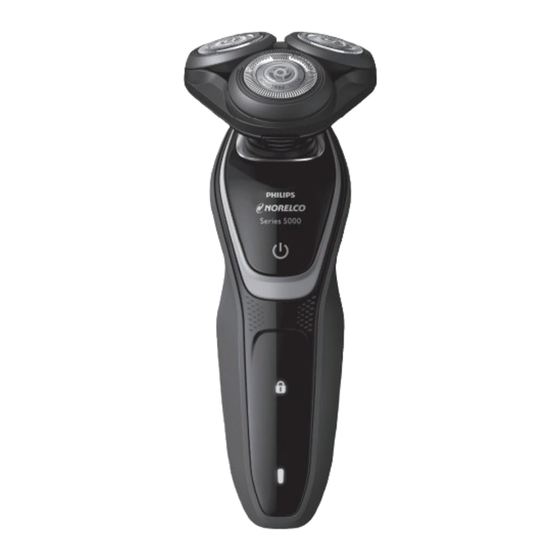
Summarization of Contents
LED Display
Charging Indicator
Provides information on the shaver's charging status, including quick charge and slow blinking for charging.
Full Charge Indicator
Indicates when the shaver's battery is fully charged, with the light staying on continuously.
Low Battery Indicator
Alerts the user when the battery is almost empty, indicated by the charging light blinking orange.
'Unplug For Use' Indicator
A symbol that blinks to remind the user the shaver is still connected to the outlet.
Replacement Shaving Heads Indicator
Lights up to remind users to replace shaving heads annually for optimal performance.
Cleaning Reminder Indicator
A blinking faucet symbol that reminds the user to clean the shaver after each use.
Travel Lock
A function to prevent the shaver from being accidentally switched on during travel or storage.
Charging
Important Charging Notes
Use only the provided power cord, and avoid extreme temperatures for battery longevity.
Charging Process
Connect the cord to the shaver and plug into a 100-240V AC outlet; charging takes one full hour.
Put It To The Test & Shaving Tips
21 Day Trial and Conversion Process
Allows skin and beard time to adjust to the new shaving system for optimal results.
Shaving Tips
Use the shaver exclusively for 3 weeks; initial irritation or less close shaves are normal.
How to Shave With An Electric Shaver
Wet Shaving
The shaver can be used in the bath or shower, or with shaving foam or gel.
Shaving Technique
Turn on, shave against beard growth with circular motions, gently press, and avoid excessive pressure.
Using the SmartClick Trimmer
Attaching the Trimmer
Insert the raised notch of the trimmer into the slot and press down until it clicks.
Trimming Hairlines
Hold the trimmer to the desired hairline and move downward with gentle pressure.
Detaching the Trimmer
Pull the trimmer straight off the shaver; do not turn or twist.
Travel Lock
Activating the Travel Lock
Press the ON/OFF button for 3 seconds until the travel lock symbol lights up.
Deactivating the Travel Lock
Press the ON/OFF button for 3 seconds until the lock symbol blinks and lights up.
Cleaning
General Cleaning Precautions
Always clean after use, avoid pressure on heads, do not use abrasives, and never dry with towel.
Cleaning the Shaving Unit
Rinse shaving heads with hot water after each use for optimal performance.
Extra-Thorough Cleaning Method
Disassembly and Cleaning
Disassemble shaving unit, rinse parts, and reassemble carefully, avoiding mixing cutters and combs.
Cleaning the Trimmer
Trimmer Cleaning Steps
Attach, turn on, rinse under hot water, turn off, shake off water, and allow to air dry.
Trimmer Lubrication
Lubricate trimmer teeth with mineral oil every 6 months for optimal performance.
Replacing the Shaving Heads
Replacement Indicator
The shaving unit symbol lights up to remind you to replace shaving heads annually.
Shaving Head Replacement Procedure
Release unit, remove holder, discard old heads, insert new heads, reattach ring and holder.
Resetting the Shaver
Press and hold the On/Off button for approximately 7 seconds to reset the shaver after replacement.
Storage
Safe Storage Instructions
Store shaver turned off in a safe, dry location, preferably in the travel pouch, with protective cap on.
Disposal
Battery Disposal
Dispose of the rechargeable lithium-ion battery properly by contacting local officials or RBRC.
Accessories
Replacement Shaving Heads
Model SH50 recommended for replacement once a year for maximum shaver performance.
SmartClick Cleansing Brush
Model RQ585 for use with the Philips Norelco SmartClick Cleansing Brush.
Full Two Year Warranty
Warranty Coverage
Covers defects in materials/workmanship for two years; excludes damage from accident, misuse, or abuse.
Obtaining Warranty Service
Contact www.philips.com/norelco or call 1-800-243-3050; return shipments should be insured.


Need help?
Do you have a question about the S5205 and is the answer not in the manual?
Questions and answers