Advertisement
Quick Links
Instruction Manual
Omegon® Pro Cameras
veLOX, veTEC, GUIDE
English Version 8.2019 Rev. A, Art.-Nr. 61031-61045, 63068-63070
Reproduction of part or all of the contents of this document in any form is expressly prohibited other than for individual use only. All text, images and labels are property of Nimax Gmbh.
Advertisement

Related Manuals for Omegon Pro veTEC 16000

Summary of Contents for Omegon Pro veTEC 16000
- Page 1 Instruction Manual Omegon® Pro Cameras veLOX, veTEC, GUIDE English Version 8.2019 Rev. A, Art.-Nr. 61031-61045, 63068-63070 Reproduction of part or all of the contents of this document in any form is expressly prohibited other than for individual use only. All text, images and labels are property of Nimax Gmbh.
- Page 2 They also have some internal memory or card to store all the images. Astro cameras need to be controlled by a separate device (usually by a PC). The software Omegon AstroPhotoCapture was designed to operate your Omgeon Pro camera and save your exposures on your computer’s hard...
- Page 3 Sensor chamber protection window: A thin window protects your sensor from dirt and dust. The window is coated in anti-reflective layers to prevent internal reflections and flares. In Omegon veTEC cameras, the protection window is crucial for the sensors cooling function: Any moisture from the environment would freeze over the cold sensor, if it wouldn’t be protected by the window.
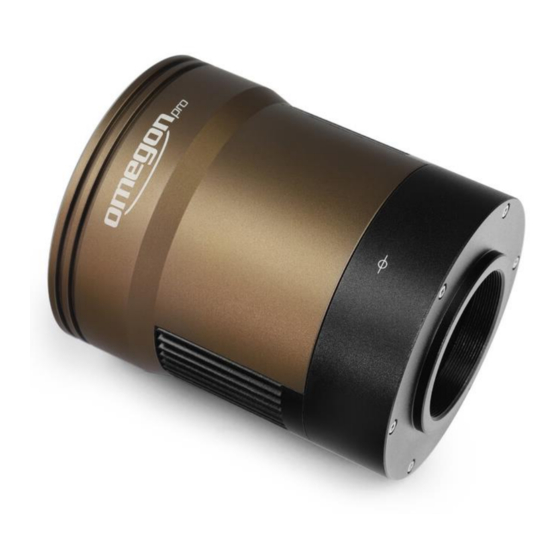
- Page 4 veTEC - Explaining all the parts: CNC Aluminium body: The light but sturdy body protects the camera from damage. T2 thread: The camera can be connected to your equipment by its female M42x0.75 (T2) thread. The backfocus distance from the outer edge of the thread to the sensor is 17.5mm. The camera is also supplied with a 2” nosepiece adapter.
- Page 5 400 nm to 700 nm, so the important H-alpha wavelength at 656 nm isn’t blocked. Mono Cameras - no filter: In Omegon Pro mono cameras, the ultraviolet, visible and infrared light is transmitted. This makes the mono cameras sensitive to a wide range of wavelengths. If you are only interested in a specific range of wavelengths, you need to obtain a suitable filter.
- Page 6 Start the application AstroPhotoCapture and connect your camera to the PC via the supplied USB cable. On the right part of the screen you can find a drop-down list. All connected Omegon Pro cameras will appear in this list. Click on one camera model to activate it.
- Page 7 Connecting to PHD2 for autoguiding (optional) The Omegon Pro GUIDE and veLOX cameras are equipped with an ST4 Port and are ideal to use as an autoguider. For autoguiding, we recommend the free and open source application PHD2 (Open PHD Guiding).
- Page 8 Even if there is no native compatibility between the astronomy software of your choice and your Omegon Pro camera, it can be connected through ASCOM. The ASCOM platform is only available for the Windows operating system.
- Page 9 Finding focus If this is your first astrophotography camera, it can be a challenge to find the correct focus. Point your Telescope to a bright star. Use an eyepiece and make sure that the star is centred in your field of view. If you are using a GoTo or tracking mount, make sure that everything is set up correctly and the star is not moving out of your field of view.
- Page 10 Note: Omegon AstroPhotoCapture is just the capture program to operate the camera and save the individual frames on your PC. Processing the exposures into a presentable picture requires additional software.
- Page 11 Unsteady tracking or poor alignment will limit your exposure time and stars will appear as streaks instead of points. Note: Omegon AstroPhotoCapture is just the capture program to operate the camera and save the individual frames on your PC. Processing the exposures into a presentable picture requires additional software.
- Page 12 To actually start a series of exposures, enter the number of desired images in the Quantity field. We recommend taking as many pictures as possible. For Deep-Sky astrophotography, we recommend the file format TIFF. The images will be saved without compression in their full bit-depth. Choose a destination folder.
Need help?
Do you have a question about the Pro veTEC 16000 and is the answer not in the manual?
Questions and answers