Advertisement
Quick Links
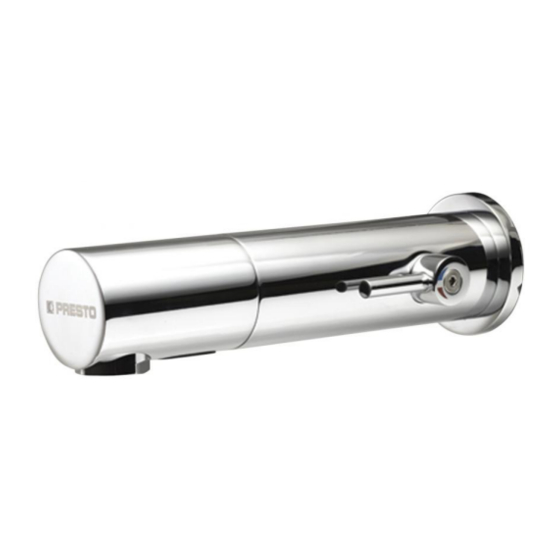
PRESTORIZON SERIES
FR
EN
D
SP
IT
NL
FR
1 - PRECAUTIONS D'USAGE
(La garantie du produit est conditionnée par le respect de ces règles)
MONTAGE et MISE EN SERVICE
Pour les produits livrés avec des filtres, ceux-ci doivent impérativement être montés conformément à la
notice.
Avant la mise en service de nos robinets, quels qu'ils soient, il est indispensable de purger
soigneusement les canalisations qui peuvent endommager les mécanismes.
Pression de service recommandée suivant NF EN 816 :1 à 5 bar.
NETTOYAGE
Le revêtement chromé des robinetteries PRESTO® doit être nettoyé exclusivement à l'eau savonneuse.
Proscrire les produits d'entretien abrasifs, acides, alcalins ou ammoniaqués
LES ROBINETS PRESTO
www.presto-group.com
Advertisement

Related Manuals for Presto 52041


Summarization of Contents
Precautions for Use
Installation and Start Up
Key steps and recommendations for mounting and commissioning the valve.
Cleaning Instructions
Instructions for cleaning the chrome-plated coating of the valves.
Information Prior to Installation
Avoiding Reflective Surfaces
Advice on product placement to ensure proper sensor function.
Adjusting Parameters
Parameter Modification with Remote
How to modify product parameters using the remote control.
General Information
Piping Preparation Steps
Purging pipes and turning off water supply before installation.
Self-Adjusting Sensor Overview
Information on the product's self-adjusting sensor technology.
Chemical Disinfection Guidelines
Guidelines for using chlorine for chemical disinfection.
PRESTORIZON Ø 45 Installation Steps
Loosening and Mounting Base
Loosening the M5 screw and mounting the valve base.
Rigid Pipe Installation Caution
Advice to fix the tap on rigid pipes to handle efforts.
PRESTORIZON Ø 45 Installation Continued
Placing Rosette and Assembling Valve
Placing the rosette, assembling the valve, and checking cell orientation.
Final Assembly and Leak Check
Fixing the valve and verifying no water leaks after installation.
PRESTORIZON Ø 28 & Ø 38 Installation Steps
Model Hole Dimensions and Valve Insertion
Specifies hole dimensions and inserting the valve into the wall.
Securing Product to Wall
Fixing the product to the wall using a hexagonal nut.
Connection and Final Steps
Connecting Hoses, Pipes, and Cables
Connecting hoses, pipes, cell cables, and solenoid valves.
Removing Protective Sticker
Removing the protective sticker from the valve before operation.
Power Connection and Sensor Adjustment
Connecting Power Supply
Connecting the energy source and power cable to the valve.
Sensor Adjustment and Leak Check
Performing sensor adjustment and water supply leak checks.
PRESTORIZON Ø 45 Maintenance
Battery Replacement
Procedure for replacing the battery in the sensor cell.
Checking and Maintaining Seals
Inspecting seals, lubricating or replacing them if needed.
Filter Maintenance
Filter Clogging Symptoms
Identifying symptoms indicating clogged filters.
Filter Extraction and Cleaning
Removing the filter from its base and cleaning or replacing it.
Reinstalling Filter and Valve
Putting the filter back in its housing and reinstalling the valve.
Solenoid Valve and Cell Replacement
Solenoid Valve Replacement Steps
Detailed steps for replacing the solenoid valve.
Sensor Cell Replacement Steps
Detailed steps for replacing the sensor cell.
PRESTORIZON Ø 28 & Ø 38 Maintenance
Battery Replacement for Specific Models
Replacing the battery in the sensor cell for Ø28 and Ø38 models.
Filter and Solenoid Valve Maintenance
Filter Clogging and Preparation
Symptoms of clogged filters and water supply preparation.
Filter Extraction and Cleaning/Replacement
Removing, cleaning, or replacing the solenoid valve filter.
Sensor Cell Replacement by Model
Sensor Cell Replacement (Ø 28)
Steps for replacing the sensor cell on Ø 28 models.
Sensor Cell Replacement (Ø 38)
Steps for replacing the sensor cell on Ø 38 models.
Mixer Shaft Replacement
Replacing Mixer Shaft Steps
Detailed steps for replacing the mixer shaft of the valve.
Troubleshooting Guide
No Water at Valve Outlet
Diagnosing and resolving issues when no water flows from the valve.
Valve Constantly Running
Diagnosing and resolving issues with continuous water flow from the valve.
Reduced Water Flow
Diagnosing and resolving issues with low water flow.
Need help?
Do you have a question about the 52041 and is the answer not in the manual?
Questions and answers