Sign In
Upload
Download
Table of Contents
Contents
Add to my manuals
Delete from my manuals
Share
URL of this page:
HTML Link:
Bookmark this page
Add
Manual will be automatically added to "My Manuals"
Print this page
×
Bookmark added
×
Added to my manuals
Manuals
Brands
Martin Audio Manuals
Amplifier
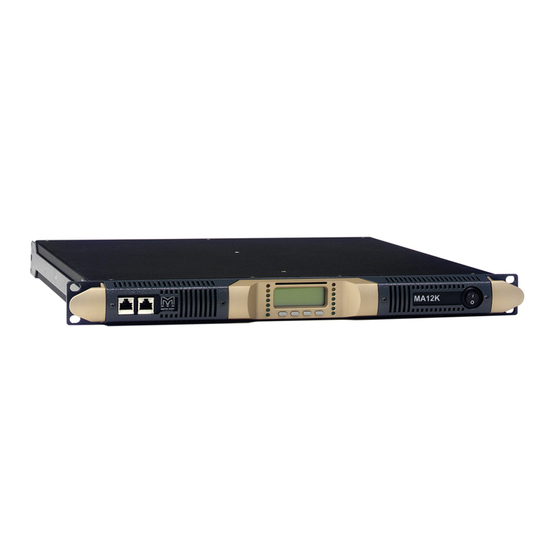
MA12K - 2010
User manual
Martin Audio MA12K - 2010 User Manual
Hide thumbs
1
Table Of Contents
2
3
4
5
6
7
8
9
10
11
12
13
14
15
16
17
18
19
20
21
22
23
24
25
26
27
28
29
30
31
32
33
34
35
36
37
38
39
40
41
42
page
of
42
Go
/
42
Contents
Table of Contents
Bookmarks
Table of Contents
Table of Contents
Important Safety Instructions
Warning Notices
1 Installation and Operation
Unpacking
Mounting
Operating Precautions
AC Main Connection
Connecting Inputs
Connecting Outputs
Connecting Remote Control
2 Setup and Settings Using the Amplifier's Front Panel Controls
Introduction
The Main Screen
The Main Menu
Output Attenuation
Gain/Sensitivity
Input Select
Max Output Voltage
Clip Limiter CH1 - CH2
Gate CH1 - CH2
Keth
Bar Meters
Output Meters
Temperature
Mains Meters
Hardware Info
Hardware Monitor
The Smartcard Function
LCD Contrast
Set Unlock Code
Service
3 Dsp
Single Value Numeric Parameters Input
Handling Local Presets
Handling Smartcard Presets
Menu Locking
Amplifier Name
DSP Signal Path
DSP Features
DSP Submenu
Restore Flat
Common Settings
Source Selection
Main Delay
Aes3
3.10.2.3.1 Gain Trim
3.10.2.3.2 if no Link
Sound Velocity
CH1, CH2, CH1+2 Settings
Q/Bandwidth, Q/Gain and Shelving Slope Dual Mode Input
Low-Pass and High-Pass Filters
Polarity
Channel Delay
Gain
Peak Limiter
Advanced
3.10.3.9.1 Damping Control
3.10.3.9.2 Filters Definition
Channel Settings Copy
How to Setup a Crossover
Setup a Bridged Configuration
MA Control Manager Overview
Turn-On/Turn-Off Muting
Short Circuit Protection
Thermal Protection
DC Fault Protection
Input/Output Protection
5 Maintenance
Cleaning
Service
Dust Removal
6 Warranty
7 Technical Notes
Block Diagram
Thermal Dissipation
Specification
Technical Drawing
Advertisement
Quick Links
1
Ac Main Connection
2
Connecting Remote Control
3
Specification
Download this manual
MA12K, MA12K DSP
User Guide
The Martin Experience
All material © 2010. Martin Audio Ltd. Subject to change without notice.
Table of
Contents
Previous
Page
Next
Page
1
2
3
4
5
Advertisement
Table of Contents
Need help?
Do you have a question about the MA12K - 2010 and is the answer not in the manual?
Ask a question
Questions and answers
Related Manuals for Martin Audio MA12K - 2010
Amplifier MARTIN AUDIO MA12K - 2007 User Manual
(22 pages)
Amplifier Martin Audio MA12K Specifications
Lightweight, high power, high performance power amplifier (1 page)
Amplifier Martin Audio MA5.2K Specifications
Lightweight, high power, high performance amplifier (1 page)
Amplifier Martin Audio MA1.6s Specifications
Light weight, high performance power amplifier (1 page)
Amplifier Martin Audio MA1.6s User Manual
Ma1.6s amplifier user’s guide (22 pages)
Amplifier Martin Audio MA1400 Specifications
High performance power amplifier (1 page)
Amplifier MARTIN AUDIO MA1400 Manual
(19 pages)
Amplifier Martin Audio MA18K Technical Specifications
Lightweight, high power, high performance power amplifier (1 page)
Amplifier MARTIN AUDIO MA18K - 2010 User Manual
(42 pages)
Amplifier Martin Audio MA1.3s User Manual
Martin audio power amplifier owner's manual (19 pages)
Amplifier MARTIN AUDIO MA1.3 User Manual
(25 pages)
Amplifier MARTIN AUDIO MA1.4 User Manual
High performance amplifier (19 pages)
Amplifier MARTIN AUDIO MA1.6 User Manual
(26 pages)
Amplifier MARTIN AUDIO MA18K - 2007 User Manual
(22 pages)
Amplifier MARTIN AUDIO MA12K DSP User Manual
(42 pages)
Amplifier MARTIN AUDIO MA18K DSP User Manual
(42 pages)
This manual is also suitable for:
Ma12k dsp
Ma5.2k dsp
Ma5.2k
Ma12k
Table of Contents
Print
Rename the bookmark
Delete bookmark?
Delete from my manuals?
Login
Sign In
OR
Sign in with Facebook
Sign in with Google
Upload manual
Upload from disk
Upload from URL


Need help?
Do you have a question about the MA12K - 2010 and is the answer not in the manual?
Questions and answers